


C650 3-45
Administrator mode
3
In addition, specify settings for the custom items.
Specify details for the following for the function button.
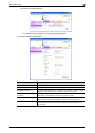
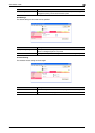
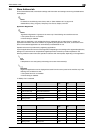
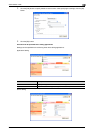
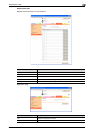
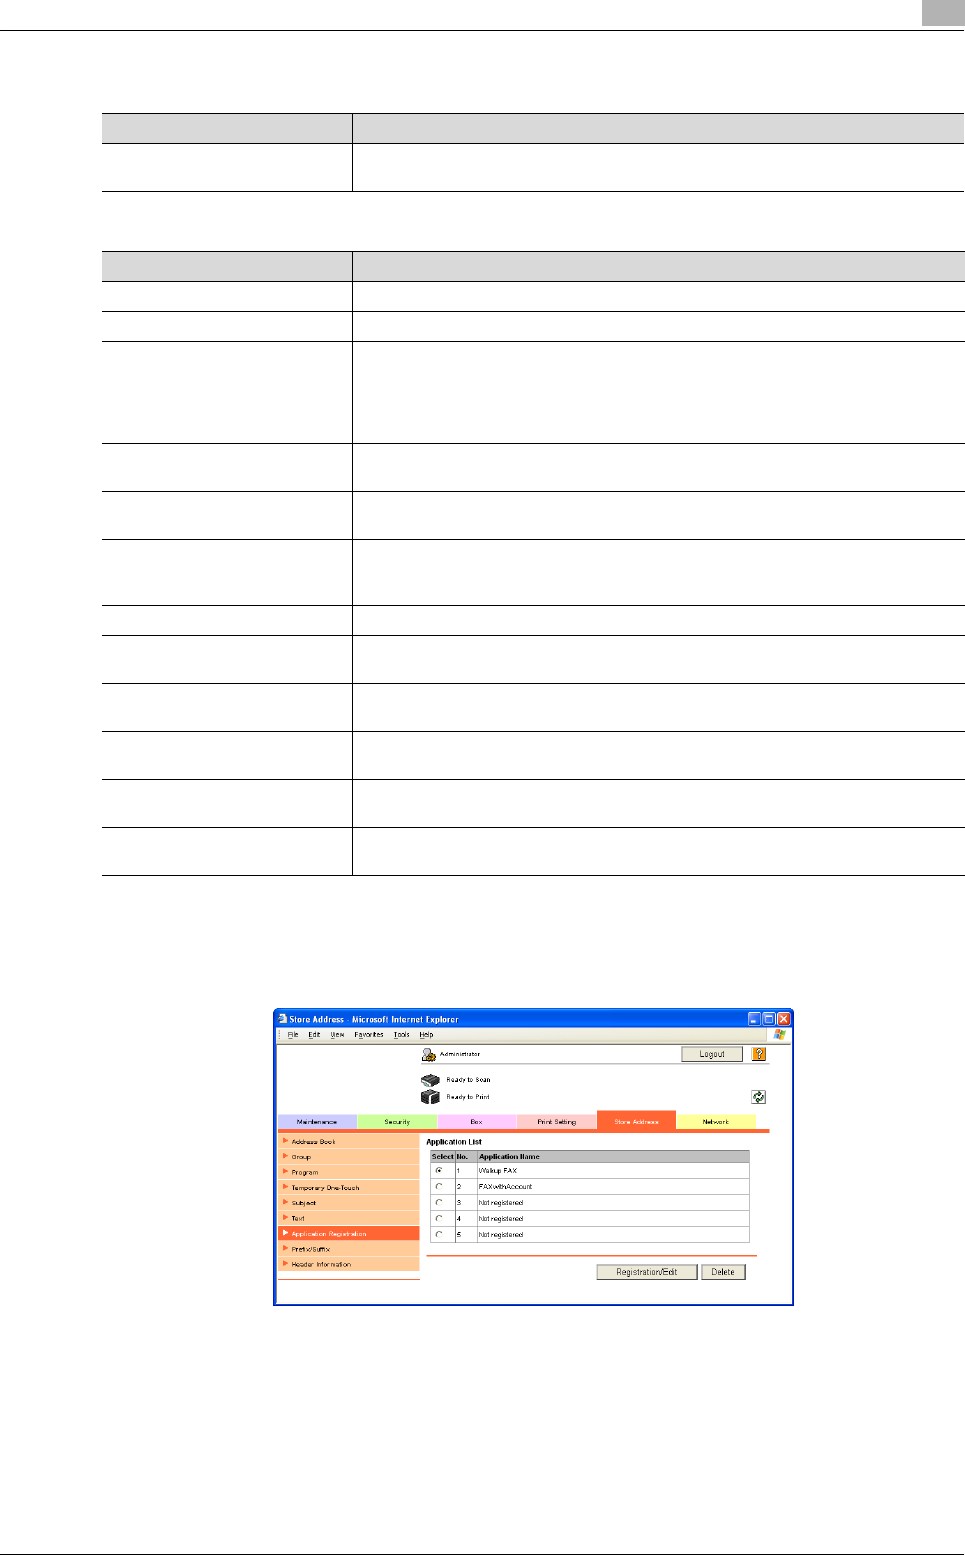
To regist a new application
1 Select the application to be registered, and then click the [Registration/Edit] button.
– If no application is registered, "Not registered" appears.
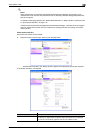
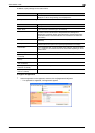
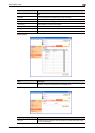
Item Description
Custom Item List When a template is selected, the custom items, button name and default values are
displayed. To add or change settings, click the [Edit] button.
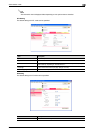
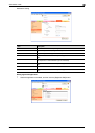
Item Description
No. Displays the number of the selected item.
Button Name Type in the name of the button (up to 16 characters).
Function Name Select the function name from the following.
ID/ Name/ Password/ Authentication/ DelaySendDateTime/ BillingCode1/
BillingCode2/ CoverSheet/ Subject/ GeneralFaxNumber/ GeneralVoiceNumber/
PersonalFaxNumber/ PersonalVoiceNumber/ DocumentPassword/ HoldForPre-
view/ Delivery
Message on Panel Type in the name that appears in the multifunctional peripheral screen (up to 32
characters).
Display Method Select the display method from the following
Enable/Enable Function (MFP Panel Input Required)/Disable/Do Not Display
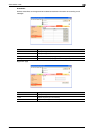
Default Value Type in the default value. To hide the default value, select the "Input string shown
as ****" check box. The characters that can be entered differ depending on the se-
lected function.
Keyboard Type Select either "ASCII" or "Device Dependent" as the keyboard type.
Options (when "Authentication"
is selected)
Select either "None" or "Password".
Options (when "Delivery" is se-
lected)
Select "Normal", "Secure", "Certified" or "Secure Certified".
Options (when "Hold For Pre-
view" is selected)
Select "Yes" or "No".
Input Type (when "DelaySend-
DataTime" is selected)
Select "Year/Month/Day/Hour/Minute".
Default (when "DelaySendDa-
taTime" is selected)
Select either "Device Time" or "Not Specify".