


Using the Operation Panel 7-23
Private/Stored (Printing a Private Print/Stored Job)
In private printing, you can specify that a job is not printed until you
release the job from the operation panel. When sending the job from the
application software, specify a 4-digit access code in the printer driver.
The job is released for printing by entering the access code on the
operation panel ensuring confidentiality of the print job.
In the stored job mode, access codes are not mandatory, but can be set
on the printer driver if printing with PIN security is required. Then, the
access code must be entered on the operation panel to print a stored
job. Print data will be stored in the hard disk/RAM disk after printing.
Refer to KX Printer Driver User Guide for the driver settings.
Releasing a Private/Stored Job
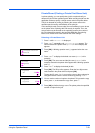
1 Press Z while Job Box > is displayed.
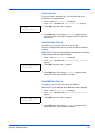
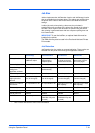
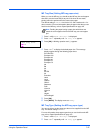
2 Press U or V repeatedly until >Private/Stored appears. The
name entered in the printer driver (Harold, in this example) also
appears.
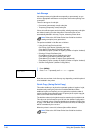
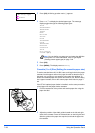
3 Press [OK]. A blinking question mark (?) appears before the user
name.
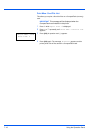
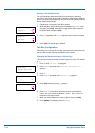
4 Press U or V to display the desired user name (Arlen, in this
example).
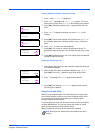
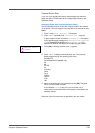
5 Press [OK]. The user name and the job name (Agenda, in this
example) entered in the printer driver appear with a blinking question
mark (?).
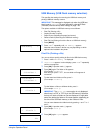
6 Press U or V to display the desired job title.
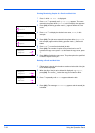
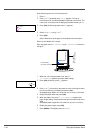
7 Press [OK]. The ID input line appears. Enter the four-digit access
code entered in the printer driver and press [OK].
To enter the ID, press Y or Z to move the cursor to the number to be
changed and then enter the correct number by pressing U or V.
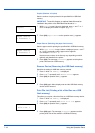
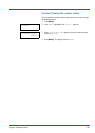
8 You can set the number of copies to be printed. To increase the copy
count, press U; to decrease the copy count, press V.
9 Press [OK] to finalize the copy count. The printer prints the specified
number of copies for the job.
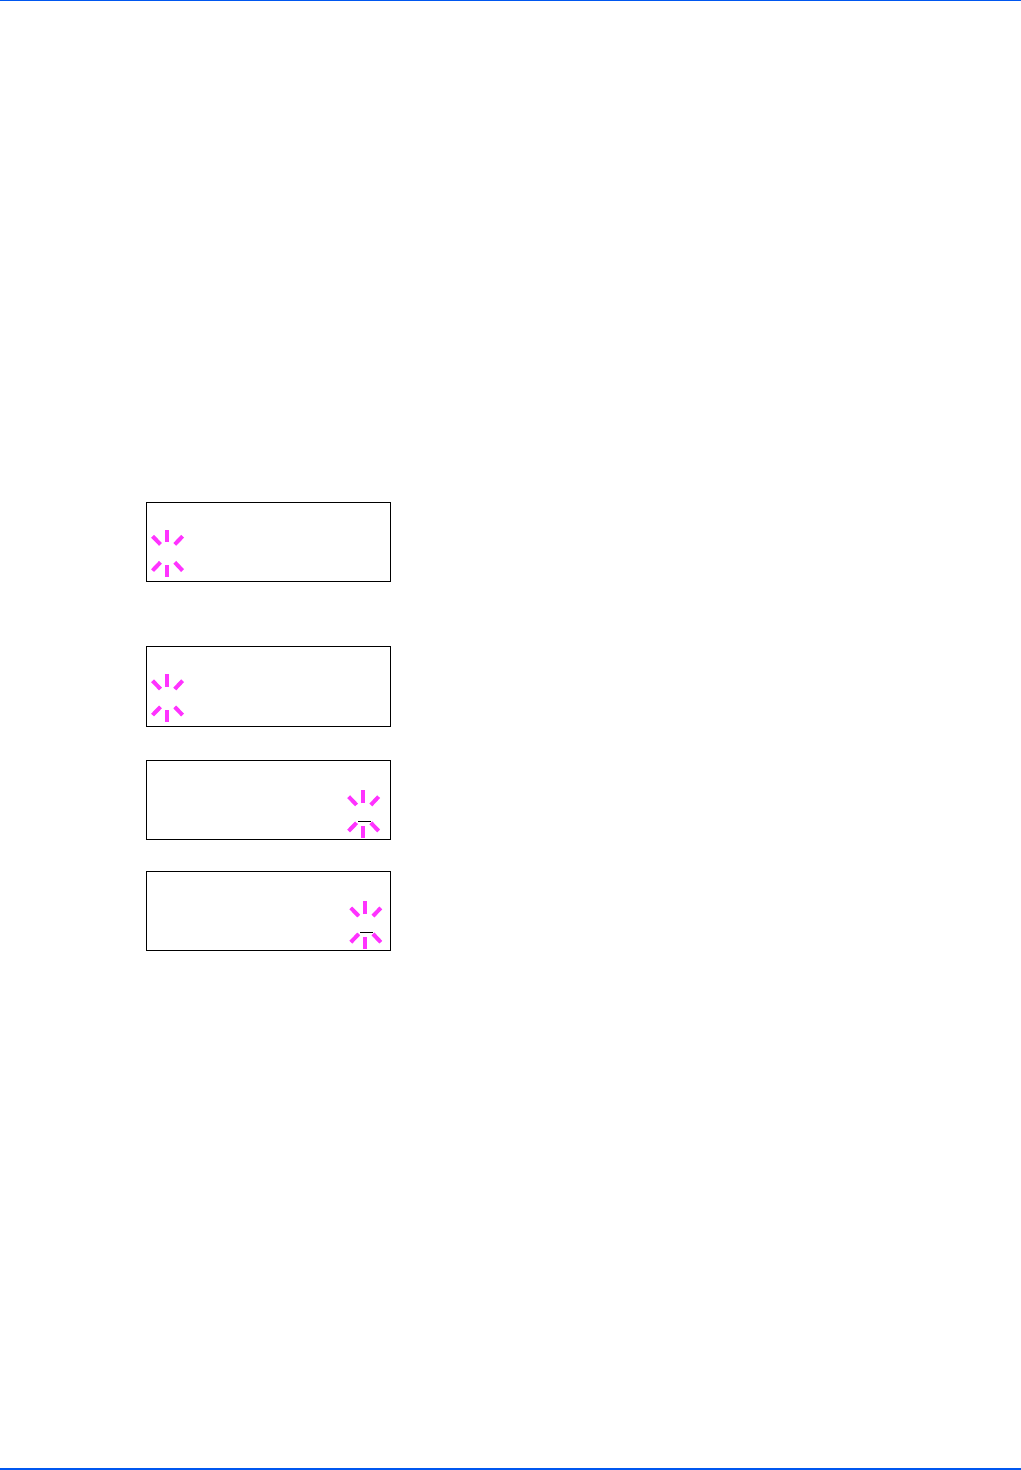
>Private/Stored
?Harold
>Arlen
?Agenda
>Agenda
ID 0000
>Agenda
Copies 001