7-40 Using the Operation Panel
5 Press U or V repeatedly until the desired font number appears. For
font numbers of the internal fonts, refer to Print Fonts List on page 7-
15.
6 When the desired font is displayed, press [OK].
7 Press [MENU]. The display returns to Ready.
Selecting Regular or Dark Courier/Letter Gothic
Courier or Letter Gothic font thickness can be selected as Regular or
Dark. In the procedure below, it is assumed that Courier is selected. The
procedure is the same for Letter Gothic.
1 Press Z while Print Settings > is displayed.
2 Press U or V repeatedly until >Font Select > appears.
3 Make sure that Internal is displayed and press Z.
4 Press U or V repeatedly until >>Courier appears. If you are
selecting the thickness of the Letter Gothic font, choose >>Letter
Gothic here instead.
5 Press [OK]. A blinking question mark (?) appears.
6 Select Regular or Dark using U or V.
7 Press [OK].
8 Press [MENU]. The display returns to Ready.
Changing the Default Font Size
You can change the size of the default font. If you selected a proportional
font, the character size can also be changed.
1 Press Z while Print Settings > is displayed.
2 Press U or V repeatedly until >Font Select > appears.
3 Make sure that Internal is displayed and press Z.
4 Press U or V repeatedly until >>Size appears.
5 Press [OK]. A blinking question mark (?) appears.
6 Press U or V to increase or decrease the value at the blinking
cursor. The font size can be set between 4 and 999.75 points, in
0.25-point increments. Use Z or Y to move the cursor right and left.
7 When the desired size is displayed, press [OK].
8 Press [MENU]. The display returns to Ready.
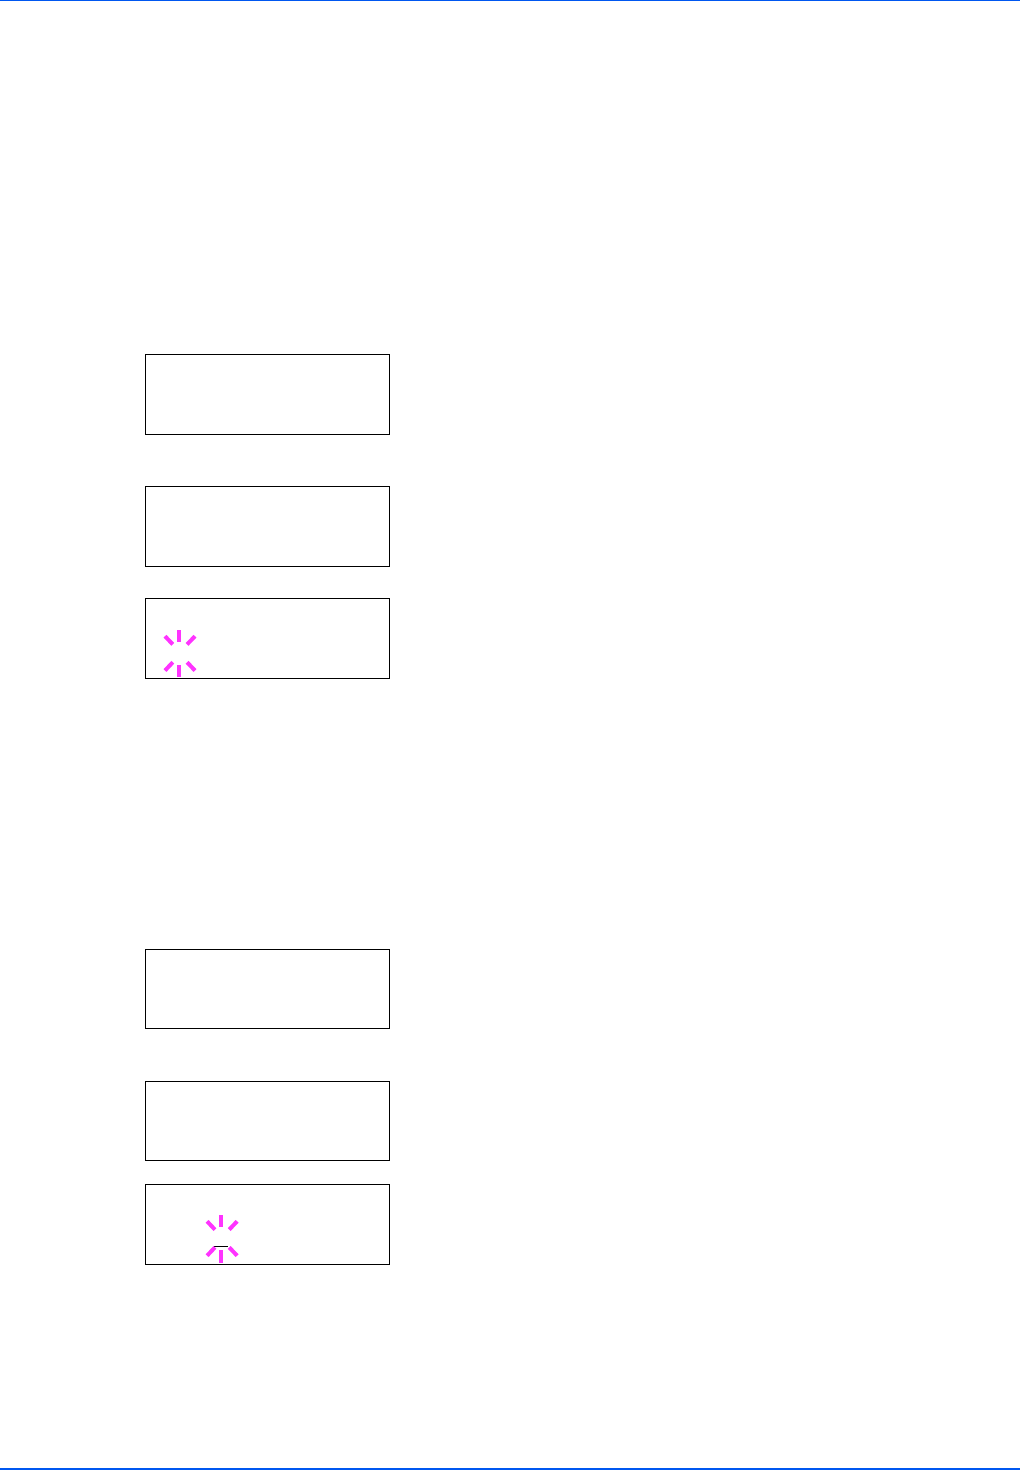
>Font Select >
Internal
>>Courier
Regular
>>Courier
?
Regular
>Font Select >
Internal
>>Size
012.00 point(s)
>>Size
012.00 point(s)


