


7-74 Using the Operation Panel
Select Account (Department-specific settings)
This specifies the functions used for managing individual account IDs.
The options available in Select Account are as follows:
• Counter (Account-specific counter management)
• Restriction (Print restriction selection)
• Maximum Output (Maximum print output setting)
• Reset Counter (Counter reset)
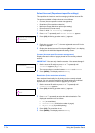
1 Press Z while Job Accounting > is displayed.
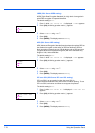
2 Press U or V repeatedly until >Select Account> appears.
3 Press [OK]. A blinking question mark (?) appears.
4 Each time you press U or V, the next registered account ID in the
sequence appears.
5 Display the desired account ID and press [OK]. Press Z, the display
changes to the individual department setting screen.
Counter (Account-specific counter management)
Displays the total number of pages printed for the currently selected
account.
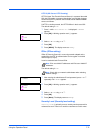
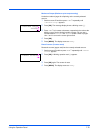
1 Set the account ID and then press U or V repeatedly until
>>Counter appears. (E.g.: 100)
The counter shows a number between 0000000 and 9999999.
2 Press [MENU]. The display returns to Ready.
Restriction (Print restriction selection)
Sets restricted functionality for all printing on the currently selected
account. You can use the restrictions to prohibit printing by individual
departments or to limit the number of pages they can print.
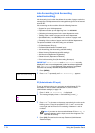
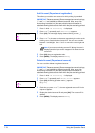
1 Set the account ID and then press U or V repeatedly until
>>Restriction appears.
2 Press [OK]. A blinking question mark (?) appears.
3 Press U or V repeatedly to select the desired restriction. The
displayed restrictions are as follows:
• Off (no restrictions)
• Counter Limit (to limit the number of pages)
• Reject Usage (to prohibit printing)
4 Press [OK]. The restriction is set.
5 Press [MENU]. The display returns to Ready.
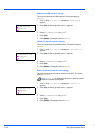
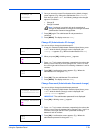
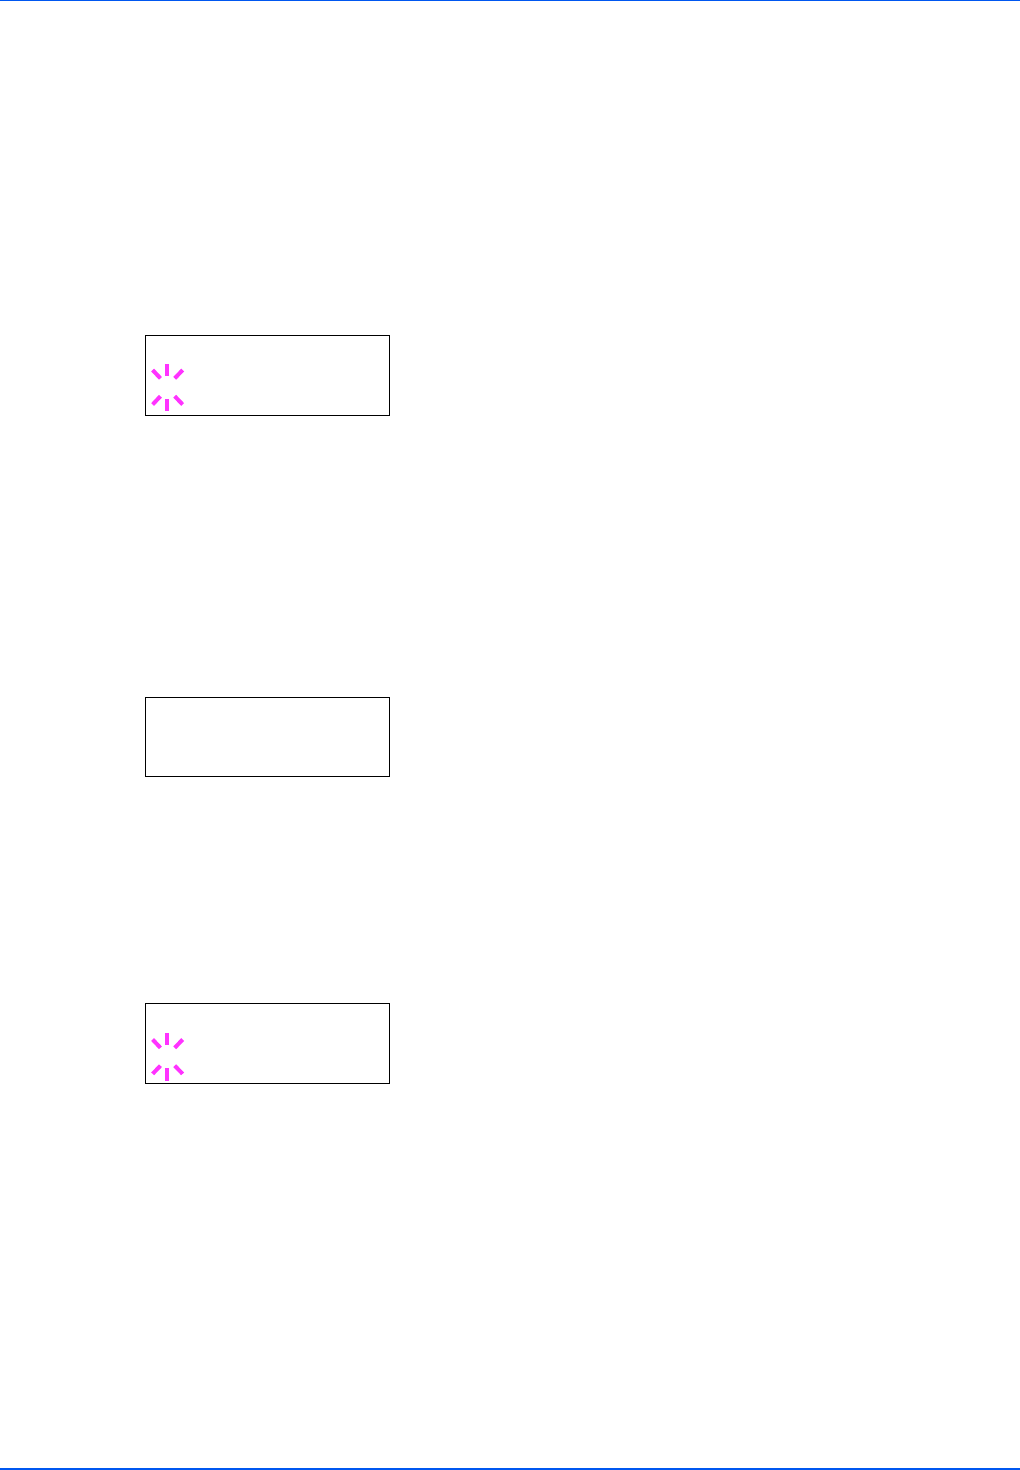
>Select Account>
?00000000
IMPORTANT You can only view the counter. You cannot change it.
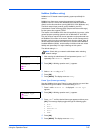
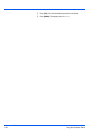
>>Counter
0000100
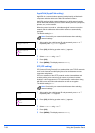
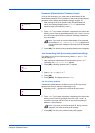
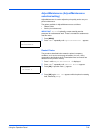
>>Restriction
? Off