Troubleshooting
12-22
Clearing Paper Jams
If a paper jam occurs, the touch panel will display Paper
Jam. and the machine will stop. Refer to these
procedures to remove the jammed paper.
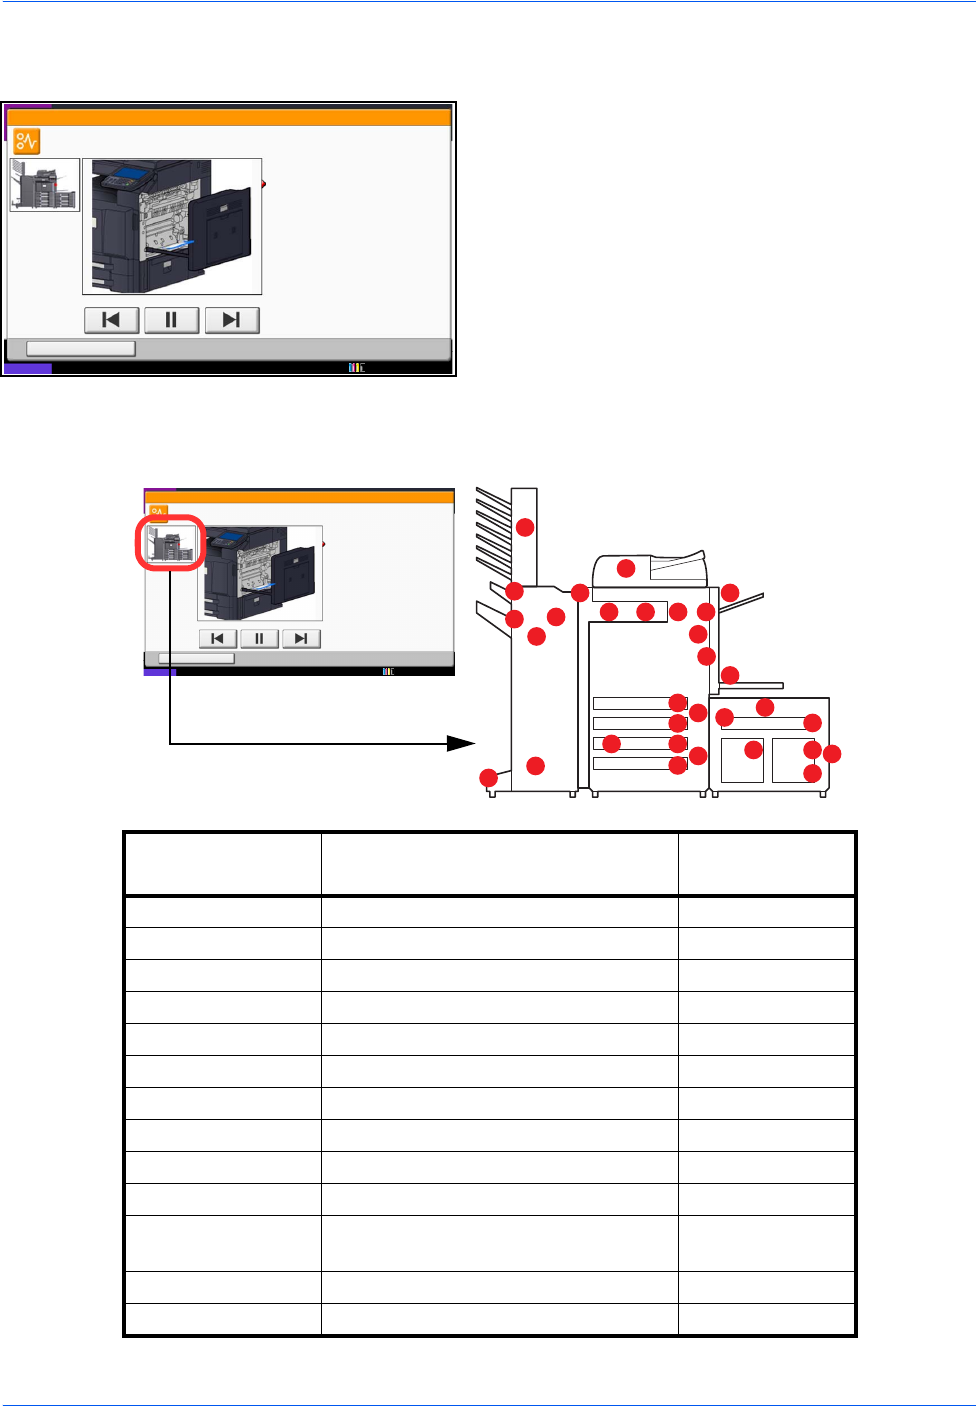
Jam Location Indicators
If a paper jam occurs, the location of the jam will be displayed as the following figure with a letter corresponding
to the affected component in the machine. Clearing instructions will also be displayed.
10/10/2010 10:10
Hold
JAM
Paper jam.
02/04
1. Remove the paper from
the paper ejector.
2. Open main unit right cover 1 and
remove the paper.
Remove the paper from
the multi purpose tray.
3. Open fuser cover (A1) and
remove the paper.
4. Close the cover.
Status
10/10/2010 10:10
Hold
JAM
Paper jam.
02/04
1. Remove the paper from
the paper ejector.
2. Open main unit right cover 1 and
remove the paper.
Remove the paper from
the multi purpose tray.
3. Open fuser cover (A1) and
remove the paper.
4. Close the cover.
Status
A
D
I
F
L
L
L
M
M
M
M
K
K
H
K
K
IJ G
K
K
K
K
B
C
E
E
E
G
C
C
Paper Jam
Location Indicator
Paper Jam Location Reference Page
A Cassette 1 12-23
B Cassette 2 12-24
C Cassette 3 or 4 (Option) 12-25
D Multi Purpose Tray 12-29
E Inside the right cover 1, 3 or 4 12-30
F Duplex unit 12-32
G Fixing unit 12-35
H Document processor (Option) 12-36
I Job Sparator (Option) 12-38
J Bridge Unit 12-40
K Document finisher (Option) 12-41
12-42
L Cassette 5 (Option) 12-49
M Cassette 6,7 (Option) 12-51


