


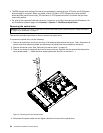
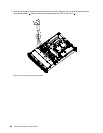
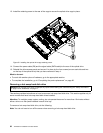
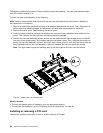
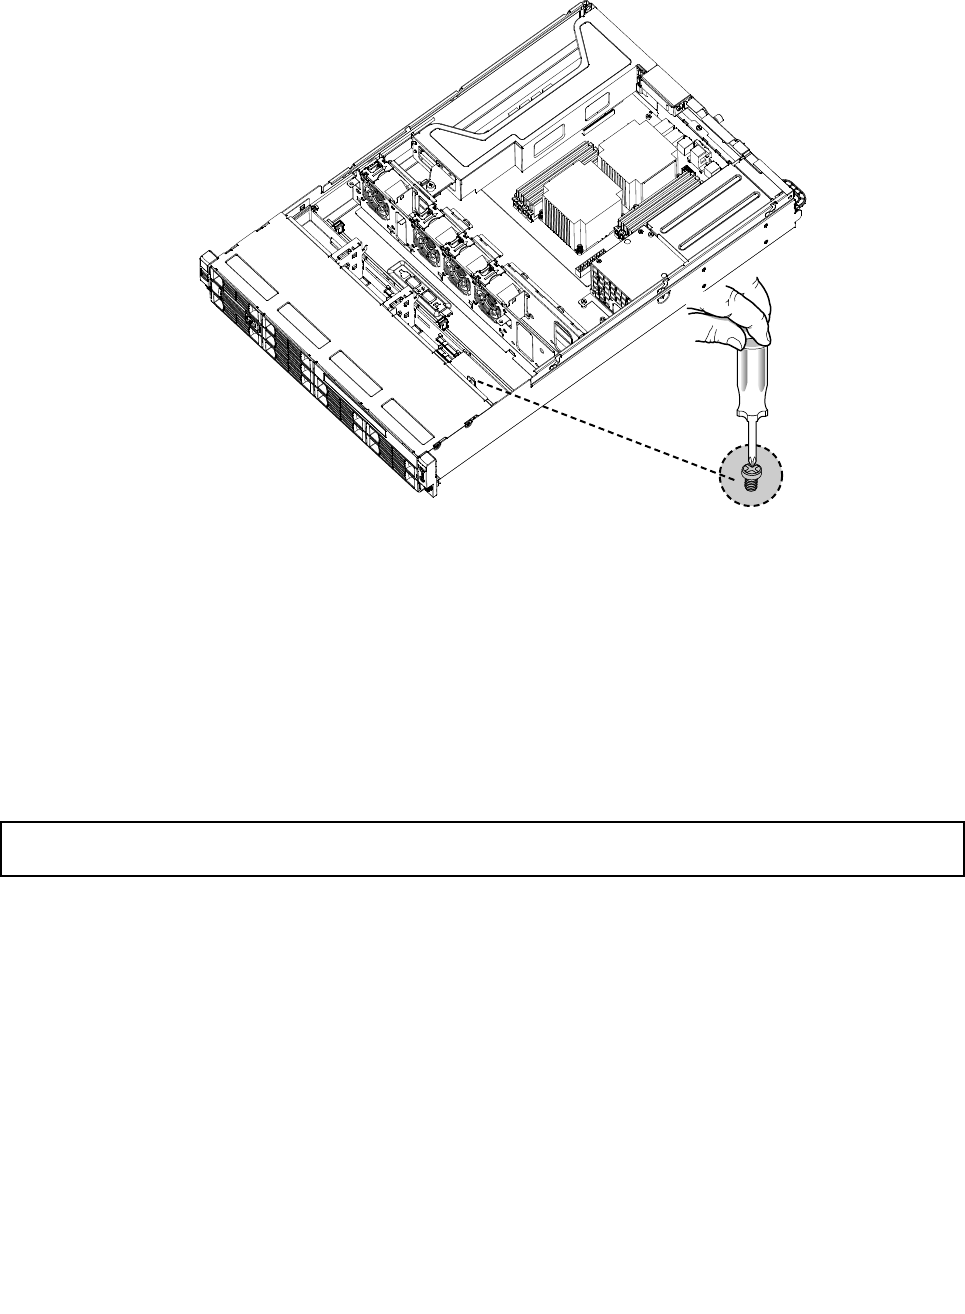
13. Install the retaining screw to the rear of the cage to secure the optical drive cage in place.
Figure23. Installing the optical drive cage retaining screw
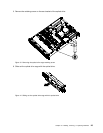
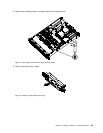
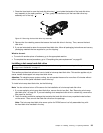
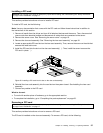
14. Connect the power cable (P8) and the signal cable (SATA cable) to the rear of the optical drive.
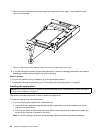
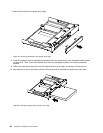
15. Reinstall the drive access panel and secure it in place by the four screws (one on each side and two
on the top of the optical drive) that you have removed in step 4.
What to do next:
• To work with another piece of hardware, go to the appropriate section.
• To complete the installation, go to “Completing the parts replacement” on page 65
.
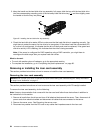
Removing a hot-swap hard disk drive
Attention: Do not open your server or attempt any repair before reading and understanding the “Safety information”
on page iii
and “Guidelines” on page 17.
This section provides instructions on how to remove a hot-swap hard disk drive. This section applies only to
server models that have hot-swap hard disk drives installed.
Attention: To maintain proper system cooling, do not operate the server for more than 10 minutes without
either a drive or a ller panel installed in each drive bay.
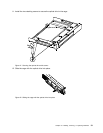
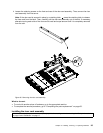
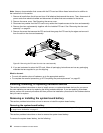
To remove a hot-swap hard disk drive, do the following:
Note: You do not have to turn off the server when removing a hot-swap hard disk drive.
32 ThinkServer Installation and User Guide