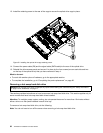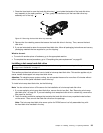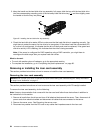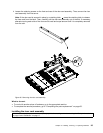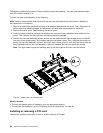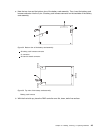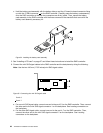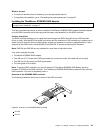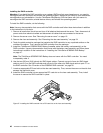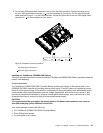
To install the system board battery, do the following:
Note: Follow any special handling and installation instructions that come with the replacement battery.
1. Hold the system board battery 1 and position one side of the battery into its socket. Then, press the
other side of the battery until it snaps into place.
Figure31. Installing the system board battery
2. Make sure that the battery clip holds the battery securely.
What to do next:
• To work with another piece of hardware, go to the appropriate section.
• To complete the installation, go to “Completing the parts replacement” on page 65. You need to use the
Setup Utility program and reset the conguration, such as the system date and time and passwords. See
“Starting the Setup Utility program” on page 70 for details.
Removing or installing the RAID controller
This section provides instructions on how to remove or install the RAID controller.
Removing the RAID controller
Attention: Do not open your server or attempt any repair before reading and understanding the “Safety information”
on page iii and “Guidelines” on page 17.
This section provides instructions on how to remove the RAID controller if your server has one installed.
Notes:
1. Use any documentation that comes with the RAID controller and follow those instructions in addition to
the instructions in this section.
2. When you disconnect the power source from the server, you lose the ability to view the LEDs because
the LEDs are not lit when the power source is removed. Before you disconnect the power source, make
a note of which LEDs are lit, including the LEDs that are lit on the front control panel.
The RAID controller is installed on the riser card assembly. To remove the RAID controller, do the following:
1. Remove all media from the drives and turn off all attached devices and the server. Then, disconnect all
power cords from electrical outlets and disconnect all cables that are connected to the server.
2. Remove the server cover. See “Removing the server cover” on page 19.
3. Press the tabs on both sides of the connector on the signal cables towards each other and remove
the cables from the RAID controller.
4. Disconnect any other cables from the RAID controller or any cables that impede access to the riser
card assembly.
5. Remove the riser card assembly together with the installed RAID controller. See “Removing the riser
card assembly” on page 34.
40 ThinkServer Installation and User Guide


