


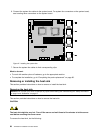
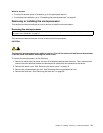


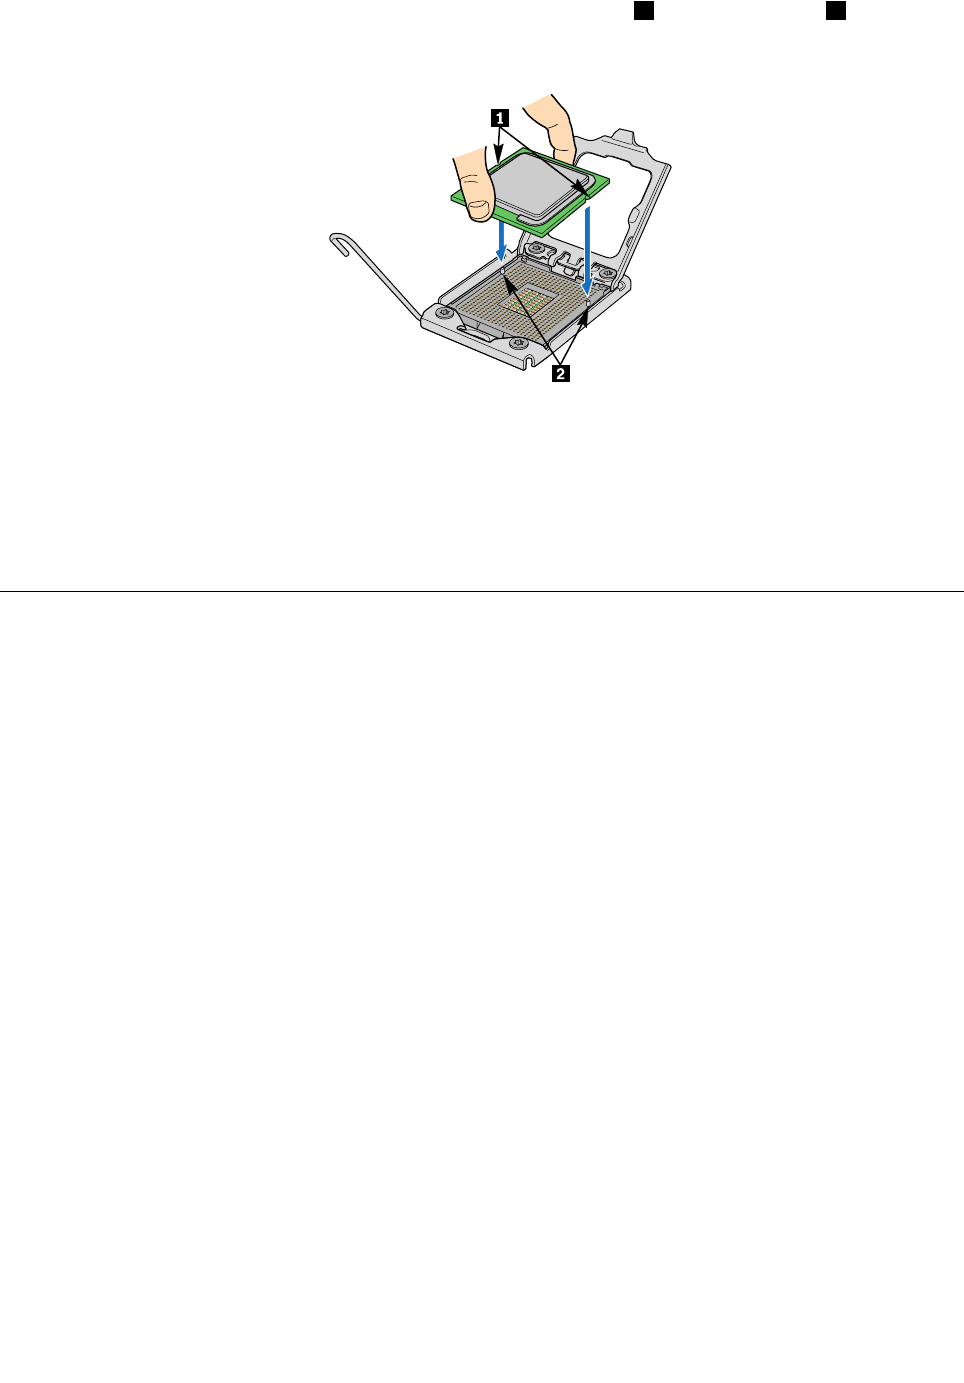
9. Hold the new microprocessor by the edges and align the notches 1 on it with the tabs 2 in the
microprocessor socket. Then, install the microprocessor into the socket.
Figure55. Installing the microprocessor
What to do next:
• To work with another piece of hardware, go to the appropriate section.
• To complete the installation, go to “Completing the parts replacement” on page 65.
Completing the parts replacement
This section provides instructions to help you complete the parts replacement and turn on your server.
To complete the parts replacement, you must reinstall the server cover, reconnect all the cables and, for
some devices, run the Setup Utility program to do further setup.
Installing the server cover
This section provides instructions on how to install the server cover.
Attention: For proper cooling and airow, install the server cover before turning on the server. Operating
the server for extended periods of time (more than 30 minutes) with the cover removed might damage
server components.
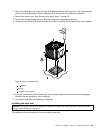
To install the server cover, do the following:
1. Make sure that all cables, add-on cards, and other components are installed and seated correctly and
that you have not left loose tools or parts inside the server. Also, make sure that all internal cables are
correctly routed.
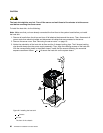
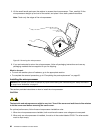
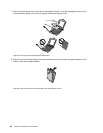
2. Position the server cover on the chassis so that the rail guides on the bottom of the server cover engage
the rails. Then, slide the server cover to the front of the server until it snaps into position and is closed.
Then, tighten the thumbscrew to secure the server cover.
Note: Although the server cover is secured by a thumbscrew, for safety consideration, be sure to use a
tool, for example a screw driver, to tighten the thumbscrew and always make sure that the thumbscrew
is securely installed. Also, do not over-tighten the thumbscrew.
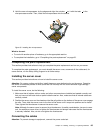
Connecting the cables
Attention: To prevent damage to equipment, connect the power cords last.
Chapter 5. Installing, removing, or replacing hardware 65