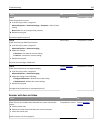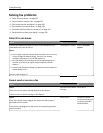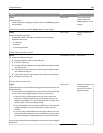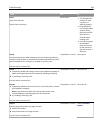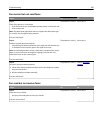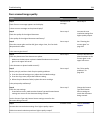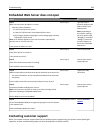
Poor scanned image quality
Action Yes No
Step 1
Check if an error message appears on the display.
Is there an error message on the printer display?
Clear the error
message.
Go to step 2.
Step 2
Check the quality of the original document.
Is the quality of the original document satisfactory?
Go to step 3. Increase the scan
resolution settings for a
higher‑quality output.
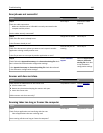
Step 3
Clean the scanner glass and the ADF glass using a clean, lint‑free cloth
dampened with water.
Is the scanner glass clean?
Go to step 4. See “Cleaning the
scanner glass” on
page 239.
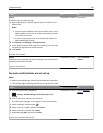
Step 4
Check the placement of the document or photo.
Make sure the document or photo is loaded facedown on the scanner
glass in the upper left corner.
Is the document or photo loaded correctly?
Go to step 5. Place the document or
photo facedown on the
scanner glass in the
upper left corner.
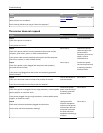
Step 5
Send a print job, and then check for print quality problems.
• From the General Settings menu, adjust the Eco‑Mode settings.
• From the Copy menu, adjust the Darkness setting.
• When the print becomes faded, replace the toner cartridge.
Is the print quality satisfactory?
Go to step 6. See “Print quality
problems” on
page 304.
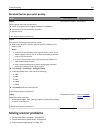
Step 6
Check the scan settings.
From the Scan screen, make sure the Content Type and Content Source
settings are correct for the document being scanned.
Are the Content Type and Content Source settings correct for the
document being scanned?
Go to step 7. Change the Content
Type and Content
Source settings to
match the document
being scanned.
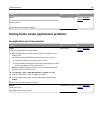
Step 7
Increase the scan resolution settings for a higher‑quality output.
Did the increased resolution produce a higher‑quality output?
Problem solved. Contact
customer
support.
Troubleshooting 334


