


18
Chapter 6: Connecting the Wireless-G Ethernet Bridge for Network Use
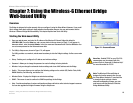
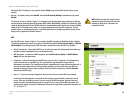
Connection to a Network Device
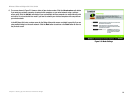
Wireless-G Ethernet Bridge with 5-Port Switch
Chapter 6: Connecting the Wireless-G Ethernet Bridge
for Network Use
Connection to a Network Device
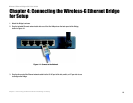
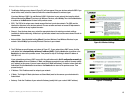
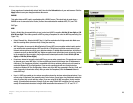
1. After configuration, unplug the power cable from the electrical outlet, and unplug the Ethernet network cable
from the PC.
2. Plug the Ethernet network cable into the RJ-45 port on the Ethernet-ready network device you wish to add to
the wireless network. You can connect up to five devices.
3. Plug the power cable into a local electrical outlet.
The installation of the Wireless-G Ethernet Bridge is complete.
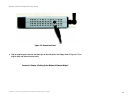
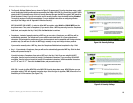
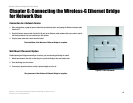
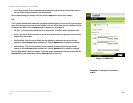
Wall Mount Placement Option
Besides placing the Bridge horizontally on a surface, you can also hang the Bridge on a wall.
1. Attach two screws to the wall, so that they line up with the Bridge’s two wall-mount slots.
2. Place the Bridge over the screws.
3. If necessary, adjust the antenna so that it points straight up in the air.
The placement of the Wireless-G Ethernet Bridge is complete.
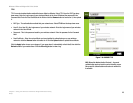
Figure 6-1: Wall Placement