19
Chapter 7: Using the Wireless-G Ethernet Bridge Web-based Utility
Overview
Wireless-G Ethernet Bridge with 5-Port Switch
Chapter 7: Using the Wireless-G Ethernet Bridge
Web-based Utility
Overview
The Bridge is designed to function properly after you configure it using the Setup Wizard. However, if you would
like to change these basic settings or make advanced configuration changes, use your web browser and the
Wireless-G Ethernet Bridge Web-based Utility. This chapter explains how to use the Utility.
Starting the Web-based Utility
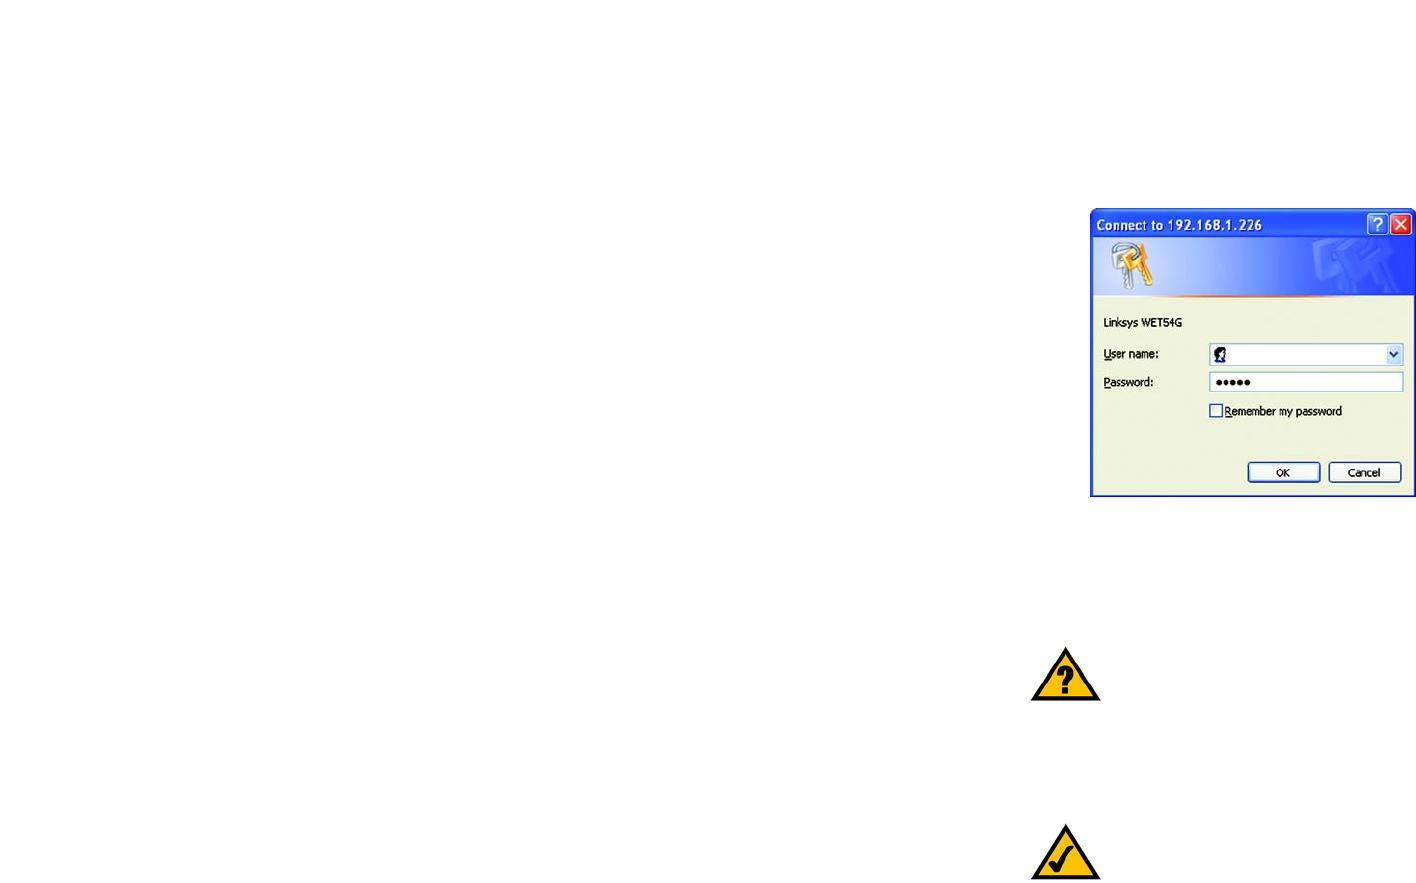
1. Open your web browser, and enter the IP address of the Wireless-G Ethernet Bridge (the default is
192.168.1.226). Press the Enter key, and a screen similar to the one shown in Figure 7-1 will appear. In
lowercase letters, enter the default, admin, in the User name and Password fields. Click the OK button. You
can set a new password on the Password screen later.
2. The Utility’s Setup screen, shown in Figure 7-2, will appear.
The Utility provides a convenient, web-browser-based way to alter the Bridge’s settings. It offers seven main
tabs:
• Setup - Enables you to configure the IP address and wireless settings.
• Password - Allows you to change the password or reset all settings to factory defaults.
• Wireless- Lets you change the advanced wireless settings and clone a MAC address onto the Bridge.
• Switch - This screen allows you to configure the following settings on the switch: QOS, Switch Table, VLAN,
RMON Statistics, Port Mirroring, and Access List.
• Wireless Status - Displays the Bridge’s current wireless settings.
• SNMP - This screen is used to confiure the SNMP trap settings for the Bridge.
• Help - Provides explanations of various configuration settings and links to online technical support resources.
You can also upgrade the Bridge’s firmware using the Help screen.
Have You: Enabled TCP/IP on your PCs? PCs
communicate over the network with this
protocol. Refer to “Appendix D: Windows Help”
for more information on TCP/IP.
Note: The Wireless-G Ethernet Bridge is
designed to function properly after you use
the Setup Wizard. However, if you would like
to change its basic settings or make
advanced configuration changes, use your
web browser and the Wireless-G Ethernet
Bridge Web-based Utility.
Figure 7-1: Password Screen


