


Upgrading
APRICOT 340 OWNER’S HANDBOOK 7/13
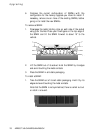
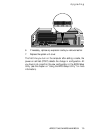
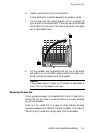
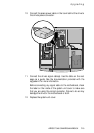
6. Carefully remove the clip from the heat sink.
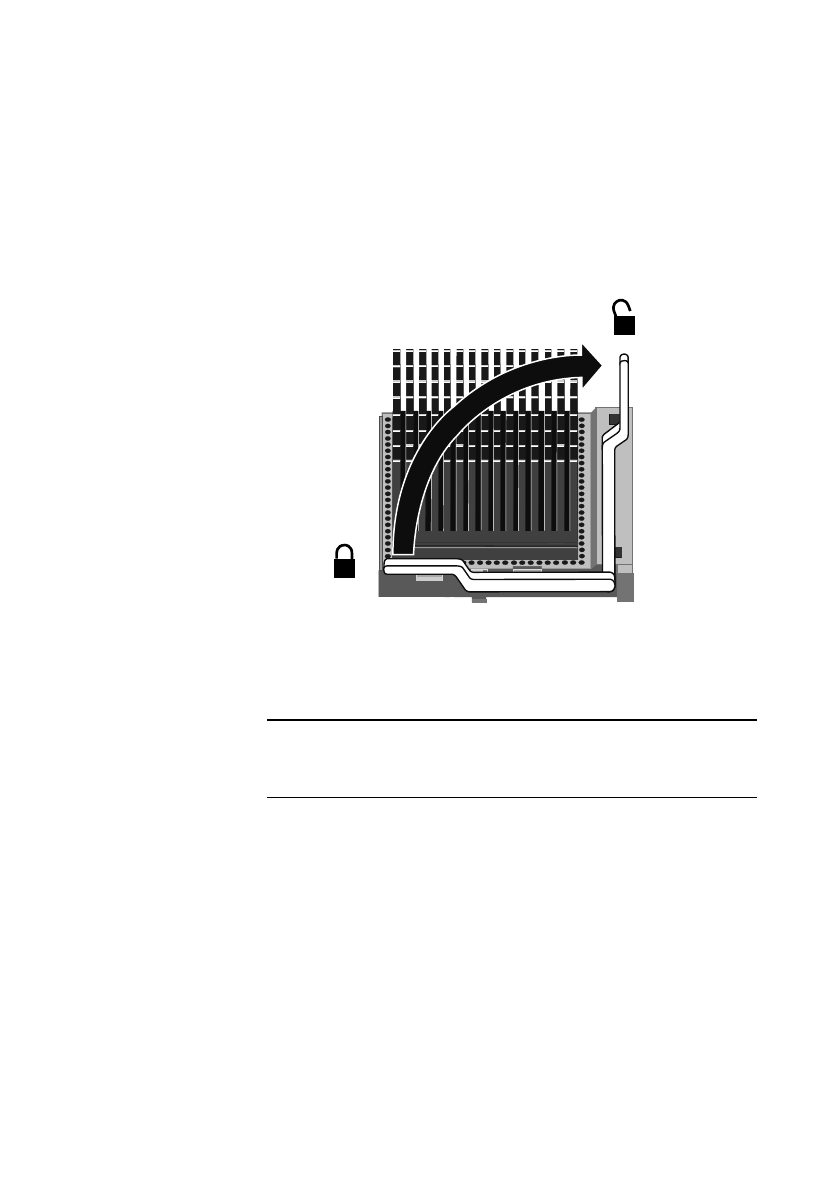
A lever attached to the socket secures the processor in place.
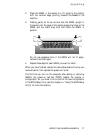
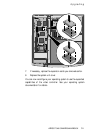
7. Lift the lever from the locked position until it is upright (at
right-angles to the motherboard). There may be a little stiffness
at the beginning and end of the lever’s movement; be careful
not to use excessive force.
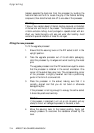
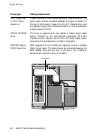
8. Lift the processor and its attached heat sink out of the socket
and place it on an anti-static surface outside the system unit.
Avoid touching the metal pins of the processor.
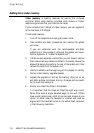
Caution
If the processor does not lift easily out of the socket, do not attempt to
force it. Wait for the processor to cool down.
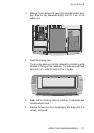
Removing the heat sink
If your upgrade processor is not supplied with a built-in heat sink or
cooling fan, you will have to re-use the heat sink currently attached
to your old processor.
There is a thin metal foil in a layer of sticky thermal bonding
compound between the heat sink and the processor. This makes it
difficult to pull the heat sink directly away from the processor.