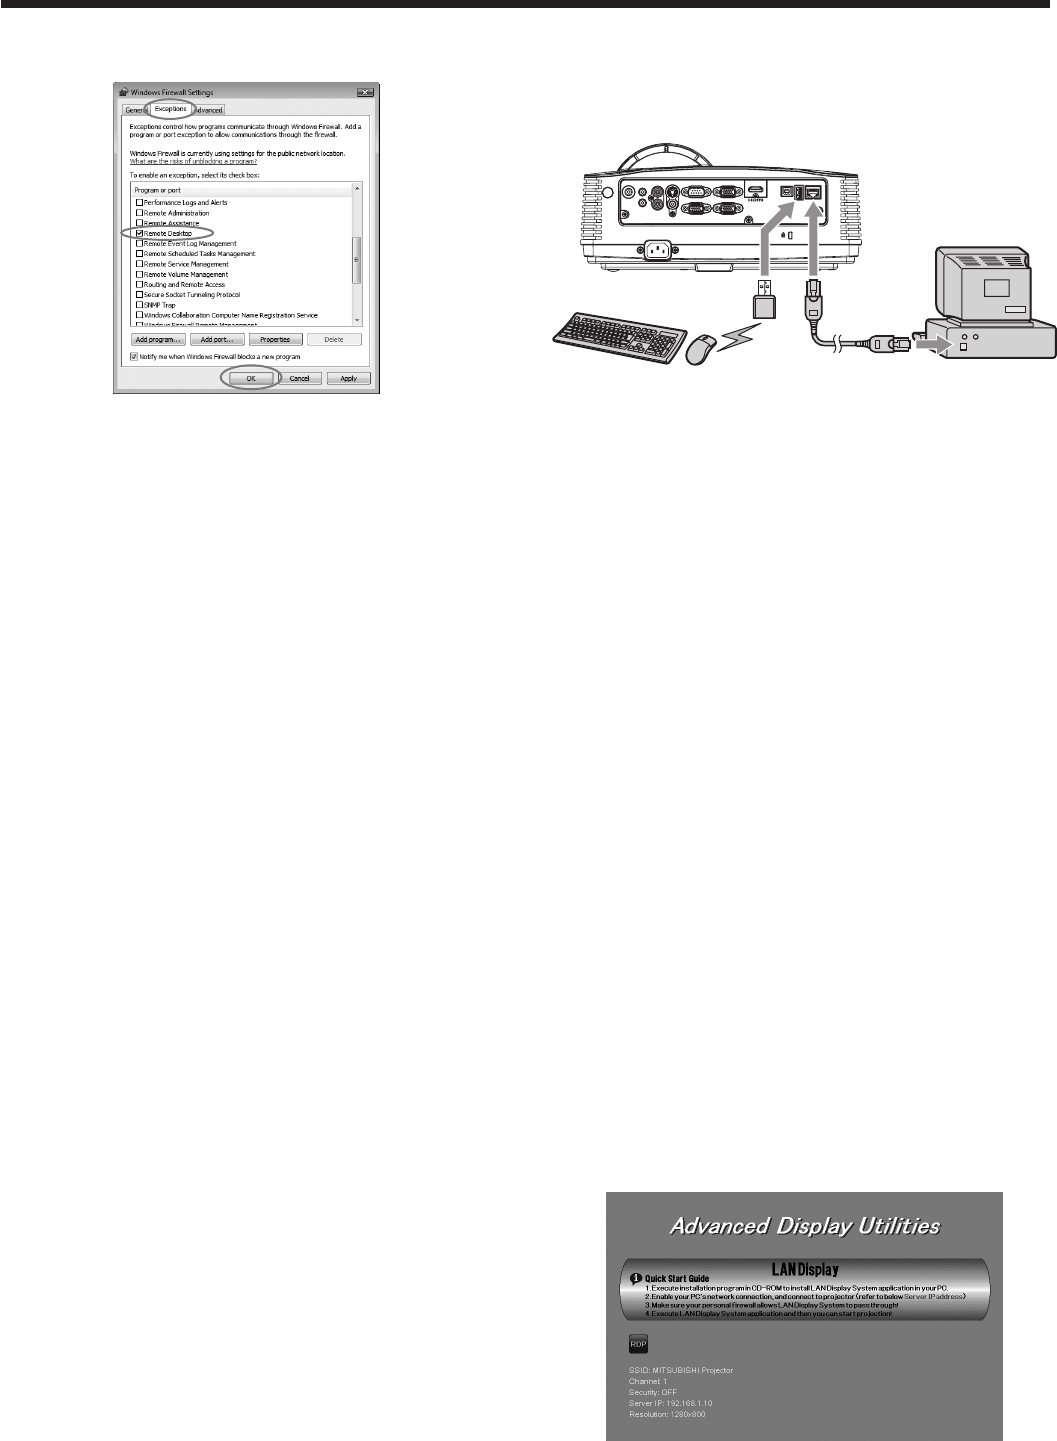
3. Click the [Exceptions] tab, check the [Remote
Desktop] checkbox and click [OK].
In Windows XP
1. Select [Start]-[Control Panel].
2. Click [Network and Internet Connections].
• WhenusingClassicView,double-clickthe
Windows Firewall icon and go to step 4.
3. Select [Windows Firewall].
• The“WindowsFirewall”windowisdisplayed.
4. Click the [Exceptions] tab, check the [Remote
Desktop] checkbox and click [OK].
Installation of software
Installing Thin Client
Before starting installation, be sure to read “ReadMe.
txt” contained in the CD-ROM.
1. Copy “ThinClient.exe” contained in the TOOLS
folder of CD-ROM to the hard disk of your
computer.
2. Double-click “ThinClient.exe” on the hard disk, and
start up the installer of the Thin Client.
• Followtheon-screeninstructionstoinstallthe
software.
• Whenthe“WindowsSecurityAlert”window
is displayed during installation, proceed as
follows:
- In Windows XP or Windows Vista, click
[Unblock].
- In Windows 7, click [Allow access].
3. When the installation has been completed, restart
the computer.
When deleting ThinClient (Uninstallation)
1. Select [Start]-[All Programs]-[Thin Client]-[Uninstall
Thin Client].
• Followtheon-screeninstructionstouninstallthe
software.
Connection
Connect the projector and the computer using a
commercially available LAN cable. Connect a USB
mouse and USB keyboard to the USB-A terminal on
the projector.
AUDIO OUT
AUDIO IN-3R
VIDEO
MONITOR OUT
IN-2
USB-B
USB-ALAN
IN-1
COMPUTER / COMPONENT VIDEO
SERIAL
S-VIDEO
AUDIO IN-3L
AUDIO
IN-2
AUDIO
IN-1
Wireless keyboard
and mouse
LAN cable
(option)
Computer
To LAN
terminal
To USB-A
terminal
Important:
• OnThinClient,usebothakeyboardandmouse.
We recommend a commercially available wireless
keyboard and wireless mouse intended for a
computer with wireless receiver.
• WiredLANconnectionisrecommendedfor
communication with the computer.
• ForwiredLANconnection,useacategory-5LAN
cable. Both straight-through and crossover cables
can be used.
• The USB-A terminal on this projector is compatible
with USB 2.0.
• SupportedUSBdevicesarestandardUSBHID
devices with power consumption less than
5V/500mA or wireless LAN modules.
• WhenusingaUSBhub,youarerecommendedto
use the one with external power supply.
• SomeUSBhubscannotbeuseddependingonthe
specifications.
Operation
Selecting a LAN Display input
1. Press the LAN DISP. button on the remote control
or the COMPUTER button on the projector.
• Eachtimeyoupressthe COMPUTER
button, the input source is switched between
Computer1, Computer2, HDMI, LAN Display,
USB Display and PC Less Presentation.
• WhentheLANDisplayinputisselected,the
splash screen for LAN Display appears on the
screen.
Advanced display utilities (continued)


