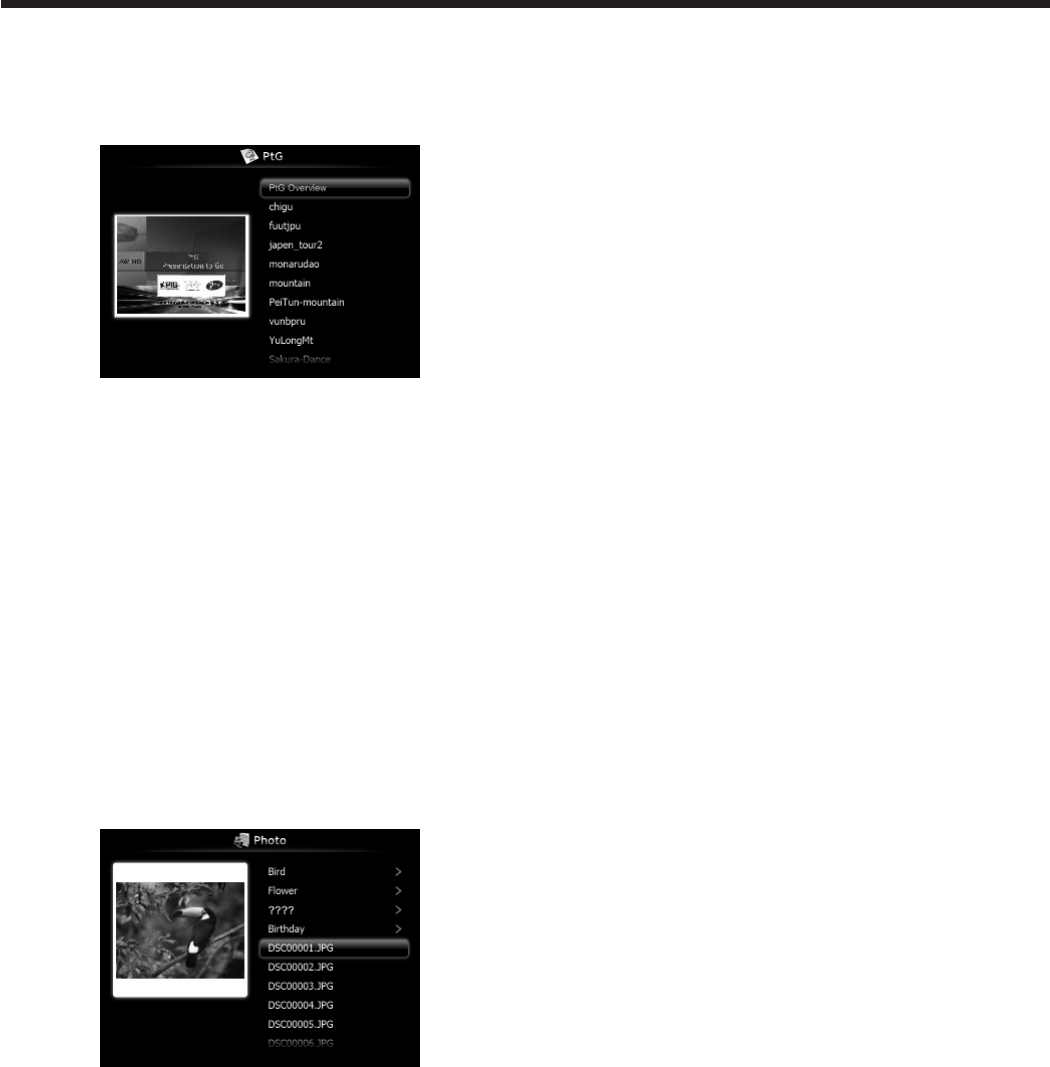
Displaying PtG file
5. Press the or button on the remote control to
select Presentation to Go and press the ENTER
button.
• The file selection screen appears.
6. Press the or button to select a file or folder
you want to display and press the ENTER button.
• Ifyouselectafolder,theunderlyinglenames
are displayed. Then, select a file.
• Animageonpage1isdisplayedonthescreen.
7. Change the page by pressing the , or
button.
• button: to previous page
• button: to next page
• button: to next pause
8. Press the button to quit the display.
• Thescreengoesbacktotheleselection
screen.
Displaying JPEG file
5. Press the or button on the remote control to
select Photo Viewer and press the ENTER button.
• The file selection screen appears.
6. Press the or button to select a file or folder
you want to display and press the ENTER button.
• Ifyouselectafolder,theunderlyinglenames
are displayed. Then, select a file.
• Theimageoftheselectedleisdisplayedon
the screen.
7. Change the file by pressing the , or button.
• button: to previous file
• button: to next file
• button: to next file
8. Press the button to quit the display.
• Thescreengoesbacktotheleselection
screen.
Displaying with AutoRun function
5. Create an “AUTORUN” folder in the root directory
of the USB device using a computer or other.
6. Save a PtG file or JPEG files in the AUTORUN
folder.
Important:
• The AutoRun function supports single PtG file
only. The PtG file located on the top by sorting
is played if multiple PtG files exists in AUTORUN
folder.
7. Connect the USB device to the USB-A terminal.
• ThelesspeciedbytheAutoRunsetting(PtG
or Photo) are played back automatically.
8. Press the ENTER button to start or pause the
playback.
9. Press the , or button to change the file to be
played back.
• button: to previous page/previous file
• button: to next page/next file
• button: to next pause/next file
10. Press the button to quit the AutoRun display.
• Thescreengoesbacktotheleselection
screen.
Displaying with slideshow function
5. Press the or button on the remote control
to select Presentation to Go or Photo Viewer and
press the ENTER button.
• The file selection screen appears.
6. Press the or button to select a file or folder
you want to display and press the ENTER button.
• Ifyouselectafolder,theunderlyinglenames
are displayed. Then, select a file.
• WhenaPtGleisselected,theleisdisplayed
with the slideshow.
• WhenaJPEGleisselected,allthelesin
the same folder as the JPEG file exists are
displayed with the slideshow.
7. Press the ENTER button to start or pause the
playback.
8. Press the , or button to change the file to be
played back.
• button: to previous page/previous file
• button: to next page/next file
• button: to next pause/next file
9. Press the button to quit the slideshow.
• Thescreengoesbacktotheleselection
screen.
Ending the PC Less Presentation
Unplug the USB device from the projector. Before
unplugging, be sure to press the UNPLUG button on
the remote control and select [Yes] on the screen by
pressing the or button and then ENTER button.
Advanced display utilities (continued)
