9-12 User’s Reference Guide
connection. Use the same format restrictions noted above.
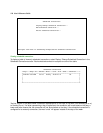
You are finished configuring the once-only options. Return to the Add Scheduled Connection screen to continue.
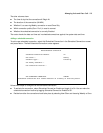
■ In the Add Scheduled Connection screen, select Use Connection Profile and choose from the list of
connection profiles you have already created. A scheduled connection must be associated with a
connection profile to be useful. The connection profile becomes active during the times specified in the
associated scheduled connection, if any exists.
■ Select ADD SCHEDULED CONNECTION to save the current scheduled connection. Select CANCEL to exit
the Add Scheduled Connection screen without saving the new scheduled connection.
Modifying a scheduled connection
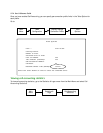
To modify a scheduled connection, select Change Scheduled Connection in the Scheduled Connections screen
to display a table of scheduled connections.
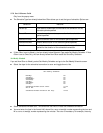
Select a scheduled connection from the table and go to the Change Scheduled Connection screen. The
parameters in this screen are the same as the ones in the Add Scheduled Connection screen (except that ADD
SCHEDULED CONNECTION and CANCEL do not appear). To find out how to set them, see “Adding a scheduled
connection” on page 9-9.
Deleting a scheduled connection
To delete a scheduled connection, select Delete Scheduled Connection in the Scheduled Connections screen
to display a table of scheduled connections.
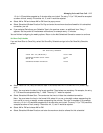
Select a scheduled connection from the table and press the Return key to delete it. To exit the table without
deleting the selected scheduled connection, press the Escape key.
Cost control feature -- call accounting
The Netopia R2121 offers system-wide and per connection profile call accounting to track first minutes and
additional minutes, for initiated data and voice calls.
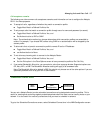
To go to the Call Accounting screen, select Call Accounting Configuration in the WAN Configuration screen.
Main
Menu
WAN
Configuration
Call Accounting
Configuration


