


22
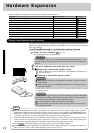
Hardware Expansion
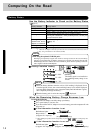
Devices capable of being used by your computer are listed in the table below.
PC Card Slots page 23
Serial Port page 43
Multimedia Pocket below
Multimedia Pocket below
RAM Module Slot page 24
Ext. Display Port page 25
Parallel Port page 26
Expansion Bus Connector page 26
Ext. Keyboard/Mouse Port page 42
Headphone Jack page 42
Device(s)
PC Cards (Modem, LAN, SCSI, etc.)
Serial Devices (Mouse, Modem, etc.)
CD-ROM drive (CF-VCD252)
Second Battery Pack (CF-VZS252)
Extra Memory
External Display
Printer
Port Replicator (CF-VEB251)
Keyboard, External Mouse [Type PS/2], etc.
Speaker/Headphone
Reference
Where to connect
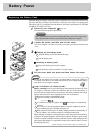
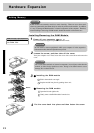
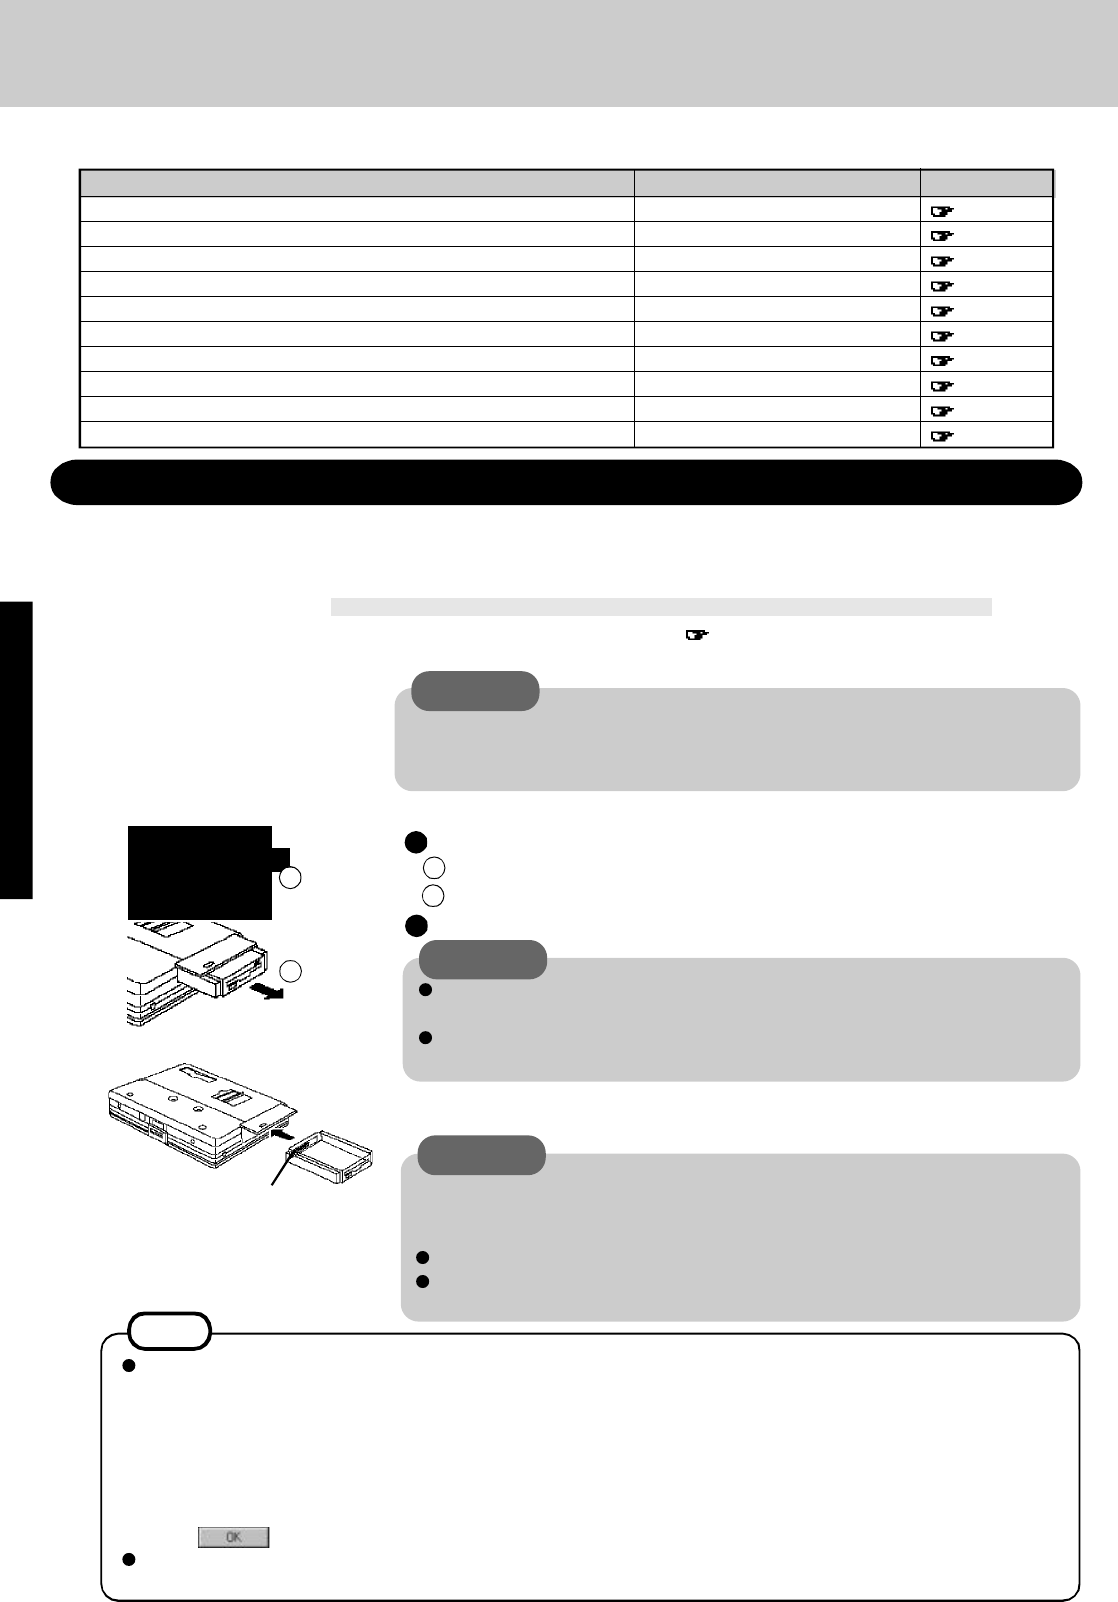
The multimedia pocket houses the floppy disk drive (FDD) that comes with this computer. The
FDD can be replaced with an optional unit.[CD-ROM Pack (CF-VCD252), Second Battery
Pack (CF-VZS252)].
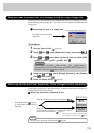
Using a multimedia pocket device
2
Removing a multimedia pocket device
1
Inserting a multimedia pocket device
CAUTION
In the suspend mode, do not remove/change the multimedia pocket device. Re-
moving the device in the suspend mode will erase your data and may damage the
device.
Push the unit in until it snaps into place. Confirm that the MP release has returned to
its original position.
Slide the MP release toward the MP device. The MP device should slide out.
Power off your computer ( page 10)
Do not shut down using the suspend mode.
3
2
Pull out the device.
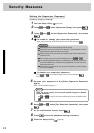
Installing/Removing a multimedia pocket device
Turn your computer over and open the cover
2
1
connector
CAUTION
Make sure that the position of the peripheral connector is located as shown in
the illustration.
Gently install / remove any multimedia pocket device. Do not use excessive
force when installing.
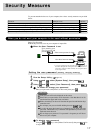
CAUTION
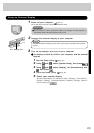
You may use the floppy disk drive as an external unit that is connected through the
parallel port, by using an optional FDD cable (CF-VCF351). Some precautions
are necessary, as described below, since problems may arise.
Do not move the drive while accessing data on the floppy.
Firmly hold both sides of the drive when removing a disk. Excessive force on
top should be avoided.
1
The "Software Preparation (first time only) Windows 95 model" described in the Operating Instructions of the CD-
ROM Pack has been changed. The following settings are necessary in order to prepare the CD-ROM Pack for use:
1 Select [Start] - [Settings] - [Control Panel] - [System] - [Device Manager] - [CD-ROM] - [MATSHITAUJDCD8715]
- [Settings]. Set [Start drive letter] and [End drive letter] of [Reserved drive letter] to [L].
2 Clear the check mark from [Auto insert notification] under [Options]. If this setting is omitted and power saving
mode is turned on (using the Setup Utility), the power saving mode is still disabled. Also, charging takes place
intermittently, even during charging, so the battery indicator periodically lights and goes dark.
3 Select . Follow the instructions that appear on the screen to restart the computer..
Even after installing the CD-ROM Pack or Second Battery Pack, "Removable Disk (A:)" is displayed in "My Com-
puter", but access is not possible. When the display appears, select [Cancel].
NOTE