1. Introduction and Installation
12
For assistance, please visit http://www.panasonic.com/help
1.7 Output tray
Note:
L Do not place the unit in an area where the output tray
may be easily bumped into.
As the default setting, printed paper is stacked on the
output tray as follows.
– Upper output tray (“#1”): Printed document by using
the computer and copied document.
– Lower output tray (“#2”): Received fax document.
L You can change the output tray setting for faxing
(feature #441 on page 56) and for copying (feature
#466 on page 57).
To change the output tray from the computer, set the
printer properties. See page 25 for details.
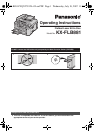
1 Insert the output tray (1) into the slots (2), then
push the tray down until it locks into place.
2 Pull the output tray extender (1) forward gently until
it clicks into place, then press the center part of the
extender (2) to open.
L Repeat from step 1 to install the upper output
tray.
Note:
L The upper output tray can hold up to approximately
100 sheets of printed paper. The lower output tray
can hold up to approximately 50 sheets of printed
paper.
Remove the printed paper before the output tray
becomes full.
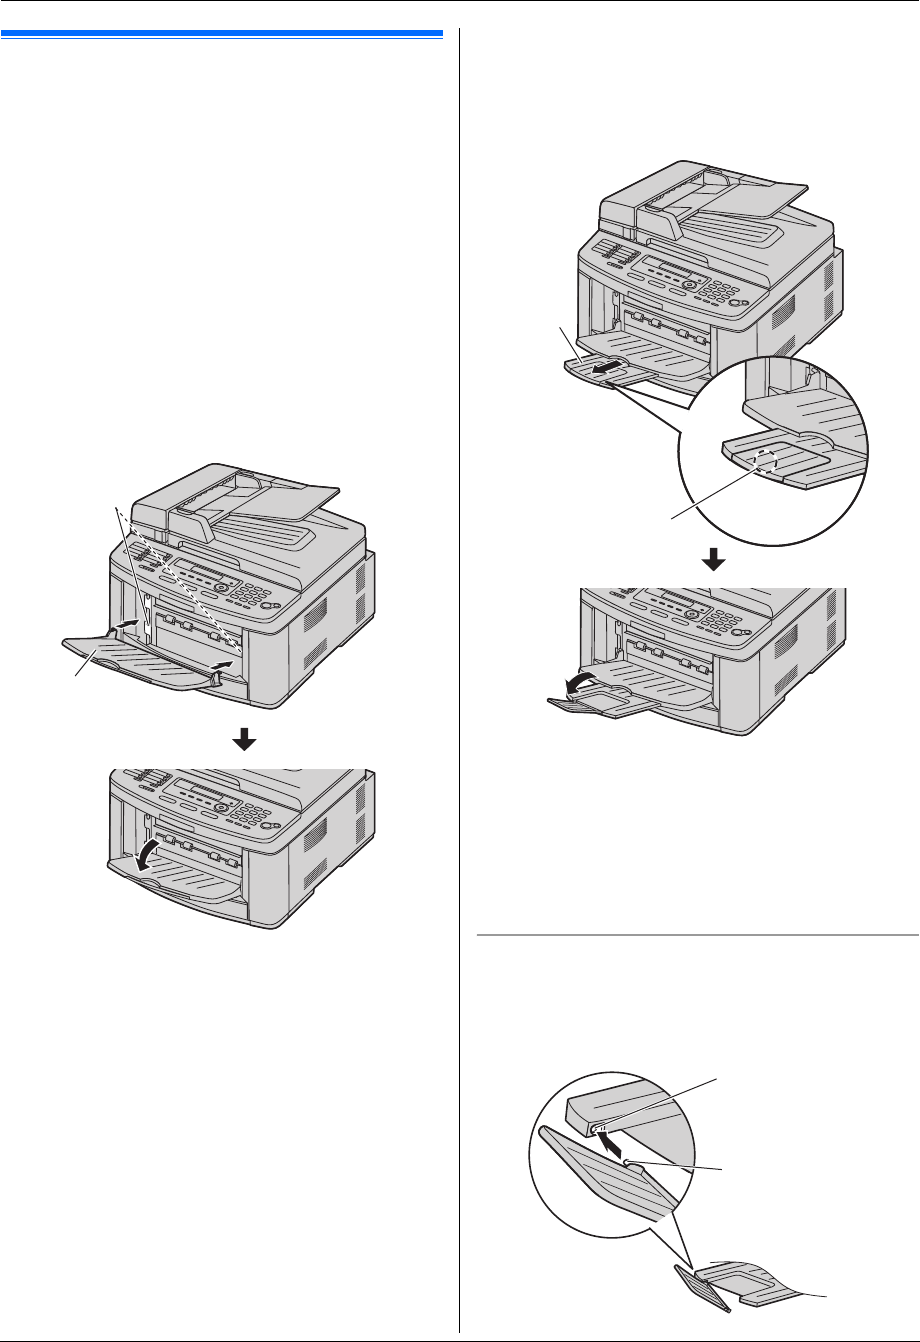
If the top part of the extender is detached
1. With the top part of the extender in the open position,
insert the tab (1) into the left hole (2) of the
extender.
1
2
1
2
1
2
FLB881-PFQX2732ZA-OI-en.book Page 12 Wednesday, July 18, 2007 11:22 PM