


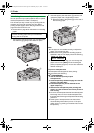
4. Scanner
29
4 ScannerScanner
4.1 Scanning from the unit (Push
Scan)
You can easily scan the document by operating the
operation panel on the unit. Select following scanning
modes depending on the way to use the scanned image.
– Viewing using Multi-Function Viewer (Viewer)
– Saving as a file to your computer (File)
– Sending as an attached file to e-mail destination (E-
Mail)
– Using OCR software (OCR)
Note:
L You can set the desired scan mode for push scan
beforehand (feature #493 on page 60).
L The scanned image will be automatically saved in the
folder selected by [Settings] window.
L When scanning a document, we recommend using
the scanner glass rather than the auto document
feeder for better results.
L Do not open the document cover when scanning a
document with the auto document feeder.
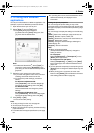
4.1.1 Scan to Multi-Function Viewer
1
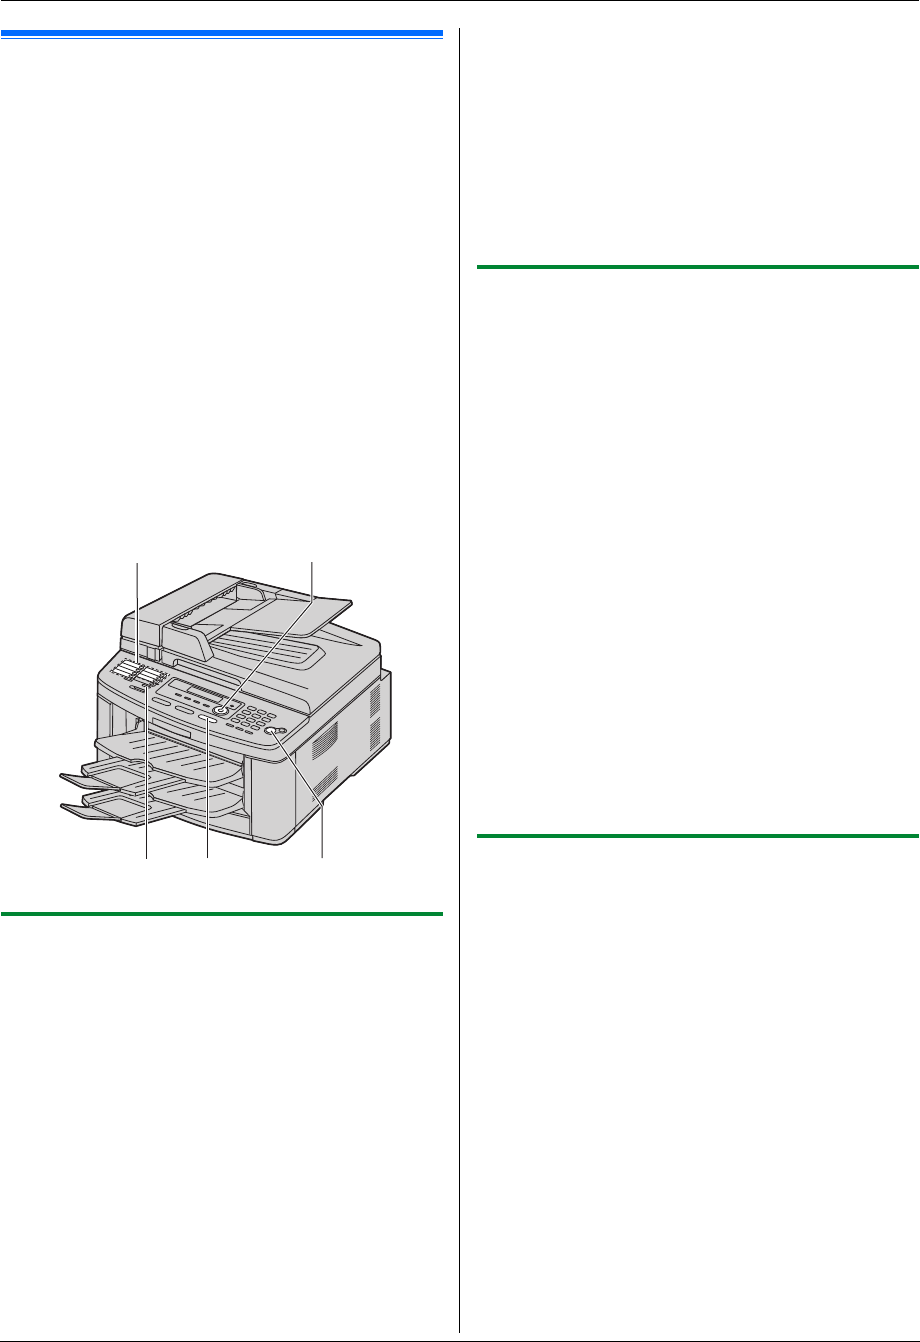
Set the original (page 17).
2 {SCAN}
3 Press {V} or {^} repeatedly to select “VIEWER”. i
{SET}
4 For USB connection:
Press {V} or {^} repeatedly to select “USB HOST”.
i {SET}
For LAN connection:
Press {V} or {^} repeatedly to select the computer
that you want to send the scanned image. i {SET}
5 If necessary, change the scanning settings (scan
type / resolution / file format / brightness / contrast /
scan size). Press {>}, press {V} or {^} repeatedly to
select the desired setting. i {SET} i {START}
L The scanned image will be displayed in the
[Multi-Function Viewer] window after
scanning. However, when you select PDF as a
file format, the software that is associated to
open PDF file will start.
Note:
L To stop scanning, see page 65.
L You can save the images in TIFF, JPEG, BMP or PDF
formats.
L See page 17 for document requirements.
4.1.2 Scan to save as a file
1
Set the original (page 17).
2 {SCAN}
3 Press {V} or {^} repeatedly to select “FILE”. i
{SET}
4 For USB connection:
Press {V} or {^} repeatedly to select “USB HOST”.
i {SET}
For LAN connection:
Press {V} or {^} repeatedly to select the computer
that you want to send the scanned image. i {SET}
5 If necessary, change the scanning settings (scan
type / resolution / file format / brightness / contrast /
scan size). Press {>}, press {V} or {^} repeatedly to
select the desired setting. i {SET} i {START}
L The scanned image will be automatically saved
in the folder selected by [Settings] window. To
change the folder, see page 24.
Note:
L To stop scanning, see page 65.
L You can save the images in TIFF, JPEG, BMP or PDF
formats.
4.1.3 Scan to E-mail
You can send the scanned image as attached file to an
e-mail using e-mail software in your computer.
1 Set the original (page 17).
2 {SCAN}
3 Press {V} or {^} repeatedly to select “E-MAIL”. i
{SET}
4 For USB connection:
Press {V} or {^} repeatedly to select “USB HOST”.
i {SET}
For LAN connection:
Press {V} or {^} repeatedly to select the computer
that you want to send the scanned image. i {SET}
5 If necessary, change the scanning settings (scan
type / resolution / file format / brightness / contrast /
scan size). Press {>}, press {V} or {^} repeatedly to
select the desired setting. i {SET} i {START}
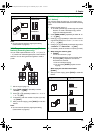
{SCAN}
{LOWER}
{START}
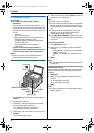
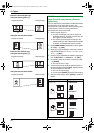
Station keys
{SET}{V}{^}{>}
FLB881-PFQX2732ZA-OI-en.book Page 29 Wednesday, July 18, 2007 11:22 PM