


Maintenance and Repair
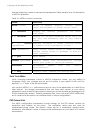
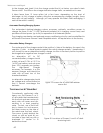
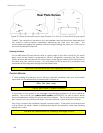
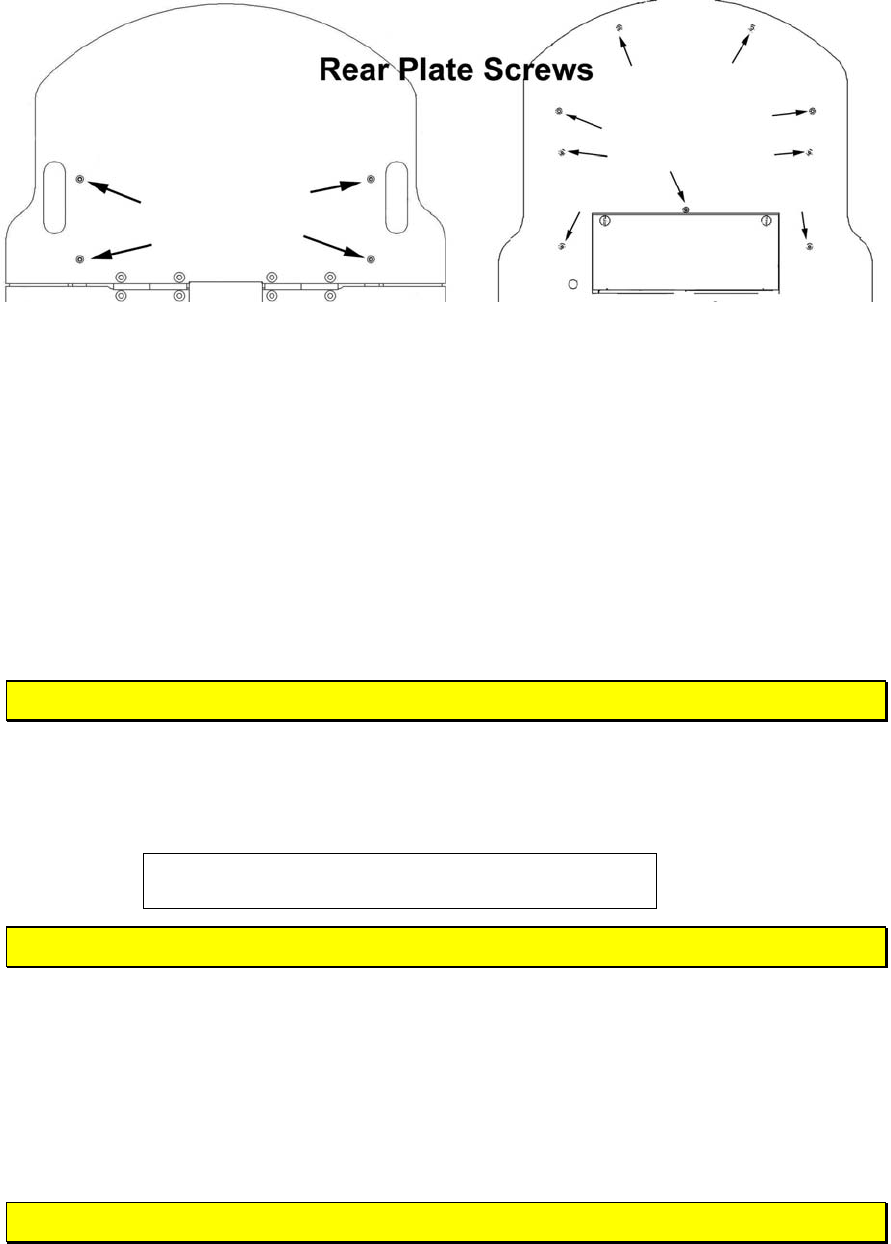
Figure 22. Remove indicated screws from Pioneer 2- or 3-DX or -AT rear deck to open plate.
Careful: The computer’s hard-drive, fan, and speaker have attached wire harnesses that
you need to relieve before completely detaching the nose from the body. We
recommend unplugging the speaker wire and simply rotating the nose out of the way to
access the onboard computer.
Opening the Deck
All the H8S-based Pioneer robots have a center hinge in the deck which let you easily
open and access internal components without completely removing the top plate.
Simply remove the indicated 3mm screws shown in the Figures nearby from the section of
the deck that you want to access. You may need to first remove any accessories that
are bolted to the top plate through the indicated holes.
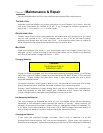
Remove the batteries BEFORE opening the robot.
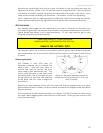
FACTORY REPAIRS
If, after reading this manual, you’re having hardware problems with your ActivMedia
robot and you’re satisfied that it needs repair, contact us:
support@activmedia.com
(603) 881-3818 (fax)
Tell us your robot’s SERIAL NUMBER
In the body of your email or fax message, describe the problem in as much detail as
possible. Also include your robot’s serial number (IMPORTANT!) as well as name, email
and mail addresses, along with phone and fax numbers. Tell us when and how we can
best contact you (we will assume email is the best manner, unless otherwise notified).
We will try to resolve the problem through communication. If the robot must be returned
to the factory for repair, obtain a shipping and repair authorization code and shipping
details from us first.
We are not responsible for shipping damage or loss.
64