


Vess A2600 Quick Installation Guide
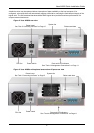
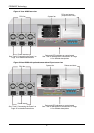
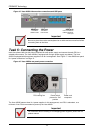
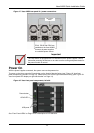
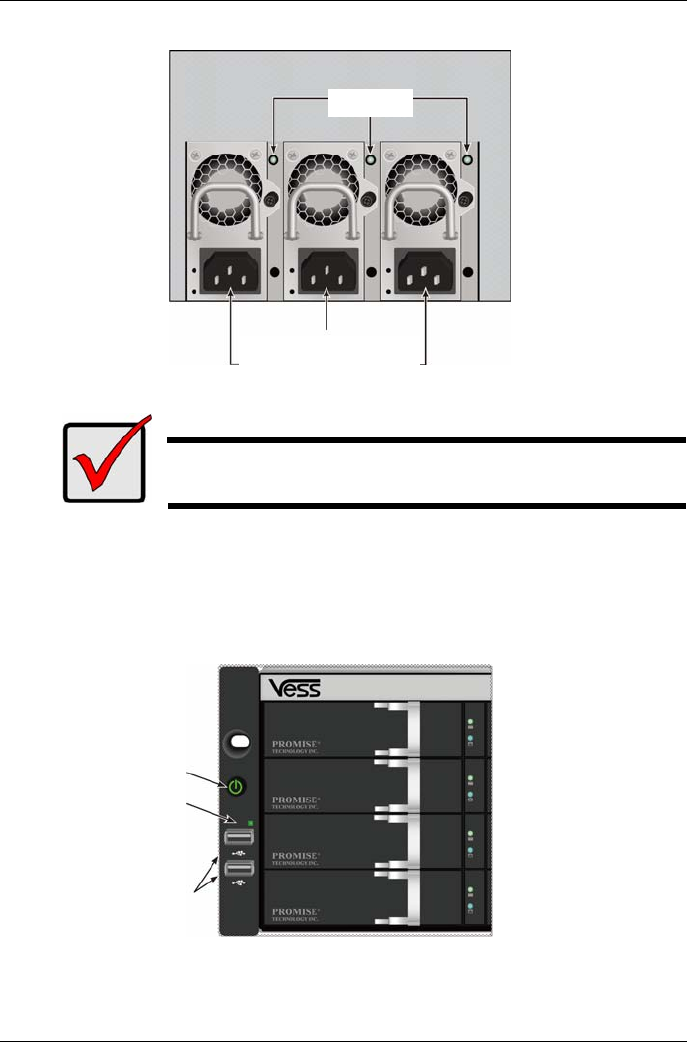
Figure 17: Vess A2600 rear panel N+1 power connections
PSU status
LEDs
PSU1, PSU2 and PSU3 are
installed on the Vess A2600.
Connect all power supplies
to a suitable power source.
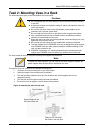
Important
The Vess A2600 is equipped with LED indicators on the power supplies. Check
these after powering the devices on to make sure the cooling and power status for
the power module is normal.
Power On
With the power supplies connected, the system can now be powered on.
To power on the Vess, press the Power button on the front left bracket facing (see “Figure 18: Vess front
panel components, left side” on Page 13). Observe the LEDs on the right front bracket facing (see “Figure 19:
Vess front panel LED display on right side bracket” on Page 14).
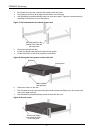
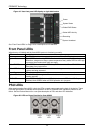
Figure 18: Vess front panel components, left side
Pow
er button
OPAS LED
USB ports
See “Fron
t Panel LEDs” on Page 14 for a description of LED behavior.
13