


Vess A2600 Quick Installation Guide
Task 7: Creating Logical Drives
Once you have logged into the user interface for your Linux or Windows OS, there are two options for
configuration of the Vess. This section describes how to complete the final task for initial setup, to configure
logical drives (LD) using either WebPAM PROe, the html-based management GUI, or use the text-based
command line interface (CLI).For detail about creating LDs with the CLI, please refer to the product manual.
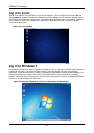
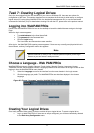
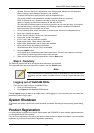
Logging into WebPAM PROe
Double click the WebPAM PROe link icon on the desktop to launch the default browser and go to the login
Page.
When the log-in screen appears:
Type administrator in the User Name field.
Type password in the Password field.
Click the Login button.
The User Name and Password are case sensitive
After sign-in, the WebPAM PROe opening screen appears. If there are any unconfig-ured physical drives in
the enclosure, an Array Configuration menu also appears.
Note
Make a Bookmark (Firefox) or set a Favorite (Internet Explorer) of the Login
Screen so you can access it easily next time.
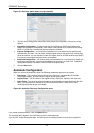
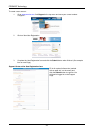
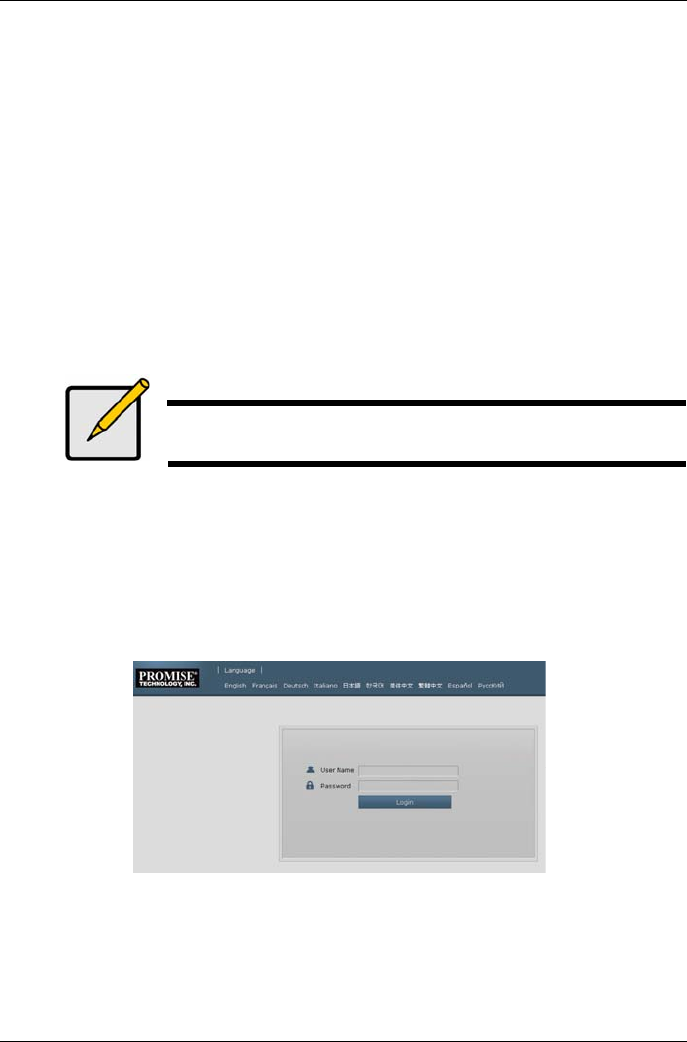
Choose a Language - Web PAM PROe
WebPAM PROe displays in English, German, French, Italian, Spanish, Russian, Japa-nese, Korean,
Traditional Chinese, and Simplified Chinese. Language preference can be chosen at the login screen or after
logging in from the WebPAM PROe menu header.
1. Select the Language to use for the interface from the menu header in the Login screen.
2. Click the language you prefer. The WebPAM PROe user interface displays in the chosen
language.
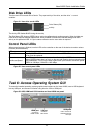
Figure 26: Choose “Language” used for WebPAM PROe interface
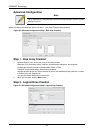
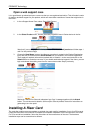
Creating Your Logical Drives
On a newly activated Vess system, there are no disk arrays or logical drives. To create a logical drive:
1. Log in to Web PAM PROe. If there are no arrays configured, you will be au-tomatically directed
to the Disk Array Configuration menu.
17