Other Print Operations
82
3
Printing a Sample Print File
The following procedure describes how to print a Sample Print file with the
RPCS and the PCL 6/5e printer driver. For details about how to print a Sample
Print file with the PostScript 3 printer driver, see PostScript 3 Supplement in-
cluded as a PDF file on the CD-ROM.
Important
❒ Depending on which options are installed on the machine, the PCL printer
language is optional. In that case, installing the optional PCL unit is required
to use the PCL 6/5e printer drivers.
❒ Applications with their own drivers, such as PageMaker, do not support this
function.
❒ If you are using Mac OS X, you need Mac OS X v10.2 or higher to use this
function.
A Configure Sample Print in the printer driver's properties.
For details about configuring the printer drivers, see the relevant Help files.
B Start printing from the application's [Print] dialog box.
Make sure to set more than two copies.
The Sample Print job is sent to the machine, and the first set is printed.
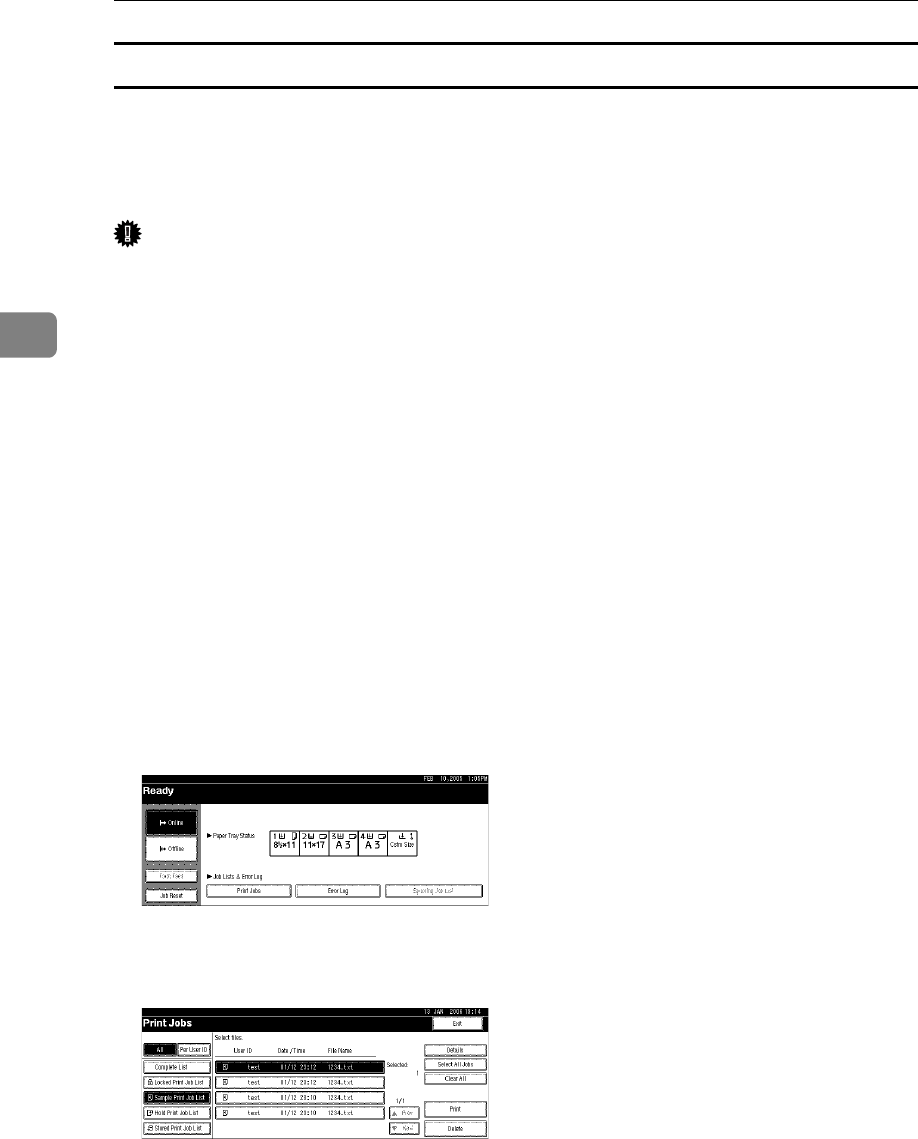
C On the machine's control panel, press the {Printer} key to display the Printer
screen.
D Press [Print Jobs].
A list of print files stored in the machine appears.
E Press [Sample Print Job List].
A list of Sample Print files stored in the machine appears.
Depending on the security settings, certain print jobs may not be displayed.


