Initial Set Up
239
7
N
NN
N
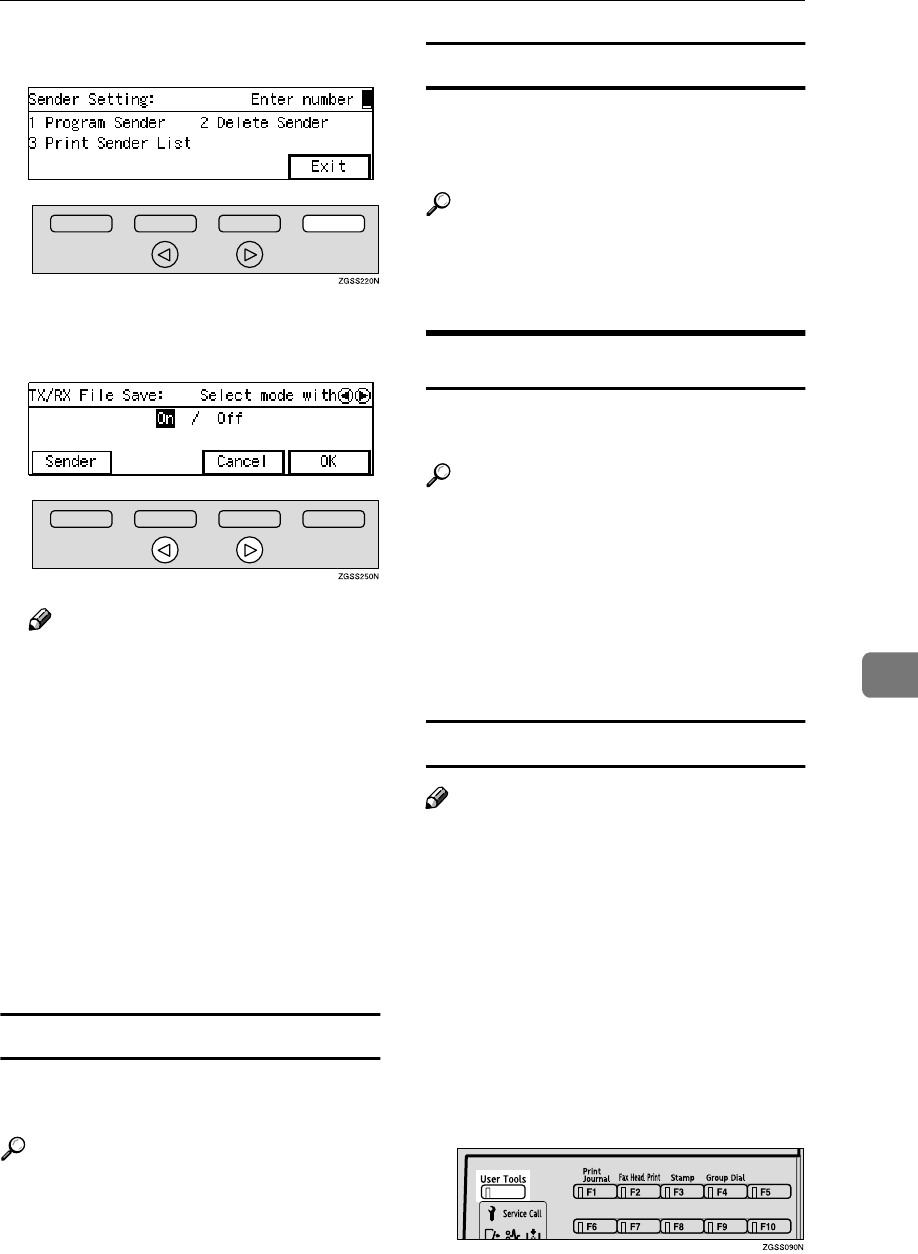
Press [Exit].
O
OO
O
Press 0
00
0 or 1
11
1 key to turn this
function on or off.
Note
❒ You can choose to save only
messages from Specified Send-
ers, or save all messages except
those from Specified Senders.
Adjust this setting with User
Parameters. See p.178 “User Pa-
rameters”(switch 09 bits 3, 2).
P
PP
P
Press [OK].
Q
QQ
Q
Press [PrevMenu] twice.
R
RR
R
Press [Exit] to return to the stand-
by mode.
Deleting Specified Senders
You can delete registered Specified
Senders as necessary.
Reference
See p.239 “Deleting Specified
Senders” for the deleting proce-
dure.
Printing the Specified Sender List
You can check the registered Speci-
fied Senders by printing out the list of
the registered Specified Senders.
Reference
See p.241 “Printing the Specified
Sender List” for the printing proce-
dure.
Deleting Specified Senders
Use this procedure to delete Specified
Senders for the following features:
Reference
p.214 “Multi-copy Reception”
p.217 “Authorized Reception”
p.220 “Specified Tray”
p.223 “Forwarding”
p.233 “Memory Lock”
p.236 “TX/RX File Save Settings”
How to Delete Specified Senders
Note
❒ For information about how to de-
lete Specified Senders for the For-
warding function, see p.229
“Deleting Specified Senders (For-
warding)”.
The example below describes how to
delete Specified Senders for the
Multi-copy Reception feature. The
procedure for other functions is iden-
tical except for steps E and L.
A
AA
A
Press the {
{{
{User Tools}
}}
} key.


