Scan to E-mail Setup
89
3. Network
Scanner
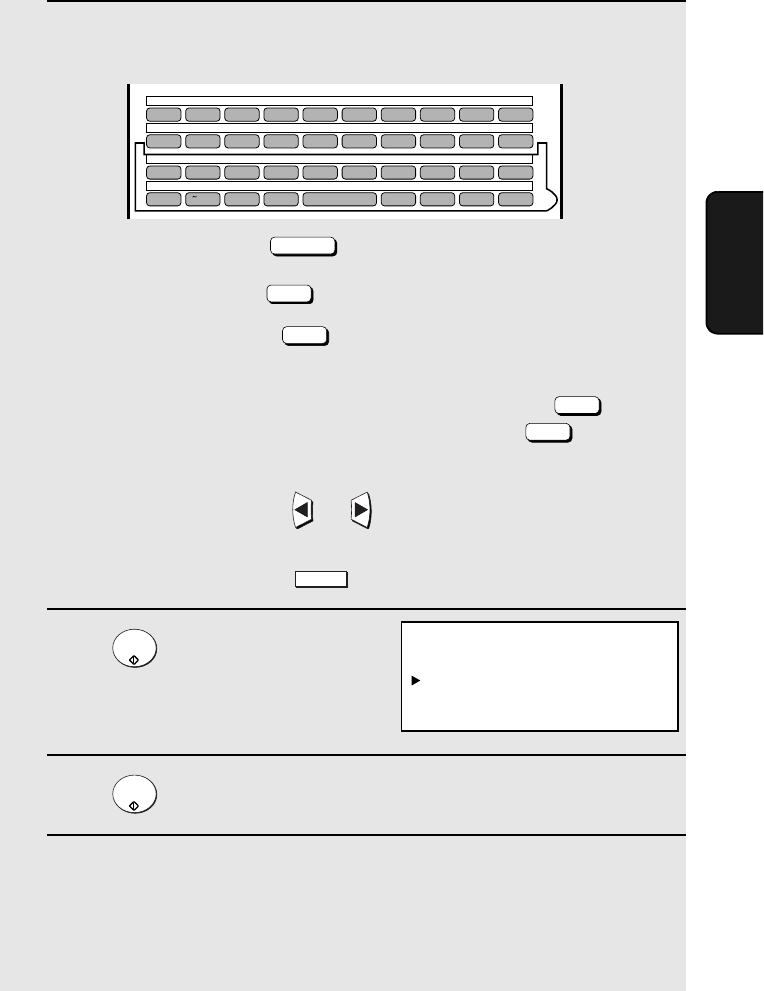
5 Enter the e-mail subject by pressing the letter entry keys (max. of 60
characters). (Make sure the Rapid Key overlay is flipped down.)
• To enter a space, press .
• To change case, press .
• To clear a mistake, press .
• To enter a number, press the appropriate numeric key. To enter the symbol
on a letter key (the character to the right of the slash), press (“SYM”
will appear in the display) and then the letter key (press again to
turn off symbol entry mode).
• To move the cursor, press or . To switch between letter insertion
and letter replacement mode when the cursor is in the middle of a
sequence of letters, press .
6 Press .
• Make sure that E-MAIL SENDER is
selected.
7 Press .
8 Press the letter keys to enter the sender name (see Step 5).
• Note: Do not include special characters or symbols in the sender name
(special characters may prevent transmission on some networks). For
example, the following characters cannot be used if any computers involved
in the transmission are running Windows XP: ¥ +/ : < > | ” ?
Space
Caps Lock
DEL
SYMBOL
SYMBOL
MENU
START/
ENTER
START/
ENTER
SCAN TO E-MAIL SET-UP
1:E-MAIL SUBJECT
2:E-MAIL SENDER
3:FILE FORMAT
Q / ! W / " E / # R / $ T / % Y / & U / ' I / ( O / ) P / =
SYMBOL
A /
|
S D F G / { H / } J / [ K / ] L / +
Caps Lock
Z / < X / > C V B N / * M / ? @ .com
SHIFT
/ ^ / / \ ; / :
Space
_
- . / , DEL
01 02 03 04 05 06 07 08 09 10
11 12 13 14 15 16 17 18 19 20
21 22 23 24 25 26 27 28 29 30
31 32 33 34 35 36 37 38 39


