117
4
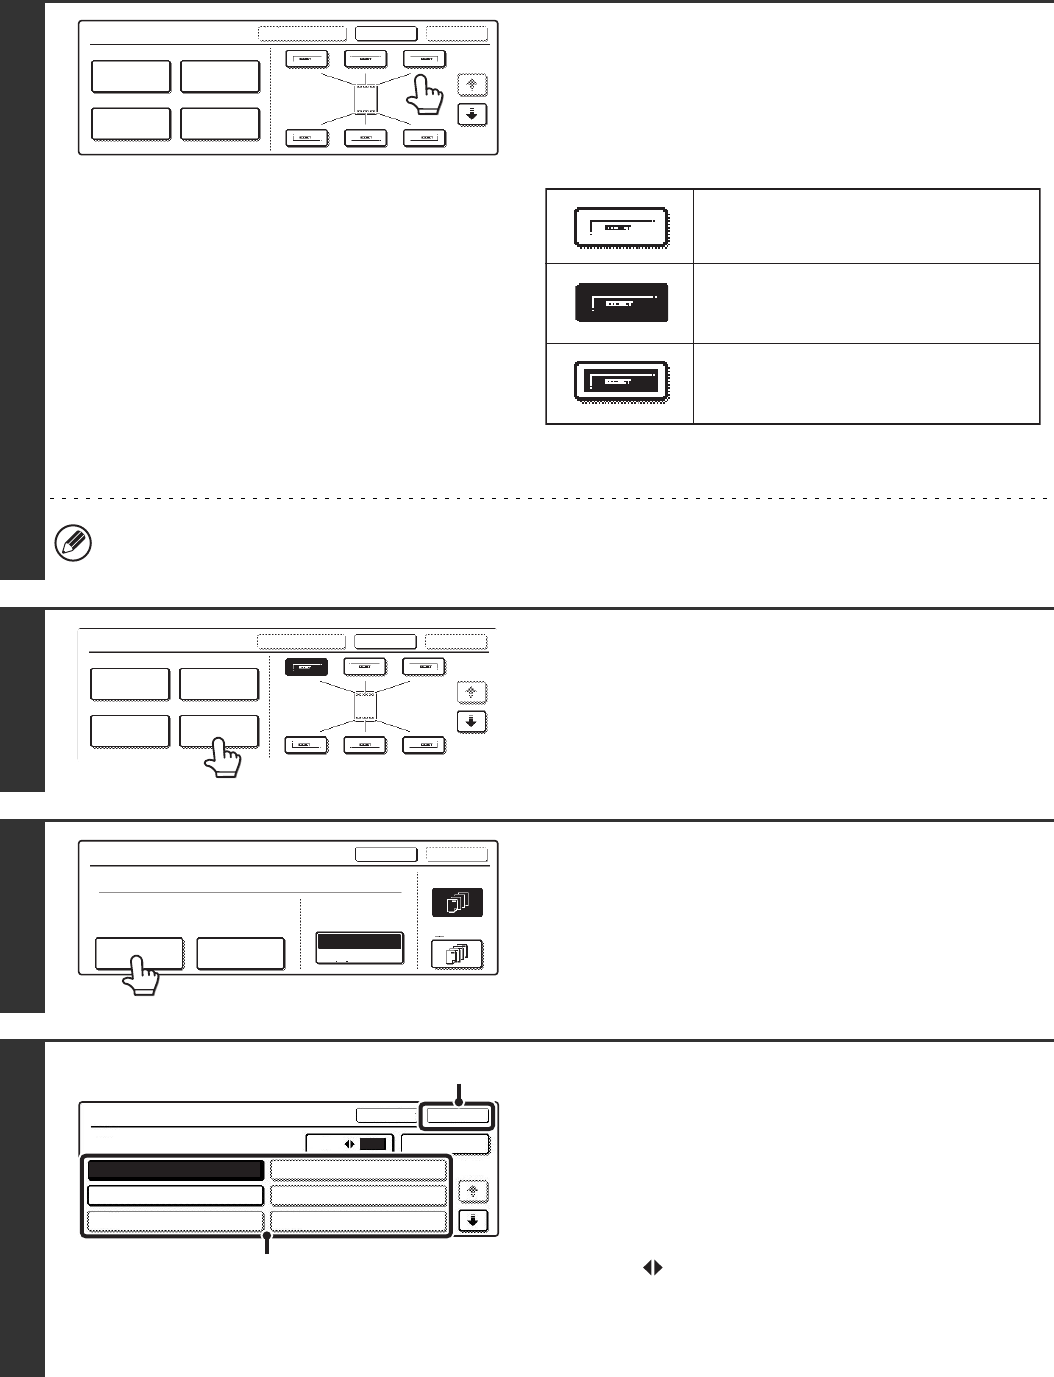
Select the print position.
Select from 6 positions: top left, top centre, top right, bottom
left, bottom centre, bottom right.
The keys that show the print positions will appear as follows
depending on the state of the settings.
The above key is the top left key. The appearance of the keys
varies by position.
• "Text" cannot be configured in a position that already has "Date" and "Page Numbering" settings.
• If "Text" is configured without selecting a position, the text will be printed in the top left position.
5
Touch the [Text] key.
6
Touch the [Recall/Entry] key.
To store or delete a text string, touch the [Store/Delete] key.
☞ Storing, editing, and deleting text strings (page 120)
7
Specify the text to be printed.
The [Direct Entry] key can be touched to display the text entry
screen. To enter text, see "6. ENTERING TEXT" in the User's
Guide. When all characters have been entered, touch the [OK]
key.
(1) Touch the text string that you wish to
select.
The [3 6] key can be touched to switch between
3-item display and 6-item display. When 3-item display is
selected, the entire text string appears in each key.
(2) Touch the [OK] key.
Stamp
OKCancelLayout
1/2
Date
Page
Numbering
Stamp
Text
Not selected, stamp setting has not
been selected.
Selected during selection of the stamp
setting.
Not available, stamp setting has already
been allocated.
Stamp
OKCancelLayout
1/2
Date
Page
Numbering
Stamp
Text
Text
OK
Cancel
Bk(Black)
All Pages
Recall/Entry Store/Delete
Print Colour
First Page
Pre-Set
Text
OKCancel
1/5
Direct Entry
63
Recall
No.01 AAA AAA
No.02 BBB BBB
No.03
No.04
No.05
No.06
(1)
(2)


