


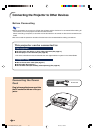
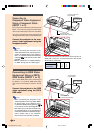
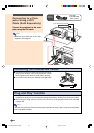
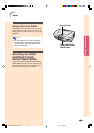
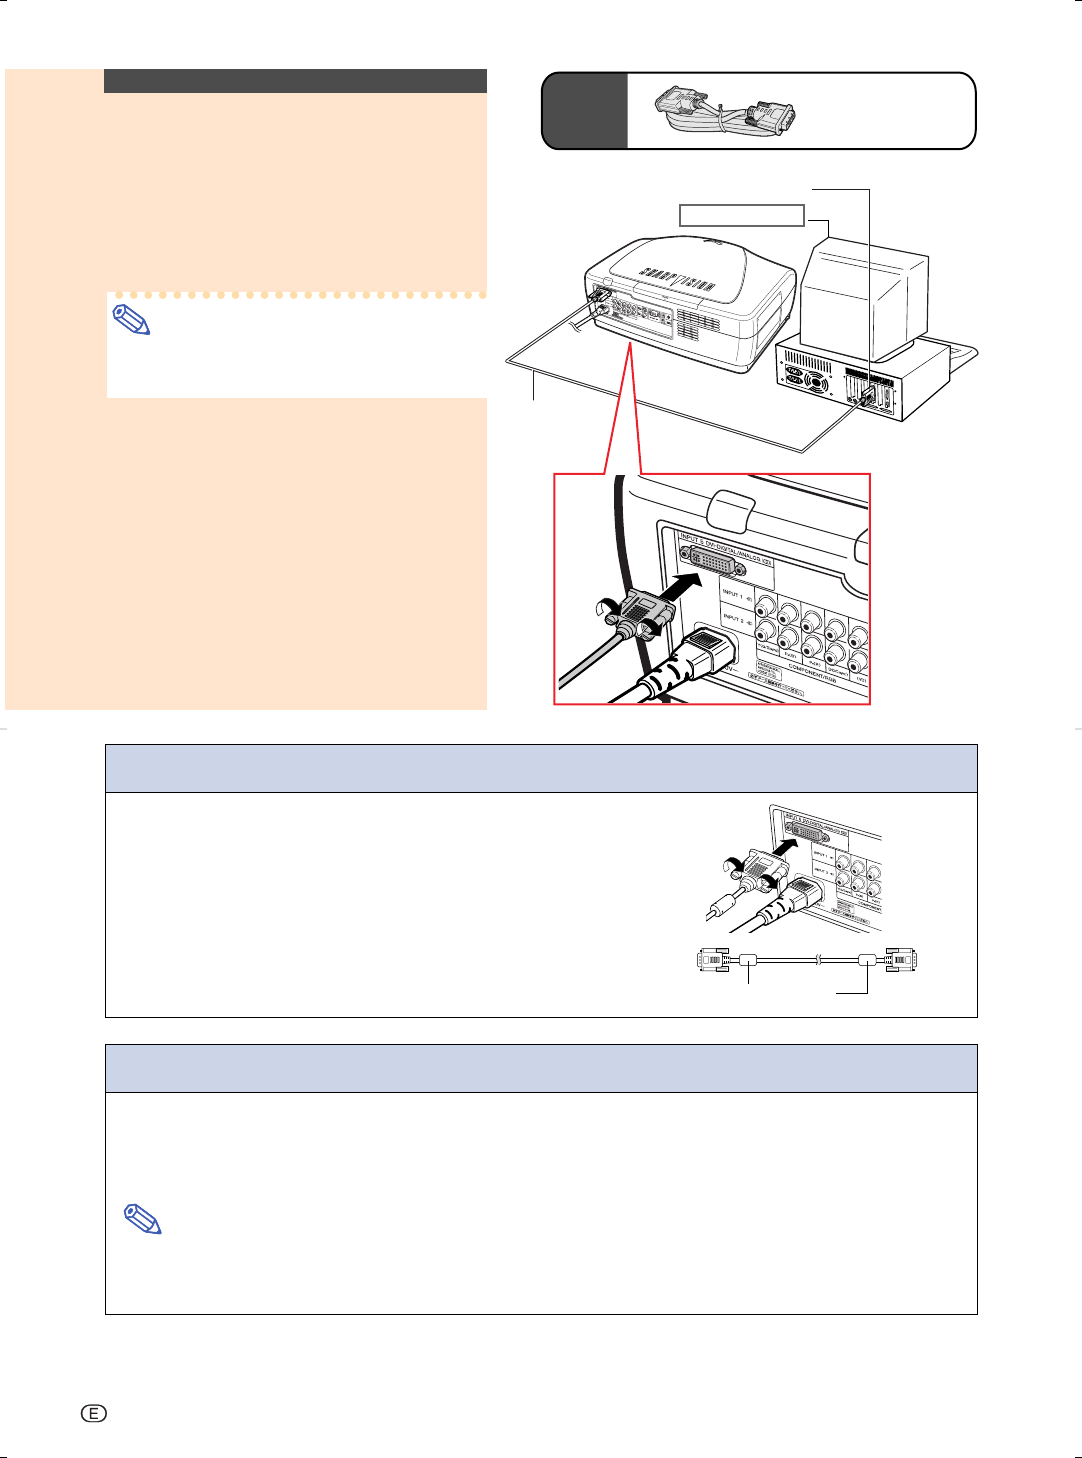
Connecting the thumbscrew cables
■ Connect the thumbscrew cable making sure that it fits cor-
rectly into the terminal. Then, firmly secure the connec-
tors by tightening the screws on both sides of the plug.
■
Do not remove the ferrite core attached to the RGB cable.
Ferrite core
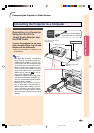
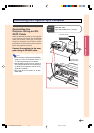
“Plug and Play” function
■ This projector is compatible with VESA-standard DDC 1/DDC 2B. The projector and a VESA DDC
compatible computer will communicate their setting requirements, allowing for quick and easy setup.
■ Before using the “Plug and Play” function, be sure to turn on the projector first and the connected
computer last.
Note
• The DDC “Plug and Play” function of this projector operates only when used in conjunction with a VESA
DDC compatible computer.
-22
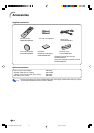
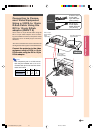
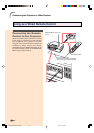
Optional
accessory
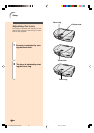
DVI cable
Type:AN-C3DV
(9'10'' (3.0m))
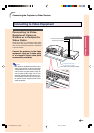
Desktop computer
To DVI Digital output terminal
DVI cable
(sold separately)
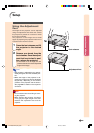
Connecting to a Com-
puter Using a DVI
Cable (Sold Separately)
Connect the projector to the com-
puter using the DVI cable.
Note
• Select the input signal type of the video
equipment. See page 64.
XV-Z10000#Print#p21_22.p65 02.10.25, 7:27 PM22