


8
PREPARING THE CASH REGISTER
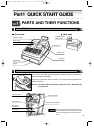
Unpack the cash register and make sure all accessories are included. For details of accessories, please refer to
“SPECIFICATIONS” section on page 79.
For installing the cash register, find a stable surface near an AC outlet where the cash register will not subject to
water sources or direct sunlight.
For preparing the cash register, please follow the three steps shown below; “1 Initializing the Cash Register” on
page 8, “2 Installing Batteries” on page 9, and “3 Installing a Paper Roll” on page 10.
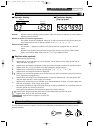
In order to operate the cash register properly, you must initialize it before operating for the first time. Follow this
procedure.
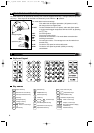
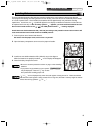
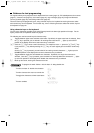
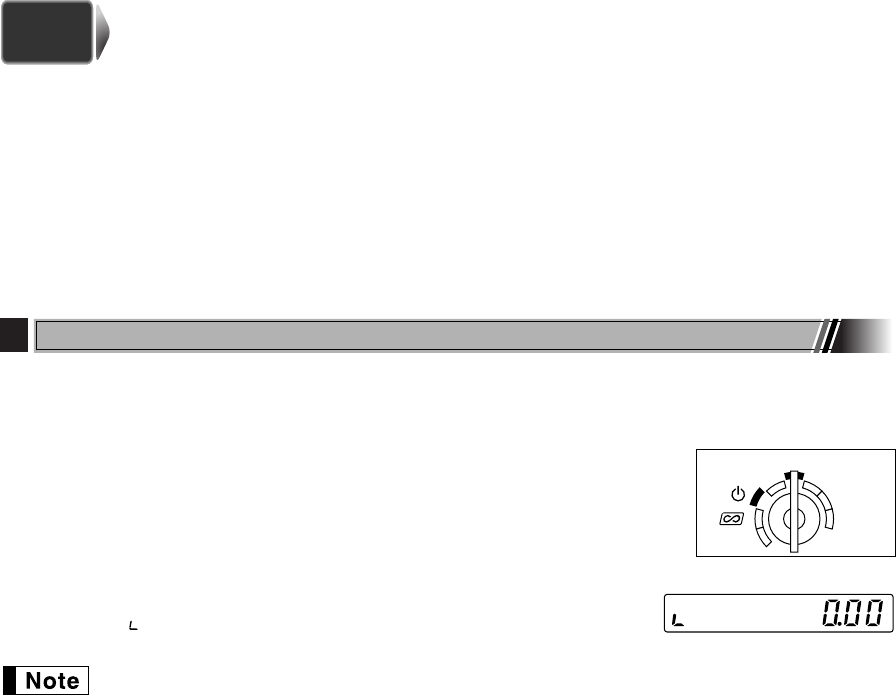
1. Insert the manager (MA) key into the mode switch and turn it to the REG position.
2. Insert the plug of the AC power cord into the AC outlet. The buzzer will sound
three times.
IMPORTANT: This operation must be performed without batteries installed.
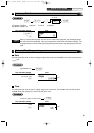
3. The cash register has now been initialized. The register display will show
“0.00” with “ ”.
If the buzzer does not sound when the plug is inserted, the initialization has not been done
successfully. (This will occur when the voltage is high because you operated the cash register before
starting initialization.) Wait at least one minute after pulling out the plug and insert the plug again.
STEP
2
1
Initializing the Cash Register
REG
OPX/Z
MGR
PGM
X1/Z1
X2/Z2
A113_1 Quick Start Guide 06.9.11 6:35 PM Page 8