


56
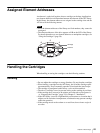
Chapter 4 Operating the AIT Library
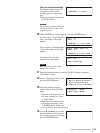
Only one inserted cartridge
The element address of the front
slot appears on the first line.
(Nothing appears on the second
line.)
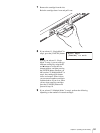
1 Eject the cartridge and press the
[CANCEL] button.
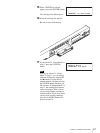
Caution
Do not put your fingers in the slot
when it is moving, as this could
result in injuries.
10
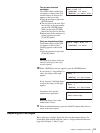
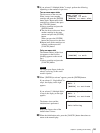
When “[ENTER] to activate” appears, press the [ENTER] button.
If you selected “1. Single Mode” in
step 4, the display on the right
appears.
If you selected “2. Multiple Mode”
in step 4, the display on the right
appears.
The shutter closes and the
initialization is performed.
Caution
Keep your fingers clear of the
shutter when it closes.
11
When the initialization ends, press the [CANCEL] button to return to
“Eject/Insert” display.
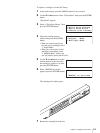
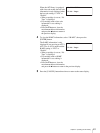
12
Select “3.Insert Into Library”, then
press the [ENTER] button.
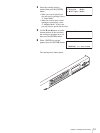
13
Select the cartridge insertion
method, then press the [ENTER]
button.
• When you want to specify a slot
and insert cartridge in it, select
“1. Single Mode”.
• When you want to insert several
cartridges consecutively, select
“2. Multiple Mode”. In this case,
you only need to specify the first slot.
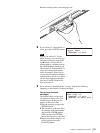
14
Use the V and v buttons to set the
element address of the slot where
the cartridge is going to be set, then
press the [ENTER] button.
Eject Tape Slot 01
[CANCEL] to exit
Slot 01
Exit ?
[ENTER] to activate
Eject Tape Slot 01
Exit ?
[ENTER] to activate
Slot 01
Initializing
Eject/Insert 12:34
1.Eject From Library
2.Eject From Drive
3.Insert Into Library
Insert 12:34
1.Single Mode
2.Multiple Mode
Slot 01