


1-15
VPL-CS2/CX1
GB
28
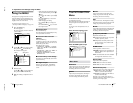
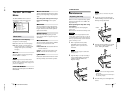
The INPUT SETTING Menu
The INPUT SETTING
Menu
The INPUT SETTING menu is used to
adjust the input signal.
Items that cannot be adjusted depending on
the input signal are not displayed in the
menu.
For details on the unadjustable items, see
page 40.
When the video signal is input
When the RGB signal is input
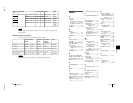
DOT PHASE
Adjusts the dot phase of the LCD panel and
the signal input from the INPUT A
connector.
Adjust the picture further for finer picture
after the picture is adjusted by pressing the
APA key.
Adjust the picture to where it looks clearest.
SIZE
Adjusts the horizontal size of picture input
from the INPUT A connector. The higher
the setting, the larger the horizontal size of
the picture. The lower the setting, the
smaller the horizontal size of the picture.
Adjust the setting according to the dots of
the input signal.
For details on the suitable value for the
preset signals, see page 41.
SHIFT
Adjusts the position of the picture input from
the INPUT A connector. H adjusts the
horizontal position of the picture.V adjusts
the vertical position of the picture. As the
setting for H increases, the picture moves to
the right, and as the setting decreases, the
picture moves to the left.
As the setting for V increases, the picture
moves up, and as the setting decreases, the
picture moves down. Use the ? or the /
key to adjust the horizontal position and the
>.
and key for the vertical position.
SCAN CONV (Scan converter)
Converts the signal to display the picture
according to the screen size.
ON: Displays the picture according to the
screen size. The picture will lose some
clarity.
OFF: Displays the picture while matching
one pixel of input picture element to that
of the LCD. The picture will be clear but
the picture size will be smaller.
This item will not be displayed in the following
case.
VPL-CS2: When SVGA, XGA or SXGA
signal is input
VPL-CX1: When XGA or SXGA signal is
input
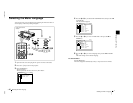
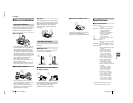
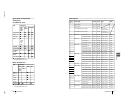
MENU Items
INPUT SETTING
VIDEO
4:3
No. 01
VIDEO/60
ASPECT:
Memory
No.
Signal
type
INPUT SETTING
DOT PHASE:
SIZE H
SHIFT H
SCAN CONV: ON
INPUT-A
15
800
H:200 V:30
No. 13
640 480
Memory
No.
Signal
type
Note
29
GB
The INPUT SETTING Menu
Adjustments and Settings Using the Menu
ASPECT
Sets the aspect ratio of the picture. When
inputting 16:9 (squeezed) signal from
equipment such as a DVD player, set to
16:9.
4:3: When the picture with ratio 4:3 is input.
16:9: When the picture with ratio 16:9
(squeezed) is input.
This projector has 37 types of preset data for
input signals for INPUT-A (the preset
memory). When a preset signal is input, the
projector automatically detects the signal
type and recalls the data for the signal from
the preset memory to adjust it to an optimum
picture. The memory number and signal type
of that signal are displayed in the INPUT
SETTING menu. You can also adjust the
preset data through the INPUT SETTING
menu.
This projector has 20 types of user memories
for INPUT-A into which you can save the
setting of the adjusted data for an unpreset
input signal.
When an unpreset signal is input for the first
time, a memory number is displayed as 00.
When you adjust the data of the signal in the
INPUT SETTING menu, it will be
registered to the projector. If more than 20
user memories are registered, the newest
memory always overwrites the oldest one.
See the chat on page 41 to find if the signal
is registered to the preset memory.
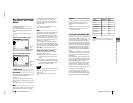
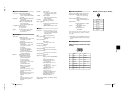
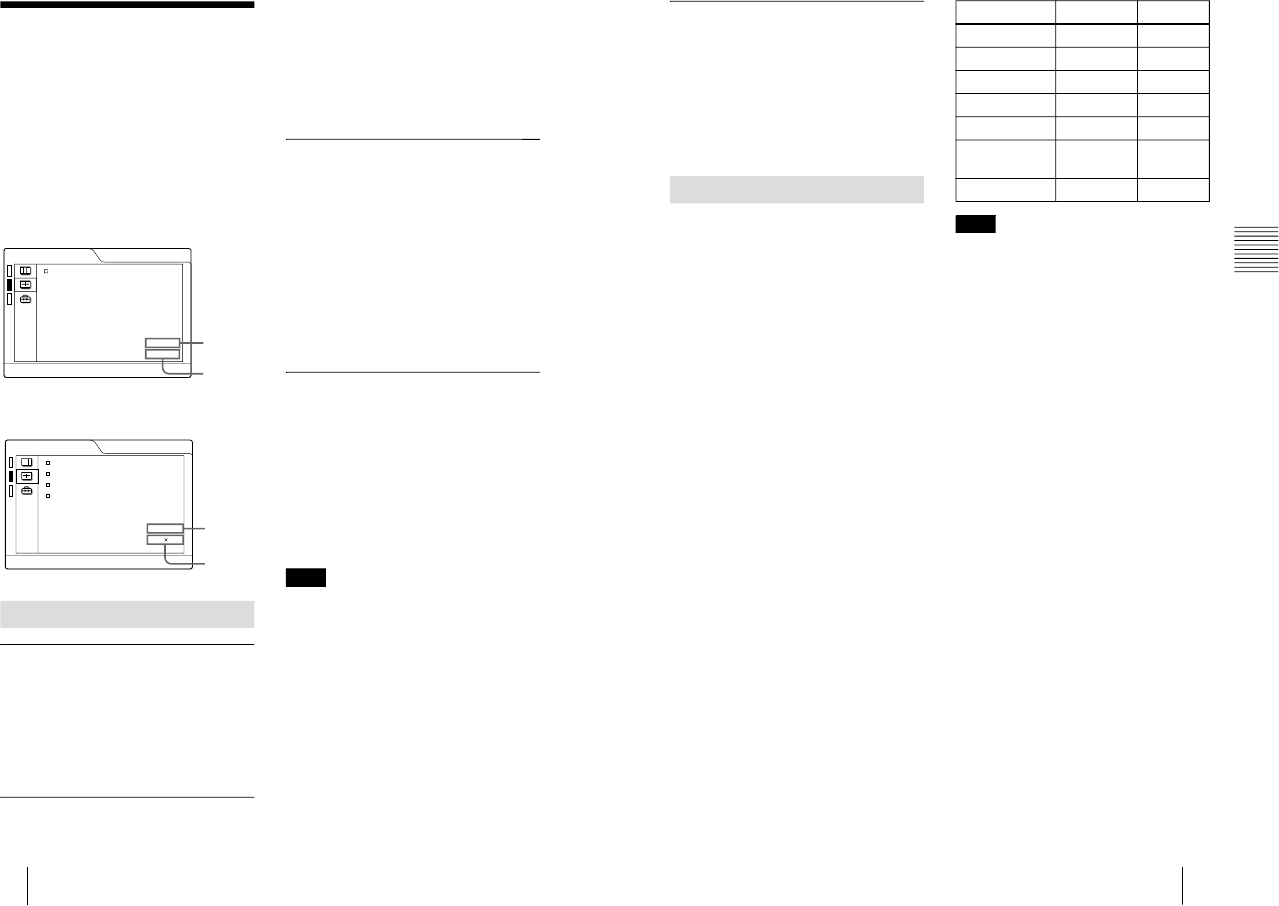
Since the data is recalled from the preset
memory about the following signals, you
can use these preset data by adjusting SIZE.
Make fine adjustment by adjusting SHIFT.
When the aspect ratio of input signal is other
than 4:3, a part of the screen is displayed in
black.
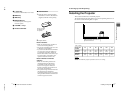
About the Preset Memory No.
Signal Memory No. SIZE
Super Mac-2 23 1312
SGI-1 23 1320
Macintosh 19" 25 1328
Macintosh 21" 28 1456
Sony News 36 1708
PC-9821
1280 x 1024
36 1600
WS Sunmicro 37 1664
Note