9
Location and Function of Controls
Chapter 1 Overview
Commander. Flashes while the fans continue to run to
reduce internal heat.
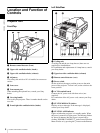
h INTER LOCK jack (minijack)
Connects to the external emergency switch.
When you use the interlock function, insert the mini-plug
into this jack to open the + and – terminals. The projector’s
lamps will be turned off immediately. When not in use, do
not insert the mini-plug.
i ETHERNET connector (10BASE-T/100BASE-TX)
Connect to the ethernet connector on a computer in which
the supplied SRX Controller is installed. You can control
the projector from the computer.
ETHERNET is a registered trademark of Xerox Corporation and
Fuji Xerox Co., Ltd.
j RS232C connector (D-sub 9-pin, female)
Connect to the RS-232C connector on a computer in which
the supplied SRX Controller is installed. You can control
the projector from the computer.
k Input board attachment parts
Depending on the input sources, attach the optional input
board to each slot. For attachment, contact your Sony
dealer. They are arranged in order of INPUT A, INPUT B,
INPUT C and INPUT D from the top.
INPUT A is pre-installed with an HDCP DVI board
(LKRI-005). Depending on the input source, you can
replace with an optional input board.
l INPUT A (HDCP DVI board attached at the
factory)
DVI-D connector (24-pin DVI connector, male): Inputs
progressive DVI signals and HDCP compatible DVI
signals.
AUX connector (24-pin DVI connector, male): Used for
input extension. For details on connecting devices
compatible with the connector, please consult your Sony
dealer.
Control Function Menu Window
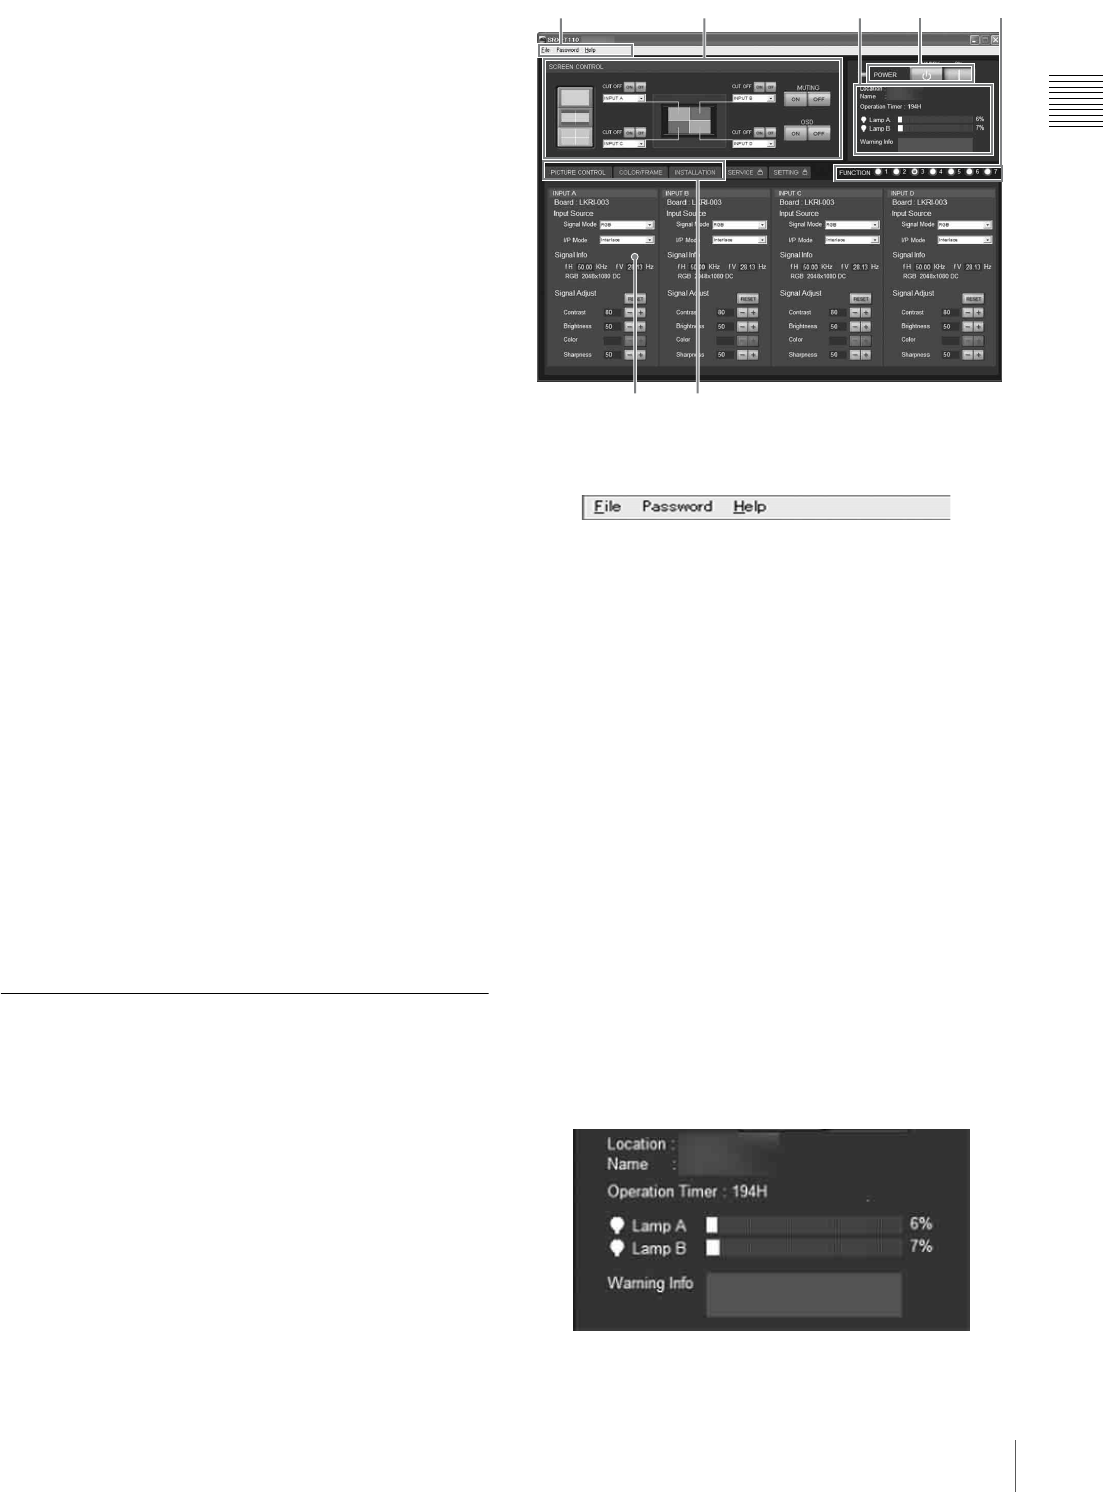
When you install the supplied SRX Controller in your
computer, you can operate all of the features of the projector
in your computer window. This section explains the
functions of the parts for projecting an image on the screen.
For the windows used for the settings and adjustments, see
“Adjustments and Settings Using the SRX Controller” on
page 26.
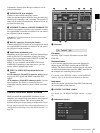
a Menu bar
File menu
Selecting “Quit” from the File menu exits the SRX
Controller.
Password menu
Use to reset the authentication passwords required for
displaying the SETTING window and the SERVICE
window. The Password menu can be displayed only when
an authorized administrator starts the SRX Controller on
the computer for controlling the projector.
For details on the SETTING window and the SERVICE
window, refer to the Installation Manual for Dealers.
Help menu
Shows the version information of the SRX Controller and
the serial number of the projector.
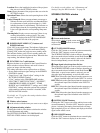
b SCREEN CONTROL window
For details, see “SCREEN CONTROL window” on page
10.
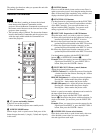
c Information window
1
6
2 3 4 51
76
234 5


