Chapter 10
Symbologies
Chapter 10 Symbologies
Introduction
This chapter describes symbology features and provides the programming bar codes for selecting these
features. Before programming, follow the instructions in Chapter 1, Getting Started.
To set feature values, scan a single bar code or a short bar code sequence. The settings are stored in
non-volatile memory and are preserved even when the digital imager scanner is powered down.
Select a host type (see each host chapter for specific host information) after the power-up beeps sound. This is
only necessary upon the first power-up when connected to a new host.
To return all features to default values, scan the Set Default Parameter on page 4-4. Throughout the
programming bar code menus, default values are indicated with asterisks (
*).
Scanning Sequence Examples
In most cases, scanning one bar code sets the parameter value. For example, to transmit bar code data
without the UPC-A check digit, simply scan the Do Not Transmit UPC-A Check Digit bar code under Transmit
UPC-A Check Digit on page 10-11. The digital imager scanner issues a fast warble beep and the LED turns
green, signifying a successful parameter entry.
Other parameters, such as Set Length(s) for D 2 of 5 require scanning several bar codes. See the individual
parameter, such as Set Length(s) for D 2 of 5, for this procedure.
NOTE Most computer monitors allow scanning the bar codes directly on the screen. When
scanning from the screen, be sure to set the document magnification to a level where the bar code
can be seen clearly, and bars and/or spaces are not merging.
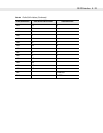
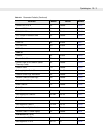
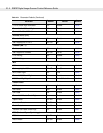
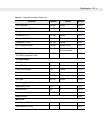
*Enable UPC-A
(01h)
Feature/Option
* Indicates Default
Option Hex Value for
programming via SSI command


