


5 MANAGING PRINT JOBS FROM THE CONTROL PANEL
146 Monitoring the Print Job Status
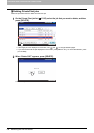
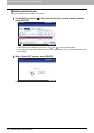
Printing files from USB media (USB Direct Printing)
USB Direct Printing refers to the printing of files saved in a USB storage device that is connected to the USB port on the
equipment. With this feature, you can print PDF, encrypted PDF (file extension: “.pdf”), XPS (file extension: “.xps”), JPEG
(file extension: “.jpg” or “.jpeg”), PRN (file extension: “.prn”), and PS (file extension: “.ps”) files.
y USB Direct Printing requires the USB Direct Print setting to be enabled on TopAccess. For details, refer to the
TopAccess Guide.
y You cannot specify which page(s) of the selected file to print. All pages are to be printed.
y USB Direct Printing supports the printing of PDF files whose versions are from 1.3 to 1.7.
y With this feature, the equipment can print encrypted PDF files whose encryption level is either “40-bit RC4” or “128-
bit RC4.”
y The feature does not support encrypted PDF files whose encryption level is [128bit AES], and some files of other
encryption levels may not be printable as well. In these cases, print these files from a client computer.
y For printing the PRN files, the page description languages supported by USB Direct Printing are PostScript (PS3),
Printer Command Language (PCL5e and PCL6), and XML Paper Specification (XPS).
y Do not turn on the equipment when a USB storage device is connected to the port.
y The USB storage device should meet the following requirements:
- FAT16 and FAT32 formats
- Single-partition (USB media with multiple partitions are not supported.)
However, some of the devices may not be used in this equipment, even though these requirements have been met.
y JPEG files in CMYK format cannot be printed.
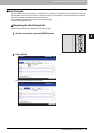
1
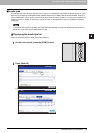
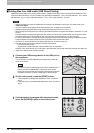
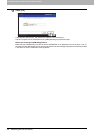
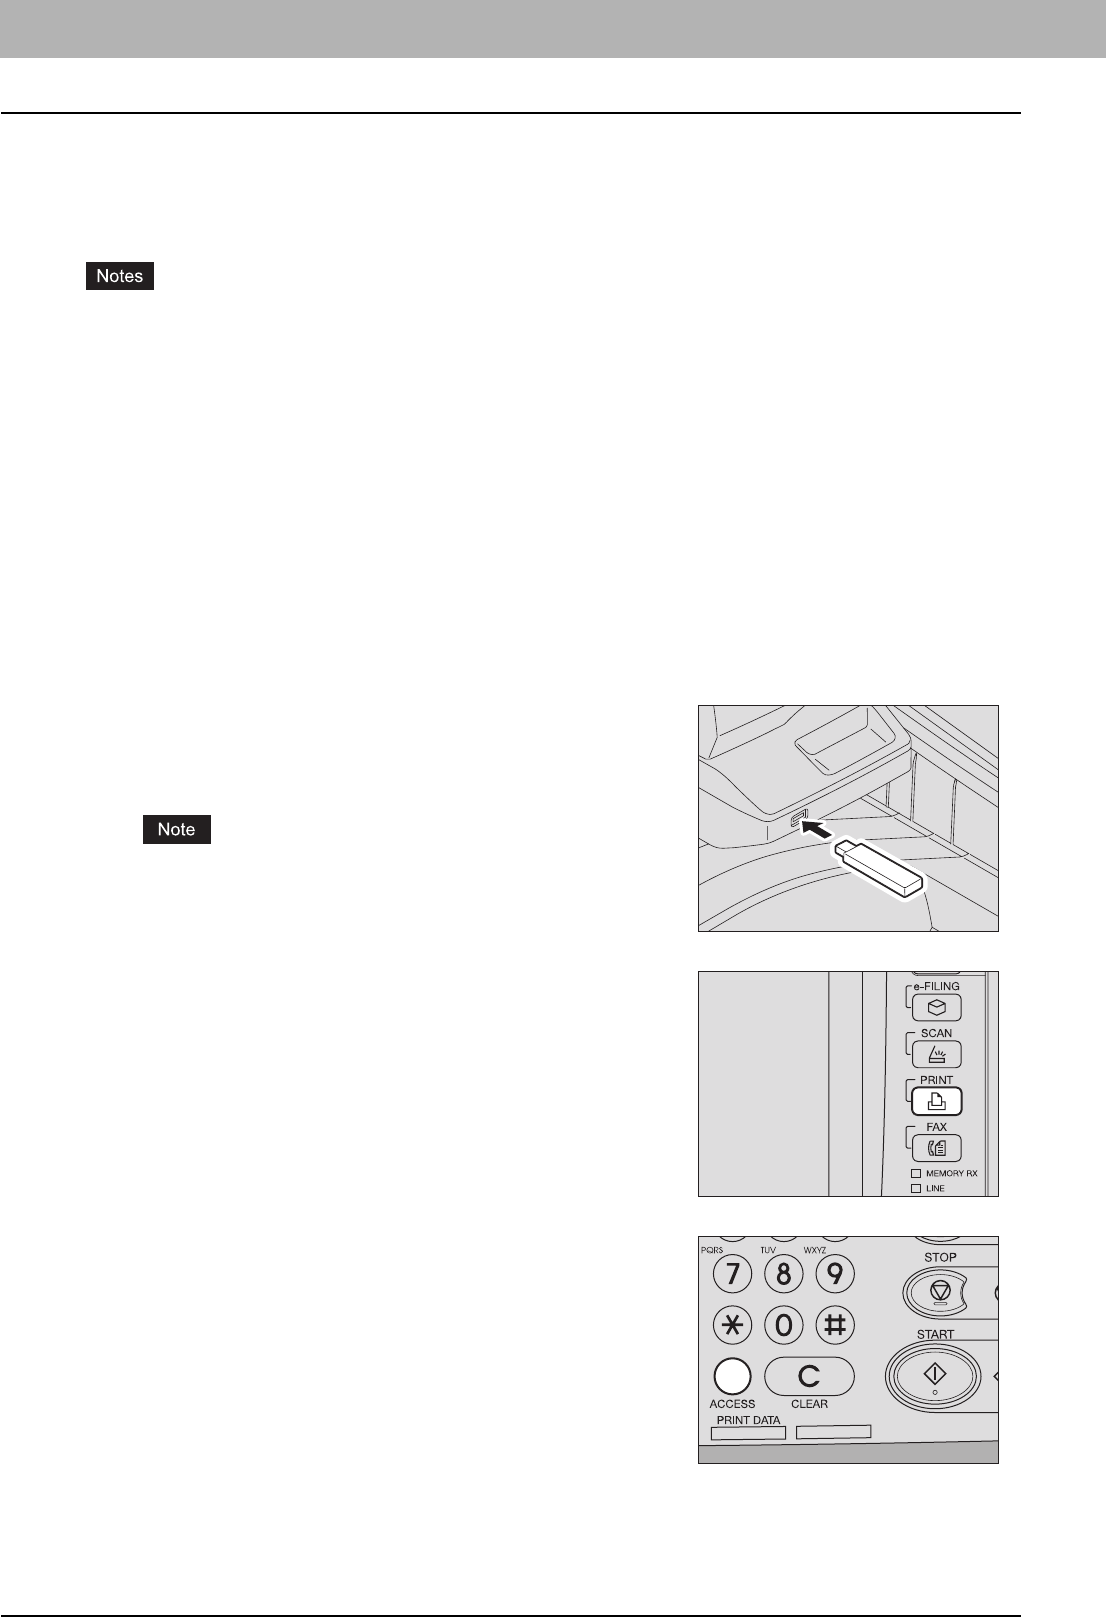
Connect your USB storage device to the USB port on
the equipment.
In a few seconds, “FOUND USB DEVICE” appears at the lower left
corner of the screen.
Do not disconnect the USB storage device when “USB DEVICE in
use Do not remove USB DEVICE” is displayed on the screen.
Removing the device while the message is displayed could destroy
the data in the device or cause a malfunction of the equipment.
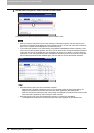
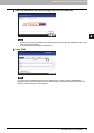
2
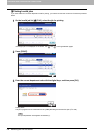
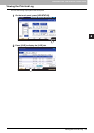
On the control panel, press the [PRINT] button.
y If the equipment is managed with department codes, proceed to
step 3.
y If the equipment is not managed with department codes, proceed to
step 5.
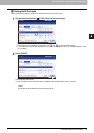
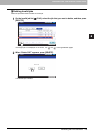
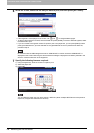
3
If the equipment is managed with department codes,
press the [ACCESS] button on the control panel.