


22 Network Operator’s Guide — Managing Jobs
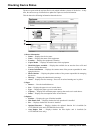
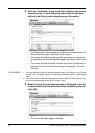
• To sort the scan jobs list so that a particular job is easier to be found, click the appro-
priate table heading. The page refreshes to display the information in the order you
requested.
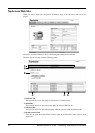
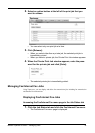
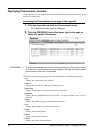
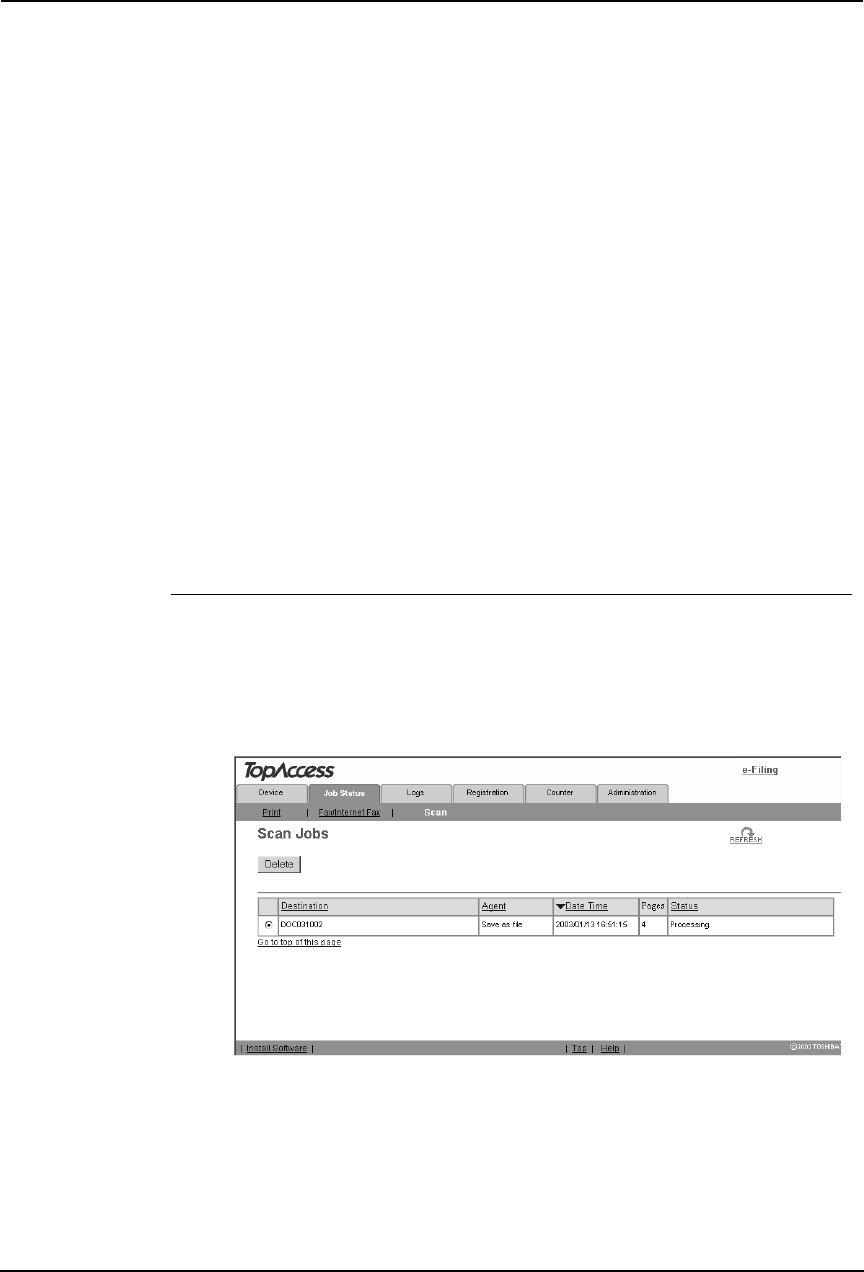
The Scan menu page displays following information for each scan job.
1) Destination
When the job performs the Scan to File or Scan to e-Filing, it displays the document name to
be stored. When the job performs the Scan to Email, it displays the destinations where the
scanned document will be sent.
2) Agent
Displays the agent of the scan job.
3) Date Time
Displays the date and time when the scan job is released from the Touch Panel Display.
4) Pages
Displays the number of pages the scan job contains.
5) Status
Displays the detailed status of the scan job.
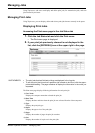
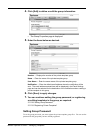
Deleting a Scan Job
You can delete a scan job.
Deleting a scan job
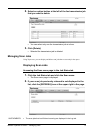
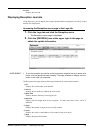
1. Click the Job Status tab and click the Scan menu.
• The Scan menu page is displayed.
2. Select an option button at the left of the scan job that you
want to delete.
• You can select only one scan job at a time.
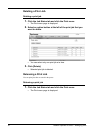
3. Click [Delete].
• Selected scan job is deleted.