17
Installation
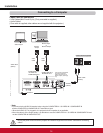
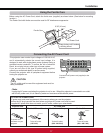
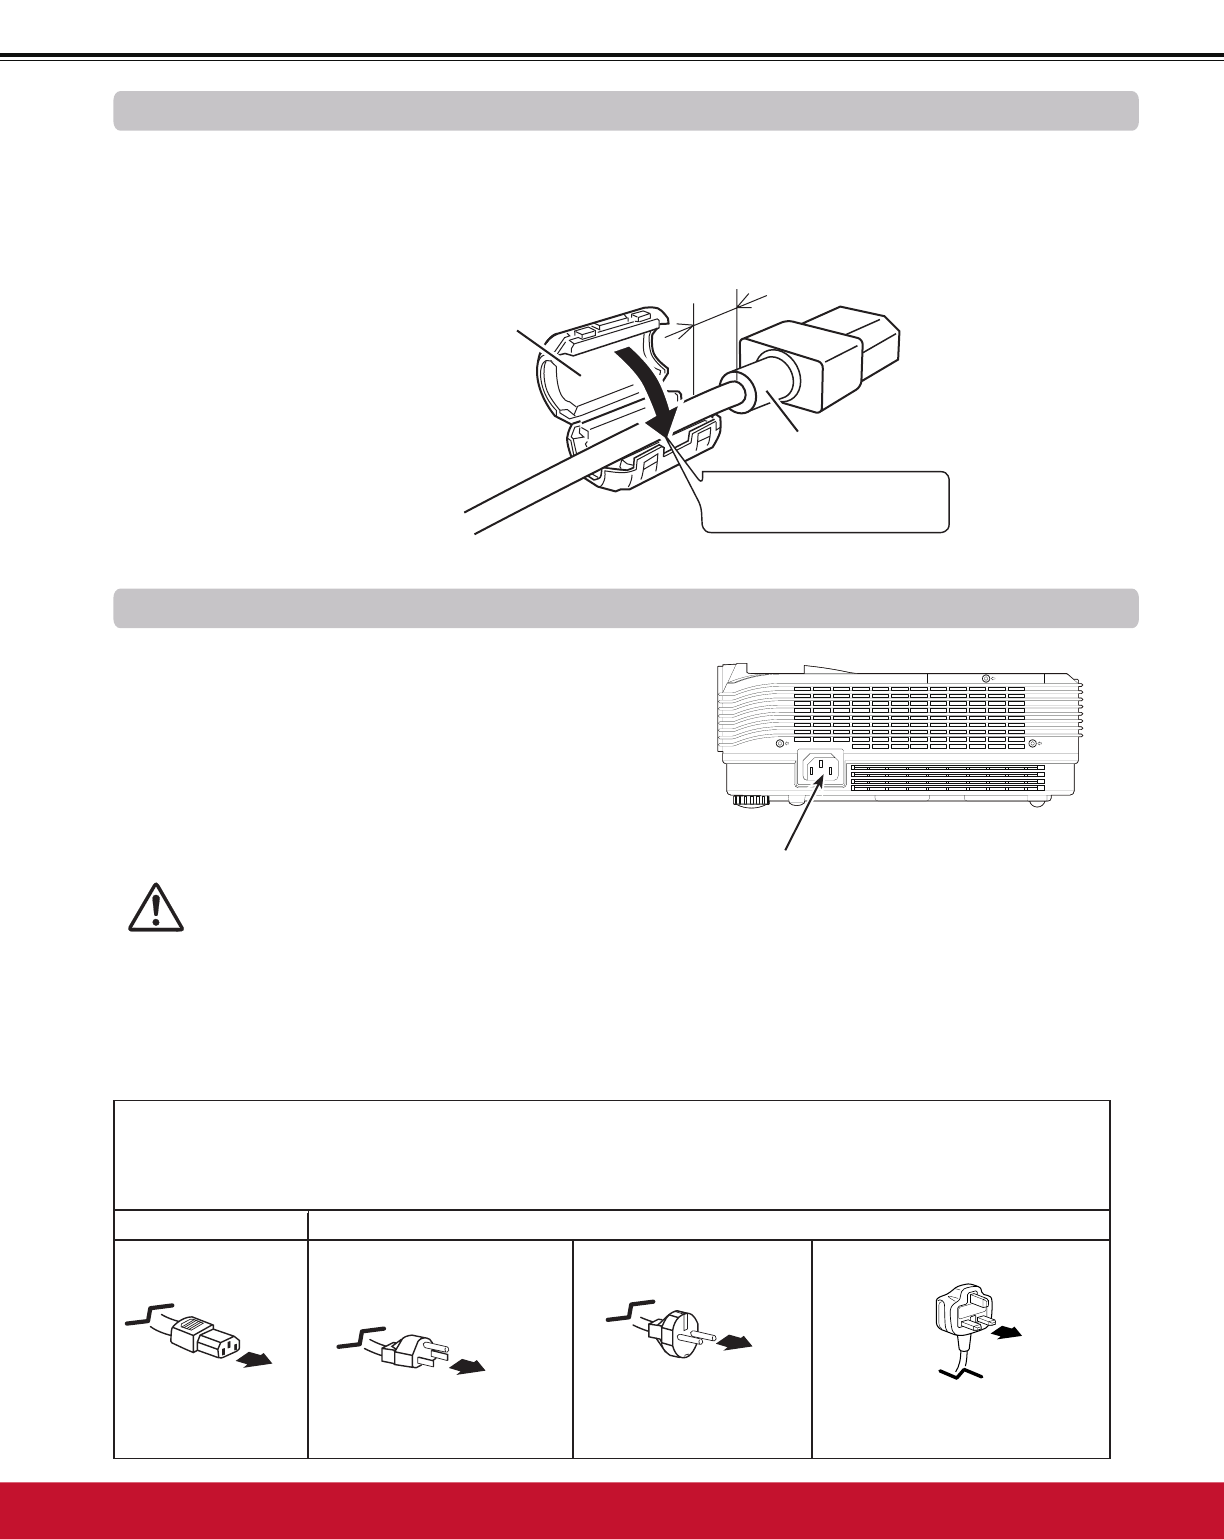
Connecting the AC Power Cord
7KLVSURMHFWRUXVHVQRPLQDOLQSXWYROWDJHVRI9$&
and it automatically selects the correct input voltage. It is
GHVLJQHGWRZRUNZLWKVLQJOHSKDVHSRZHUV\VWHPVKDYLQJD
grounded neutral conductor. To reduce the risk of electrical
shock, do not plug into any other type of power system.
If you are not sure of the type of power being supplied,
FRQVXOW\RXUDXWKRUL]HGGHDOHURUVHUYLFHFHQWHU
Connect the projector with all peripheral equipment before
turning the projector on.
3Note:
Unplug the AC power cord when the projector is not in use. When this projector is connected to an outlet
ZLWKWKH$&SRZHUFRUGLWLVLQ6WDQGE\PRGHDQGFRQVXPHVDOLWWOHHOHFWULFSRZHU
To the AC outlet.
(200 - 240 V AC)
NOTE ON THE POWER CORD
AC power cord must meet requirement of the country where you use the projector.
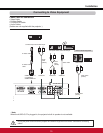
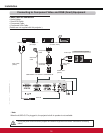
Confirm the AC plug type with the chart below and proper AC power cord must be used.
If supplied AC power cord does not match your AC outlet, contact your sales dealer.
To power cord
connector on your
projector.
Projector side
AC outlet side
To the AC outlet.
(120 V AC)
For the U.S.A. and Canada
To the AC outlet.
(200 - 240 V AC)
For the U.K.For Continental Europe
CAUTION
The AC outlet must be near this equipment and must be
easily accessible.
Connect the AC power cord (supplied) to the
projector.
Ground
Ground
¹
º
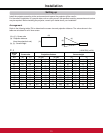
Using the Ferrite Core
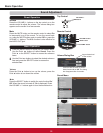
Before using the AC Power Cord, attach the ferrite core (supplied) as shown below. (See below for mounting
location.)
The Power Cord with ferrite core must be used for RF interference suppression.
PP
AC Power Cord
Ferrite Core
Keep closing until it makes
a clicking sound.


