


13
Index
Contents
13
Index
Contents
Interactive pen display
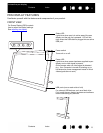
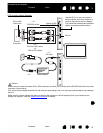
STEP 1: DISPLAY INSTALLATION
In this step, the interactive pen display is installed as a monitor on your system.
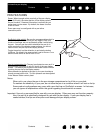
Important: Do not connect the USB data cable until instructed to do so. Never connect or disconnect the
video or power cables while your computer or pen display are powered on. This can damage the
display or video card.
1. Turn off your computer.
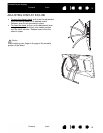
2. If your computer has only one video connector, unplug your previous monitor or add a second video
card. Determine if your computer has a digital (DVI) or analog (VGA) connector and set the DVI/VGA
switch for the video connection you are using. See – A – in the connection diagram
.
3. Making sure to tighten the connector thumbscrews, follow the below instructions for your video
connector. See – B – in the connection diagram
.
4. Connect the power adapter to the pen display. See – C – in the connection diagram
.
5. Connect the adapter power cable and plug into an AC outlet. See – D – in the connection diagram
.
6. Turn on the pen display. The power LED will light orange.
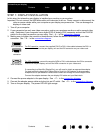
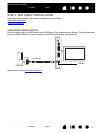
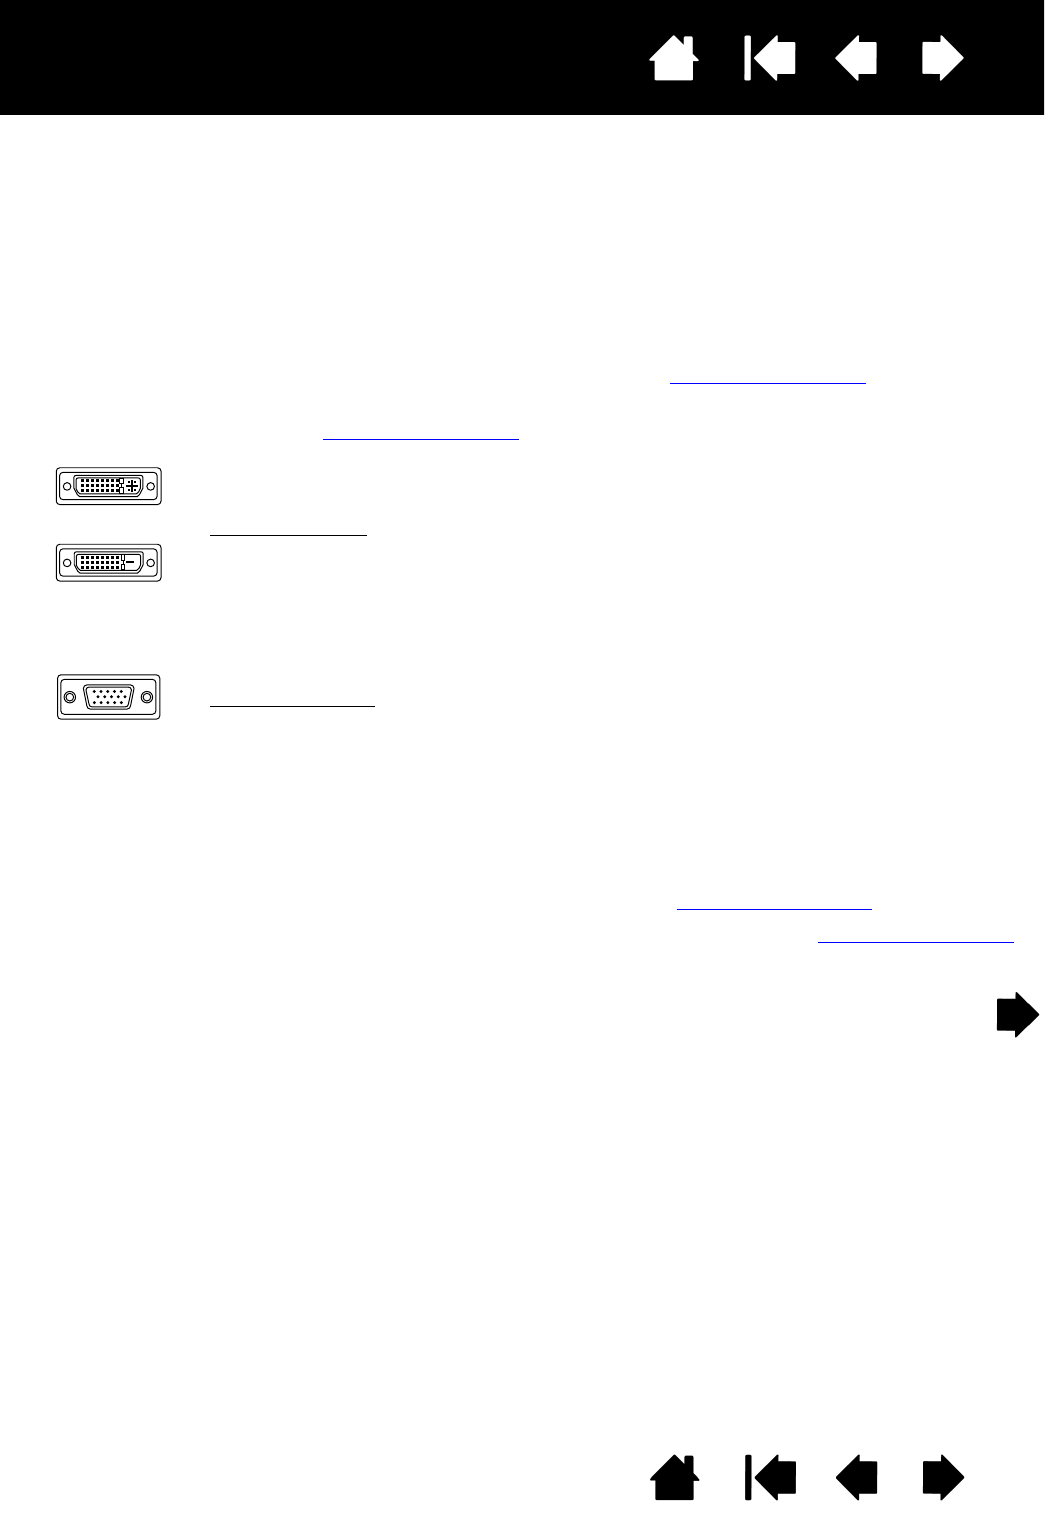
For DVI operation, connect the supplied DVI-D to DVI-I video cable between the DVI-I IN
connector located on the pen display unit and the DVI connector on your video card.
For VGA operation
, connect the supplied VGA to DVI-I cable between the DVI IN connector
located on the pen display unit and the VGA connector on your video card.
If connecting to a Mac Mini DisplayPort, you will need to obtain an appropriate adapter.
For best results the Apple Mini DisplayPort to Dual-Link DVI Adapter is recommended.
Adapters can be purchased at various retail outlets and through the online Apple Store.
Connect the adapter between the pen display DVI cable and your Macintosh.
DVI-I connector
DVI-D
connector
VGA connector