


6 E-mail
106 Xerox Phaser 3635MFP User Guide
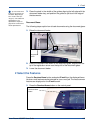
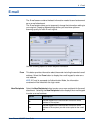
2. Select E-mail on the touch screen. Ensure that the E-mail screen is
displayed.
NOTE: If an authentication feature is enabled, you may need an account
before using the device. To get an account, or for more information, contact
the System Administrator.
3. Press the Clear All button once on the control panel to cancel any
previous selections. The control panel returns to the default Entry screen.
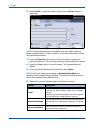
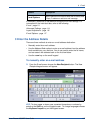
4. Select the From: field on the touch screen. The Keypad screen will
display.
5. Enter your email address as the Sender and select Save.
NOTE: If the E-mail feature is accessed via Authentication Mode, the
sender's e-mail address will be auto-filled. The sender may also search for
their e-mail address via the Address Book.
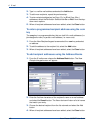
6. Select the one of the following tabs for the feature required.
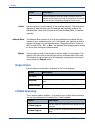
Feature Description
E-mail
Use the features on this tab the standard options for an
e-mail job, e.g. address fields, subject lines, message
body, etc.
Use this tab to enter the settings of the e-mail originals,
e.g. color scanning, 2 sided originals, type, etc.
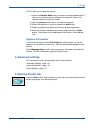
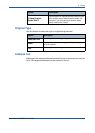
Advanced Settings
Use the features on this tab to access the advanced e-
mail settings, e.g. image options, resolution, file format,
etc.
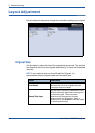
Layout Adjustment
Use the features on this tab to adjust the layout, e.g.
original size, scan to edge, etc.