


Troubleshooting
Phaser 7800 Color Printer 149
User Guide
Problem
Solution
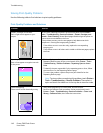
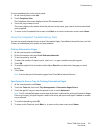
Colors Too Light or Too Dark
The print or color density is too light,
missing, or the background is foggy.
1. Verify that the paper you are using is the correct type for the printer and
is loaded properly. For information on supported paper types and
weights, at the control panel, touch Printer > Print Reference Materials
> Paper Tips > Print to print the Paper Tips pages.
2. Verify that the paper loaded in the tray matches the paper type selected
at the control panel and in the print driver.
3. Print the Color Reference page. At the control panel, touch Printer > Print
Reference Material > Color Reference > Print.
If the Color Reference page looks correct, the printer is printing properly.
Your application or incorrect settings in the print driver can be causing
the print-quality problems.
4. If the Color Reference page did not print correctly, perform the Calibrate
Color procedure. At the control panel, touch Printer > Tools >
Troubleshooting > Resolve Problems > Colors Look Wrong > Calibrate
Color, then follow the instructions.
Note: To view a video on resolving this problem, touch Printer > Tools >
Troubleshooting > Resolve Problems. Then select a topic and touch
the video icon in the top bar to view the video.
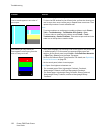
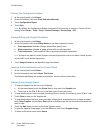
Page Margins Are Inconsistent
The image is not centered on the page or
the margins are not consistent.
Use the image position tool to adjust the image position on the page. At the
control panel, touch Printer > Tools > Troubleshooting > Resolve Problems
> Page Margins are Inconsistent > Image Position, then follow
the instructions.
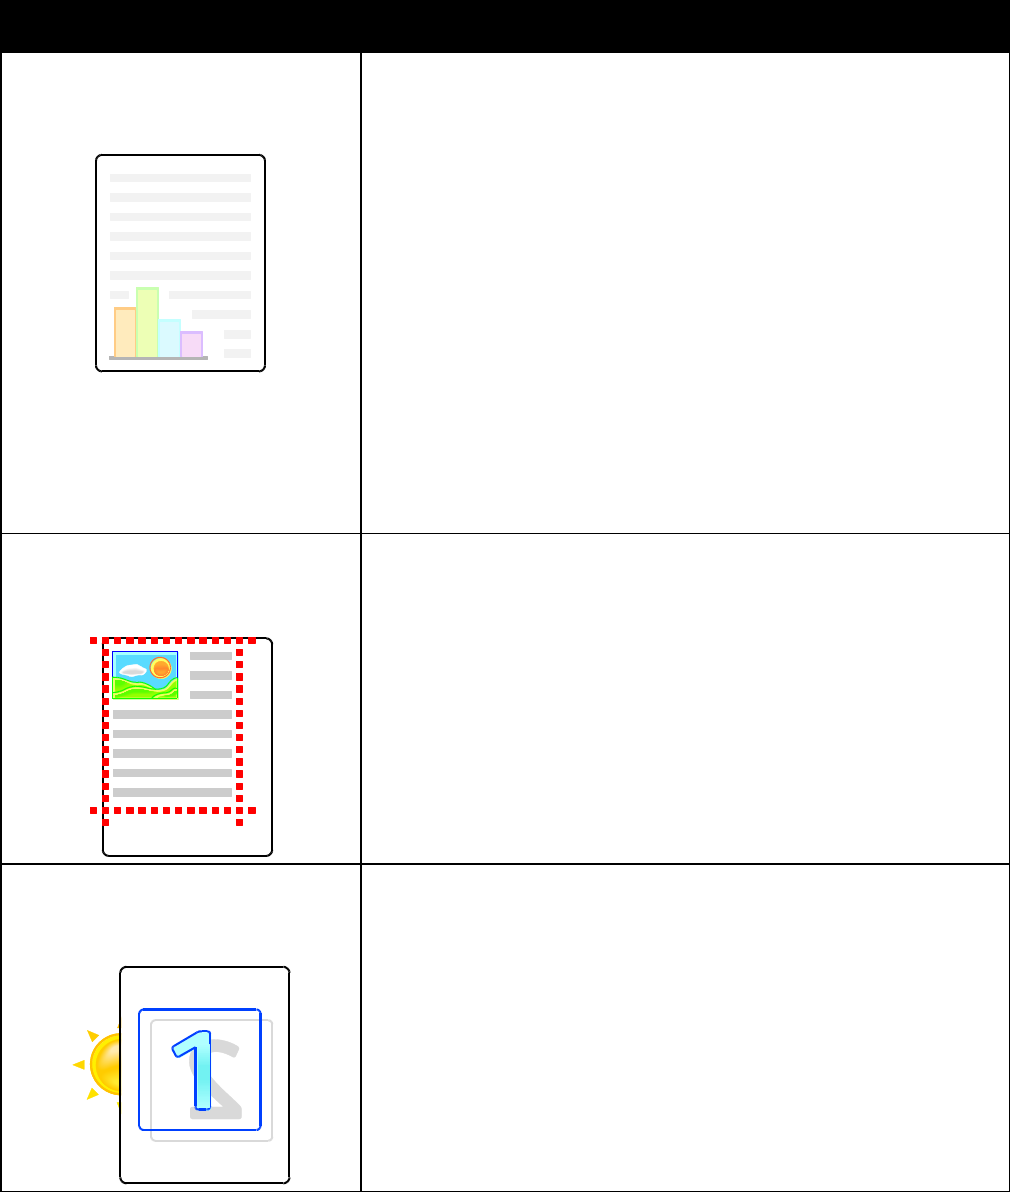
Sides 1 and 2 Are Not Aligned
The image is not centered on the page or
the margins are not consistent.
1. To check alignment, hold your print up to a strong light and look for the
shadow cast by Side 2.
2. Perform the Image Position procedure. At the control panel, touch
Printer > Tools > Troubleshooting > Resolve Problems > Sides 1 & 2 Are
Not Sufficiently Aligned.
3. Touch Image Position, then follow the instructions.