Modes
Xerox CopyCentre/WorkCentre 118 Quick Reference Guide 37
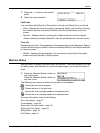
1. Press the <J> button on the control
panel.
2. Select the required option.
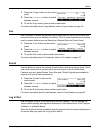
Fax/E-mail
You can select either [Send] or [Receive] for a fax job, and [Send] for an e-mail job.
• Send – Displays the fax and e-mail out-going jobs. Select a job from the list using
the <Select> buttons and select [Details] to view the job attributes on the next
screen.
• Receive – Displays the fax in-coming jobs. Select a job from the list using the
<Select> buttons and select [Details] to view the job attributes on the next screen.
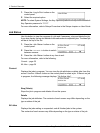
Print Job
Displays the print jobs. The suspended and completed jobs are not displayed. Select a
job from the list using the <Select> buttons and select [Details] to view the job attributes
on the next screen.
• Details – Displays the job attributes. You can cancel or eject the job from each
screen using the [Cancel] or [Eject] options.
Machine Status
Use this button to display information about the machine. This button allows you to view
the billing meter, print lists/reports, check the paper supply, and review the status of
faults.
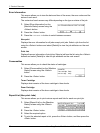
1. Press the <Machine Status> button on
the control panel.
Press the <Machine Status> button at
any time to exit.
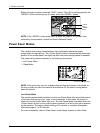
The following icons show the status of print jobs or consumables.
– Shows the print job in progress.
– Shows the error in the print jobs.
– Shows the toner cartridge needs to be replaced soon.
– Shows the drum cartridge needs to be replaced soon.
For more information, refer to the following.
Error Information – page 37
Consumables – page 38
Report/List (Non-print Jobs) – page 38
Report/List (Print Jobs) – page 39
Billing Meter – page 41
Print Mode – page 41


