E-mail Procedure
Xerox CopyCentre/WorkCentre 118 Quick Reference Guide 65
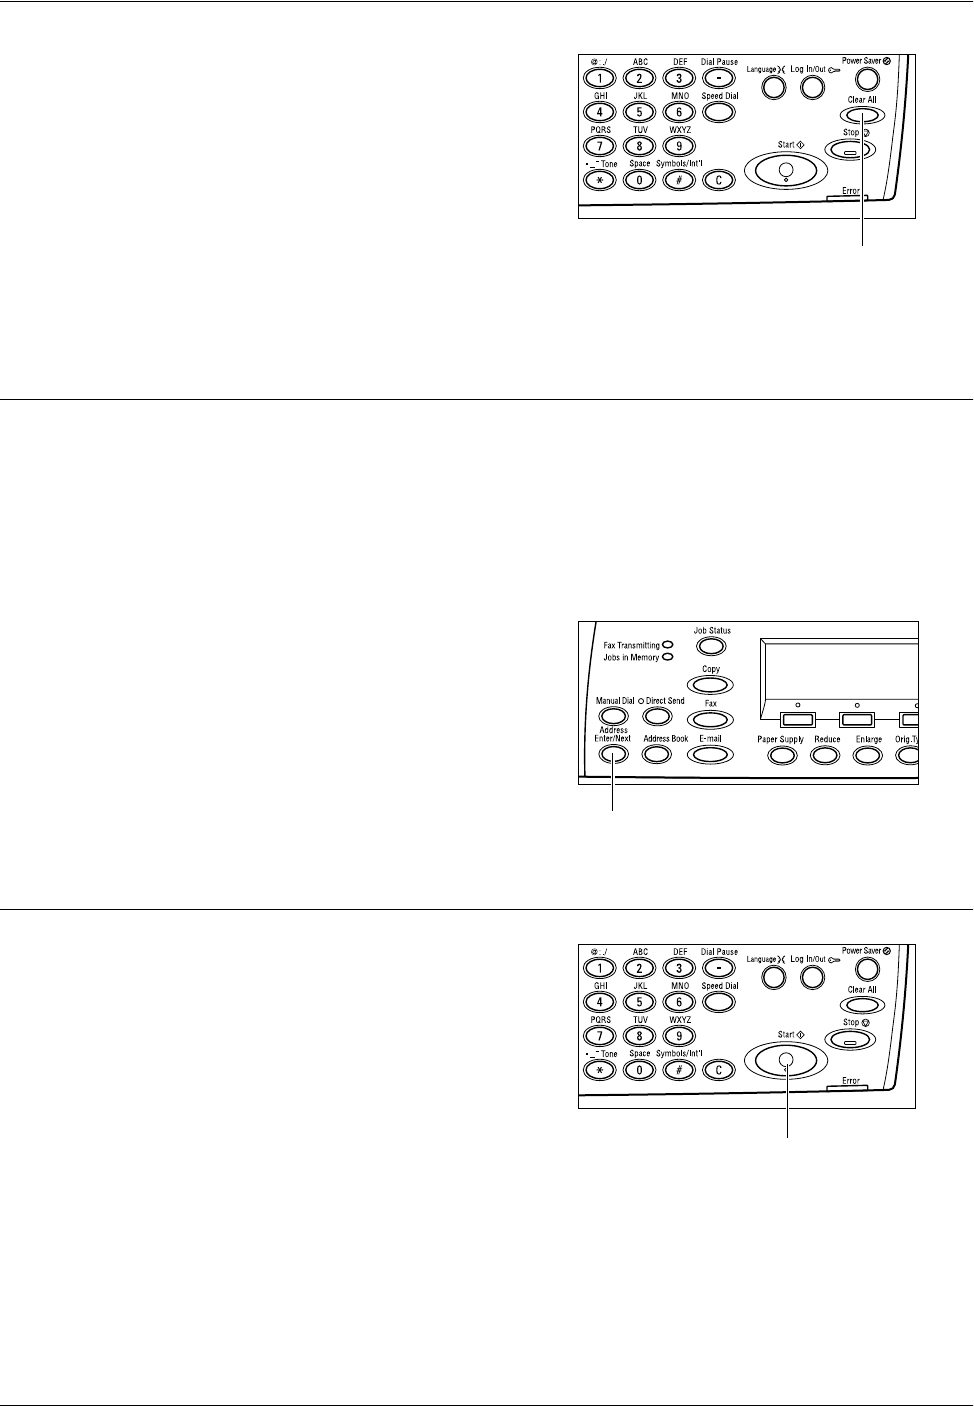
2. Press the <Clear All> button once on
the control panel to cancel any previous
selections.
3. Select an option for the required
feature.
If necessary, press the <I> or <J> button to switch between screens to configure the
e-mail settings. For more information, refer to E-mail Features on User Guide.
3. Specify the Destination
To specify an e-mail destination, the machine provides the following methods:
• Using the alphanumeric keypad on the control panel
• Using Address Book (refer to Address Book on User Guide)
• Using Speed Dial (refer to Speed Dial on User Guide)
• Using One Touch Dial (refer to One Touch Dial on User Guide)
1. Specify e-mail destinations by entering
addresses using the alphanumeric
keypad on the control panel.
You can send a document as an e-mail
attachment to multiple destinations in a
single operation. For more information, refer
to Address Enter/Next on User Guide.
4. Start the E-mail Job
1. Press the <Start> button on the control
panel to scan and send the documents.
NOTE: If the trouble, such as document jam
or memory full, is occurred while scanning multiple documents, the job is canceled
and the scanned data are deleted. To resume the same operation, load all the
documents again and press the <Start> button.
NOTE: If the memory full error occurs, delete unnecessary files.
<Clear All> button
<Address Enter/Next> button
<Start> button
