3-24 System Operation
Model No.
Running Head
System Level Maintenance System Configuration and Operation
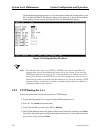
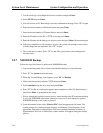
3. Use the arrow keys to highlight the Protocol selection and press Enter.
4. Select TFTP and press Enter.
5. You will receive an NV Ram image overwrite confirmation message. Press “Y” for yes.
6. Enter the desired number of Mismatch retries and press Enter.
7. Enter the desired number of Timeout Retries and press Enter.
8. Enter the IP address of the PC or TFTP server and press Enter.
9. Enter the filename for the backup you wish to restore and press Enter. Restoration begins.
10. Following completion of the restoration process, the system will prompt to restore data
with the image that was uploaded. Press “Y” for yes.
11. The system asks to reboot. Press “Y” for yes. The system reboots and configuration
becomes active.
3.9.7 XMODEM Backup
Follow the steps listed below to perform an XMODEM backup.
1. Log into the Integrated Access System on which the backup is to be performed.
2. Press “Y” for System at the main menu.
3. When the Test and Debug screen appears, press “B” for Backup.
4. If the selection currently indicates TFTP, then press Enter.
5. Select xmodem using the arrow keys and press Enter.
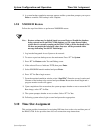
6. Press “G” for Go. A confirmation appears upon completion of the NV Ram backup to
flash. Press Enter as prompted on the screen.
7. Prior to starting the backup or restore process, ensure that have the PC emulation package
is set to the XMODEM type format, otherwise an error will occur during the process.
XMODEM backup is now ready to proceed.
8. From the terminal screen select “Receive File” from the appropriate file menu. The
system prompts for a backup storage directory and filename. Following entry of the
appropriate information, backup begins. With most terminal emulation software (i.e.,
Hyperterminal, ProCom, or Smartcom) a status window will appear during the backup
process.


