


3 Hardware configuration
78
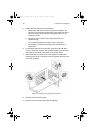
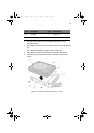
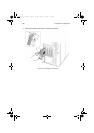
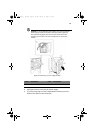
To remove a hot-swap drive from a carrier
1 Remove the carrier and drive from the drive bay.
2 Remove the four screws that secure the drive to the carrier.
3 Place the drive on an antistatic surface.
4 If you are going to reinstall the carrier without a drive, you must
first reinstall the air baffle in the carrier.
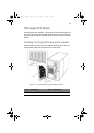
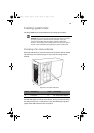
Removing and installing hot-swap disk drives
Important: Do not leave any drive slots without a drive or air
baffle installed in the carrier. An empty carrier installed in a drive
slot reduces cooling efficiency and can affect performance or
cause damage due to overheating.
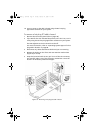
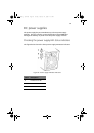
To install a hot-swap disk drive
1 Depress the green clip at the end of the plastic carrier handle.
2 Pull the handle out to disengage the carrier handle latch from the
locking slot at the top of the drive bay.
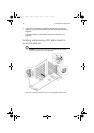
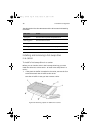
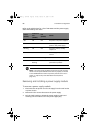
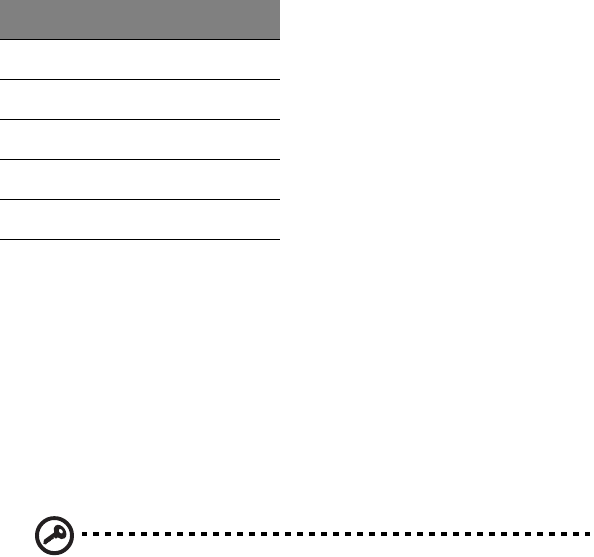
Label Description
A SCA connector
BDrive
C Carrier
D Plastic rail
EScrew
BB!H:11!vh!.!FO/cppl!!Qbhf!89!!Gsjebz-!Kbovbsz!28-!3114!!8;24!QN