


AXIS 700 User’s Manual Section 2: Basic Installation
19
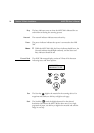
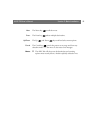
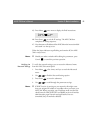
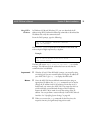
15. Press Menu once more to display the final instructions:
16. Press Enter to exit the IP settings. The AXIS 700 then
completes the startup sequence.
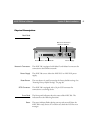
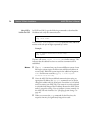
17. Note the name or IP address of the AXIS 700 on the instruction label
and attach it to the top cover.
When the Status indicator stops flashing and remains off, the AXIS
700 is ready for use.
Note:
o
Should you make a mistake while editing the parameters, press
Cancel to cancel the previous operation.
Verifying the
Network Settings
To verify the network settings, you can access the Advanced menu
from the AXIS 700 control panel.
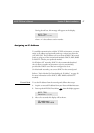
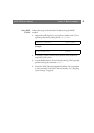
1. Press Menu a few times, until you to reach the Advanced
menu.
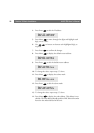
2. Use to find the Network Settings option.
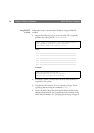
3. Press Enter to enter the submenus.
4. Use to scroll through the parameter settings.
Note:
o
If DHCP service is running on your network, this might cause
that your assigned IP address is overridden when you restart your
AXIS 700. When you assign your IP address, make sure that the
check-boxes for DHCP, BOOTP and RARP on the web interface
administration pages Network settings/Detailed view are
unmarked (they are marked as default).
3UHVV LI\RX
DUHILQLVKH G