


Section 3: Setup for NetWare
24 Axis NPS 530/532 User’s Manual
Remote Printer Mode
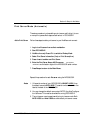
The configuration for remote printer mode comprises the following steps:
1. Add a Print Server
2. Create a Print Queue
3. Link a Remote Printer to the Print Queue
4. Configure the NPS 530/532
Add a Print Server The NetWare print server software is either installed on a file server
(PSERVER.NLM), or a dedicated workstation (PSERVER.EXE). If you
don’t already have a Novell print server installed, please refer to the
Novell documentation for installation procedures.
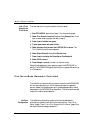
Create a Print
Queue
Print queues are created in the same way as for print server mode. If you
do not need any new queues, skip to “Link a Remote Printer...” below.
1. Log in to a file server from a client workstation.
2. Start PCONSOLE.
3. Select Print Queue Information (3.xx) or Print Queues (4.xx).
4. Press <Insert> to add a new queue.
5. Type a queue name, and press <Enter>. Select a print queue volume
(4.xx only). Repeat steps 4 – 5 for each queue you want to create.
6. Press <Esc> to return to the Main Menu.
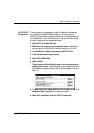
Link a Remote
Printer to the
Print Queue
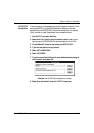
The procedures are slightly different depending on which NetWare
version you are using. In either case, begin with starting PCONSOLE
according to steps 1–3 in “Create a Print Queue” above if you have not
already done so.