56
Ch. 3 Functions
Functions
2 Rotate r until WIDTH is displayed, and
then press r (OR press j or k until
WIDTH is displayed). The setting for the
text at the cursor’s current position is shown
on the left side of the display and a sample
can be seen on the right side.
3 Rotate r (OR press m or g) until the
desired setting is displayed.
4 Press r (OR press n) to apply the setting.
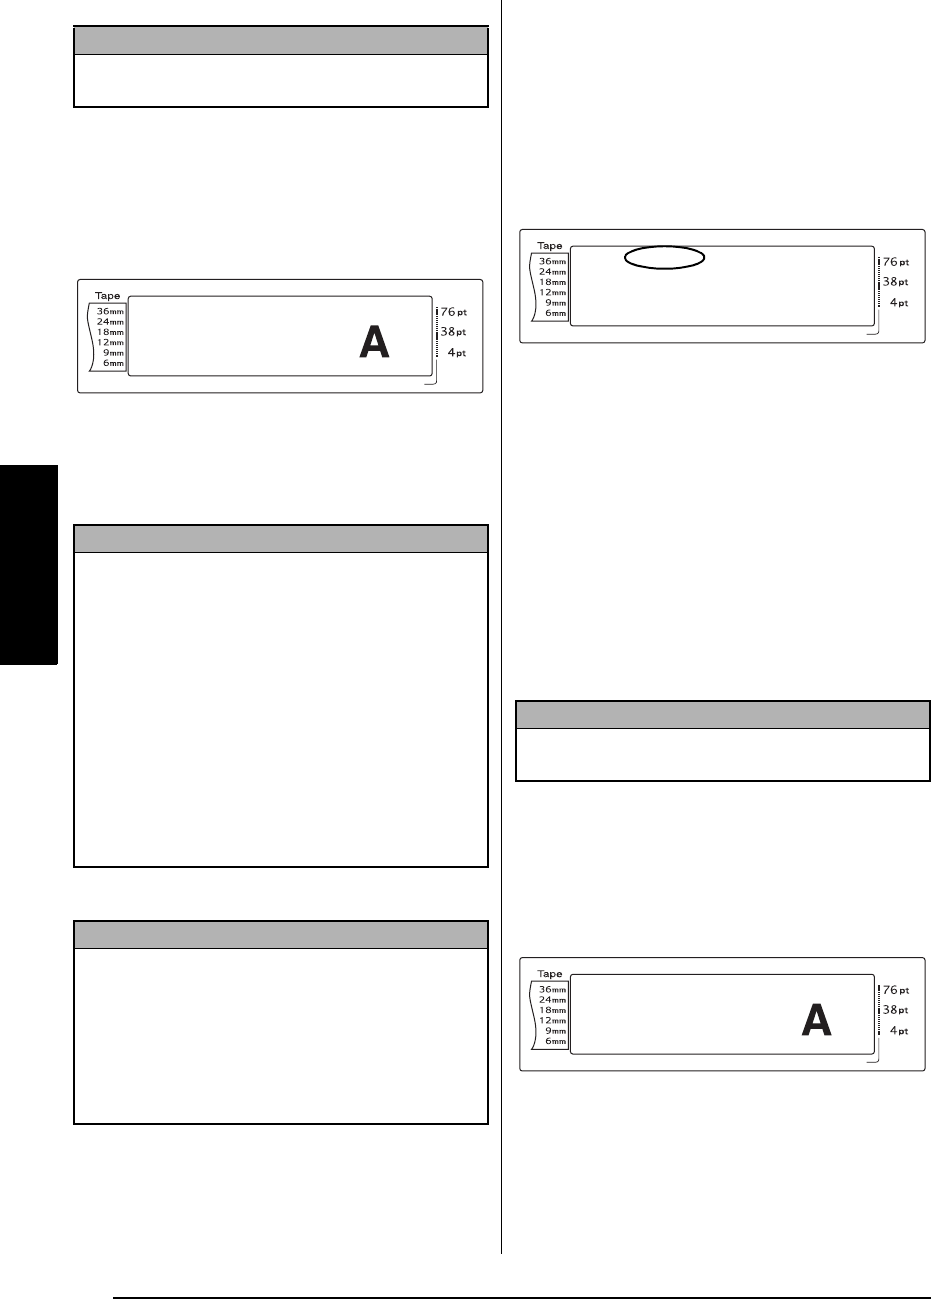
Style1 function (STYLE1)
With the Style1 function, 5 other text styles are
available, allowing you to create more personal-
ised labels. For samples of the available style
settings, refer to page 102. The style indicators
at the top of the display show the style of the
text at the cursor’s current position when any
setting other than NORMAL is selected.
Each of the text styles available with the Style1
function can be combined with each of the text
styles available with the Style2 function. (See
Style2 function (STYLE2) on pages 57.)
To change the setting for the Style1 func-
tion:
1 Select GLOBAL FORMAT, BLOCK FOR-
MAT or LINE FORMAT (OR hold down
d and press 1, 2 or 3) as described
on pages 52 to 53.
2 Rotate r until STYLE1 is displayed, and
then press r (OR press j or k until
STYLE1 is displayed). The setting for the text
at the cursor’s current position is shown on
the left side of the display and a sample can
be seen on the right side.
3 Rotate r (OR press m or g) until the
desired setting is displayed.
NOTE
This step may be skipped if settings for several for-
mat functions are being applied at the same time.
NOTE
☞
If “*****” appears as a setting, the Width func-
tion has already been applied to either a line in
the current text block (if the Block format or the
Global format function is being set) or a block
in the current text (if the Global format function
is being set). Changing the setting will cancel
the setting that was previously applied.
☞
To return the function to its default setting
(NORMAL), press the space bar.
☞
To return to the text without changing the for-
matting, press e (OR hold down d and
press 1, 2 or 3).
NOTE
If r is used to select the settings, only one function
can be set at a time. To apply several format set-
tings at the same time, press j or k to select the
function, and then press m or g to select the
desired setting. Press n only after the necessary
functions have been set.
Length Margin Font Width Size
1
2
3
4
5
6
7
8
9
A
B
C
D
E
F
K
Q
Q
Q
Q
Q
Q
Q
Q
Q
Q
Q
Q
Q
Q
Q
Q
Q
Q
Q
Q
Q
Q
Q
Q
R
R
R
R
R
R
G
H
I
J
AUTO 0.4 HELSINKI A AUTO
03/13
WIDTH
NORMAL
L
M
NO
NOTE
This step may be skipped if settings for several for-
mat functions are being applied at the same time.
Length Margin Font Width Size
1
2
3
4
5
6
7
8
9
A
B
C
D
E
F
K
Q
Q
Q
Q
Q
Q
Q
Q
Q
Q
Q
Q
Q
Q
Q
Q
Q
Q
Q
Q
Q
Q
Q
Q
R
R
R
R
R
R
G
H
I
J
L
M
NO
AUTO 0.4 HELSINKI A AUTO
<<< P-touch >>>
1
:
_
Length Margin Font Width Size
1
2
3
4
5
6
7
8
9
A
B
C
D
E
F
K
Q
Q
Q
Q
Q
Q
Q
Q
Q
Q
Q
Q
Q
Q
Q
Q
Q
Q
Q
Q
Q
Q
Q
Q
R
R
R
R
R
R
G
H
I
J
AUTO 0.4 HELSINKI A AUTO
04/13
STYLE1
NORMAL
L
M
NO


