


37
ENGLISH
Useful functions available during a presentation
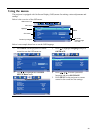
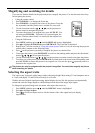
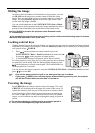
Selecting a image mode
The projector is preset with several predefined image modes so that
you can choose one to suit your operating environment and input
signal picture type.
To select a operation mode that suits your need, you can follow one of
the following steps.
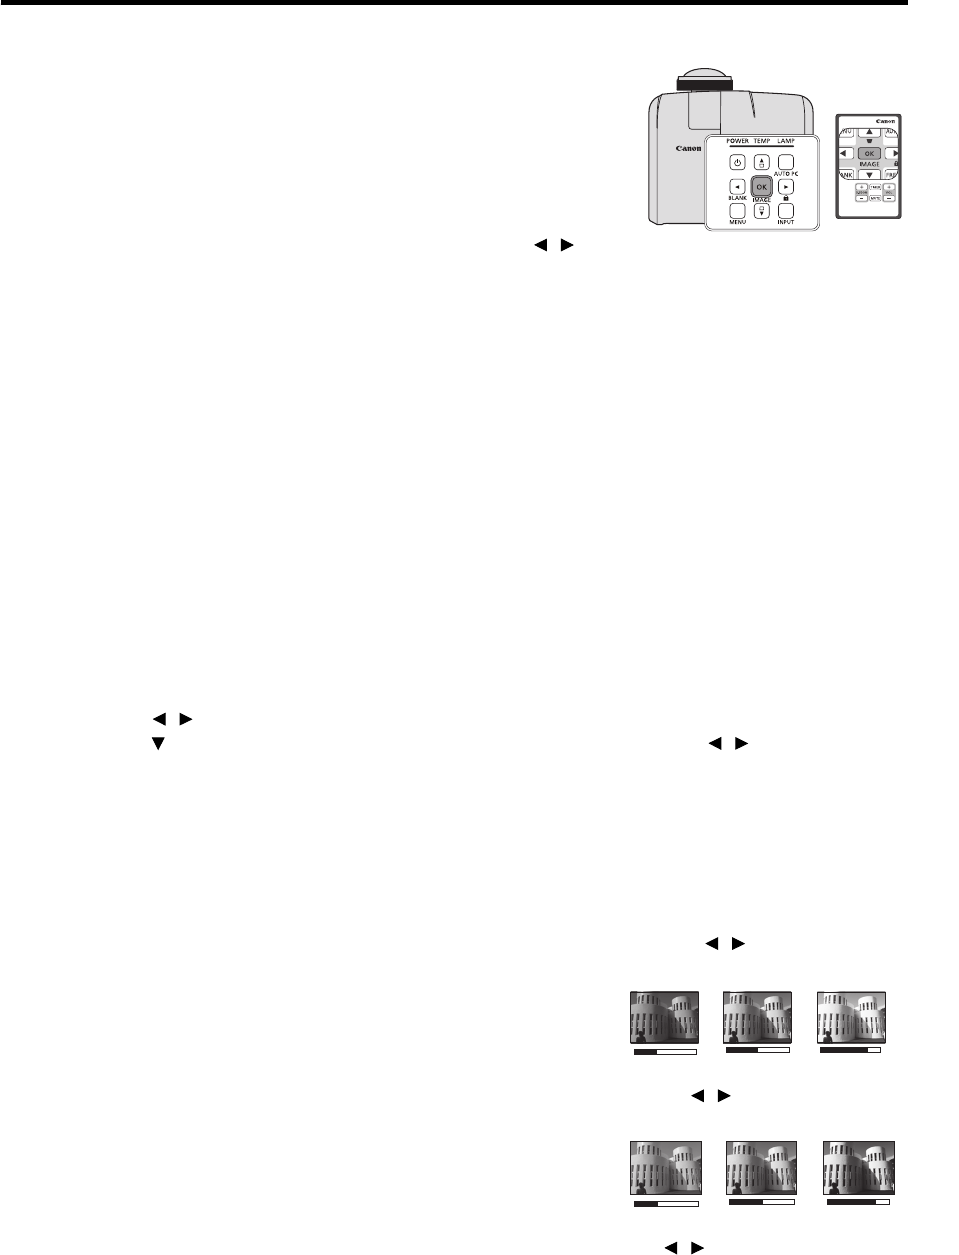
•Press OK/IMAGE on the remote control or projector repeatedly
until your desired mode is selected.
• Go to the PICTURE > Image Mode menu and press / to
select a desired mode.
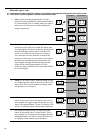
Image modes for different types of signals
The image modes available for different types of signals are listed below.
1. Presentation mode: Suitable for projecting images with a lot of text.
2. Standard mode: Suitable for projecting computer screens or colorful images (movies), etc.
3. sRGB mode: Suitable for projecting photos from a digital camera that supports sRGB. Compatible
with the sRGB standard.
4. Movie mode: Suitable for projecting colorful images (movies).
5. User 1/User 2 mode: You can save image quality settings that you have made as a custom setting.
You can then select the saved settings as an image mode. See "Setting the User 1/User 2 mode" on
page 37 for details.
Setting the User 1/User 2 mode
There are two user-definable modes if the current available image modes are not suitable for your need.
User 1 (Presentation mode based) is for PC sources, and User 2 (Standard mode based) is for Video
sources.
1. Press MENU to open the On-Screen Display (OSD) menu.
2. Go to the PICTURE > Image Mode menu.
3. Press / to select User 1 to User 2.
4. Press to select a sub-menu item to be changed and adjust the value with / . See "Fine-tuning
the image quality in user modes" below for details.
5. The settings will be stored automatically.
Fine-tuning the image quality in user modes
According to the detected signal type, there are some user-definable functions available when User 1 or
User 2 mode is selected. You can make adjustments to these functions based on your needs.
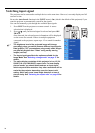
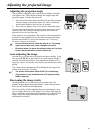
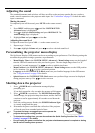
Adjusting Brightness
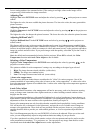
Highlight Brightness in the PICTURE menu and adjust the values by pressing / on the projector or
remote control.
The higher the value, the brighter the image. And lower the setting,
darker the image. Adjust this control so the black areas of the image
appear just as black and that detail in the dark areas is visible.
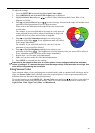
Adjusting Contrast
Highlight Contrast in the PICTURE menu and adjust the values by pressing / on the projector or
remote control.
The higher the value, the greater the contrast. Use this to set the peak
white level after you have previously adjusted the Brightness setting
to suit your selected input and viewing environment.
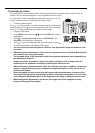
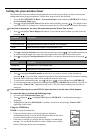
Adjusting Color
Highlight Color in the PICTURE menu and adjust the values by pressing / on the projector or
remote control.
+50
+30
+70
0
-30
+30