


Back to Contents Page
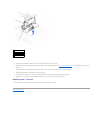
I/O Panel
DellPrecision™WorkStation340ServiceManual
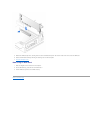
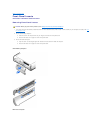
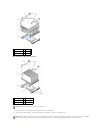
Removing the I/O Panel—Small Desktop Computer
1. Turn off the computer and devices, disconnect them from their electrical outlets, wait at least 10 to 20 seconds, lay the computer on its side, and
remove the computer cover.
2. Remove the hard-drive shroud.
3. Disconnect the hard-drive data cable.
4. Disconnect the control-panel cable from the control-panel connector on the I/O panel.
5. Disconnect the front I/O cable from the front-panel connector on the system board (see "System Board Components" for the location of the front-panel
connector).
Note the routing of the control-panel cable as you remove it from the computer so that you can replace it correctly.
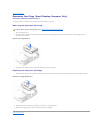
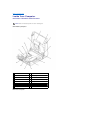
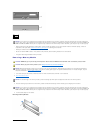
Front I/O Panel Removal
6. Remove all cables that are connected to the front I/O panel.
7. Remove the mounting screw that secures the front I/O panel to the computer.
8. Remove the front I/O panel from the computer.
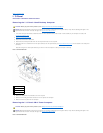
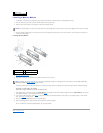
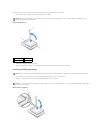
Removing the I/O Panel—Mini-Tower Computer
Front I/O Panel Removal
CAUTION: Before you perform this procedure, see "Safety First—For You and Your Computer."
NOTICE: Before disconnecting a device from the computer or removing a component from the system board, verify that the standby power light on the
system board has turned off. To locate this light, see "System Board Components."
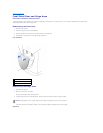
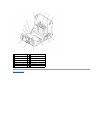
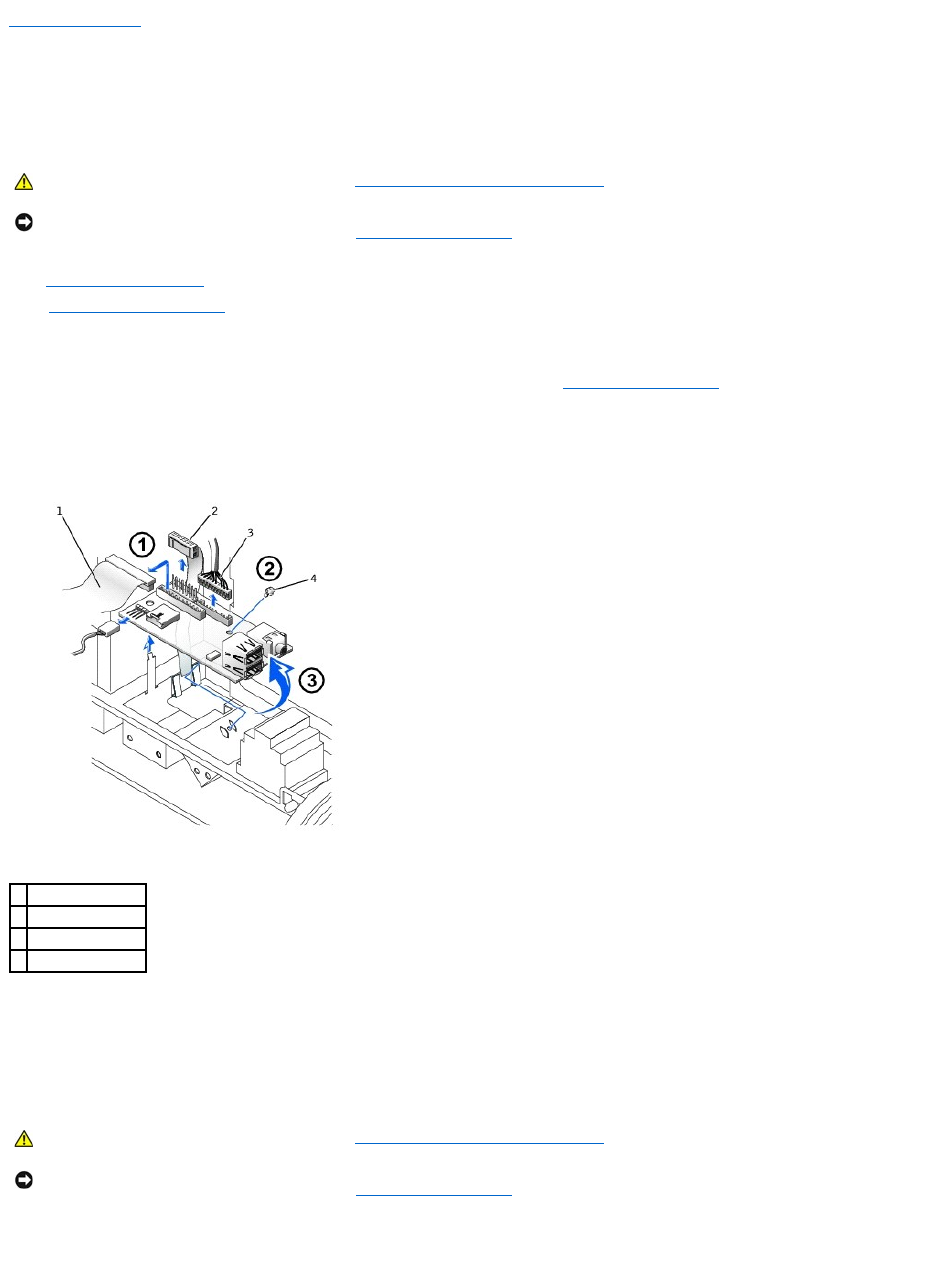
1
control-panel cable
2
front audio cable
3
front I/O cable
4
mounting screw
CAUTION: Before you perform this procedure, see "Safety First—For You and Your Computer."
NOTICE: Before disconnecting a device from the computer or removing a component from the system board, verify that the standby power light on the
system board has turned off. To locate this light, see "System Board Components."