


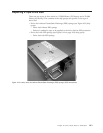
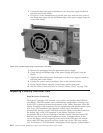
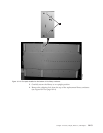

4. If the defective library is rack mounted, remove the two screws (1 in
Figure 10-12) from the front of the defective library anchoring the mounting
brackets on the library to the rack. With assistance, remove the defective library
from the rack.
5. Place the defective library on a clean and sturdy work surface.
6. Proceed to “Unpacking and Preparing the Replacement Library Enclosure” on
page 10-12.
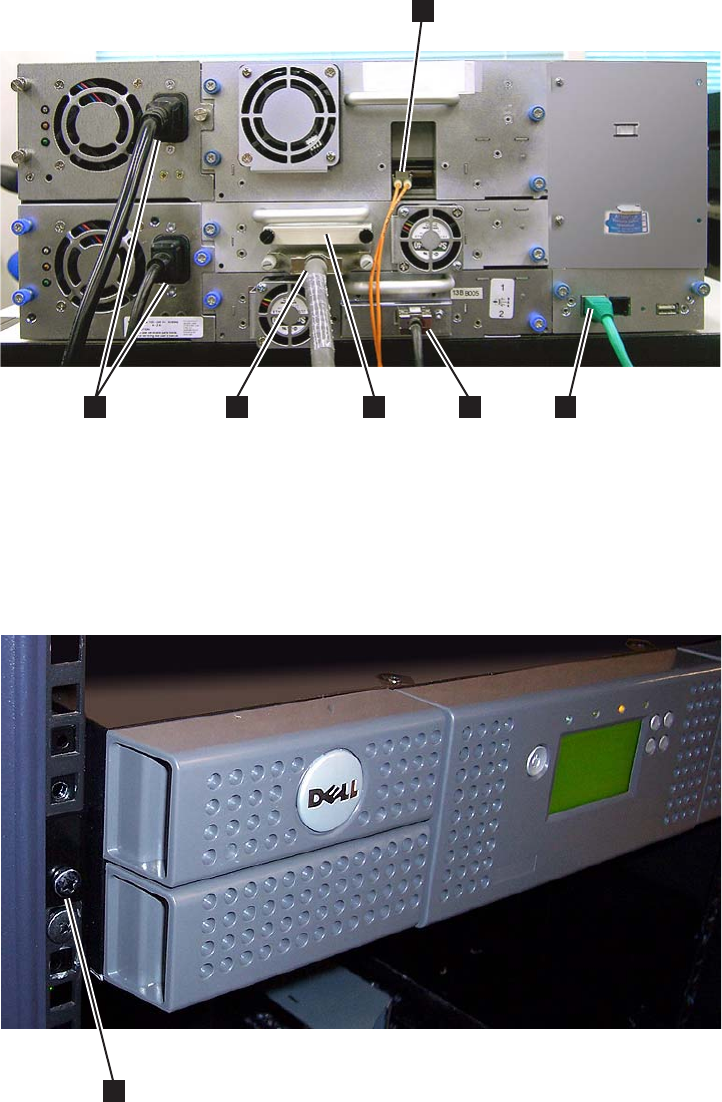
a77ug101
1
3
4
2
5
6
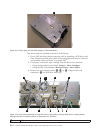
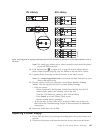
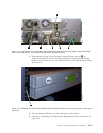
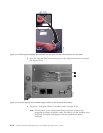
Figure 10-11. Rear panel of a 4U library with a Fibre Channel full height drive in the top position, a SCSI half height
drive in the middle position, and a SAS half height drive in the bottom position
a77ug178
1
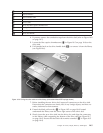
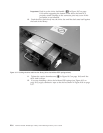
Figure 10-12. Removing the two mounting bracket screws anchoring the library to the rack (one screw on each side of
the library
Chapter 10. Check, Adjust, Remove, and Replace 10-11