


Compu Live II Basic programming
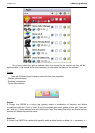
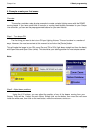
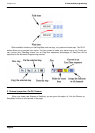
1. Click on the Cycle button
2. Start clicking on the Scene and Switch buttons in the order you want them to be played
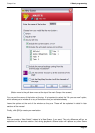
3. When you are done, click the [PLAY] button inside the Cycle editor window, and click on [YES] when
asked if you wish to save the Cycle
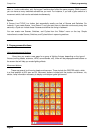
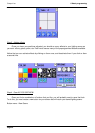
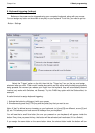
Clicking Play will start running the cycle, scrolling through your buttons. If you wish to change the timing
between each Scene or Switch, first click on [STOP], and then click on the TIME button (with [2.18]
written on it, right underneath the Cycle clock). The "GO" option inside the TIME window allows you to
scroll through the cycle using your keyboard's [PgDn] and [PgUp] keys.
If you want to delete a step within your Cycle, click Stop and then use the CUT tool (scissors). If you
want to add a Scene or Switch, click on the RECORD button (red circle underneath PLAY), and then
click on PLAY to end the recording process and preview your Cycle.
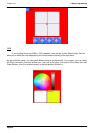
The LOOP option (circular arrow on the right end of the window) allows you to select whether you want
your cue list of scenes and switches to repeat itself, or simply run once and remain in its final state.
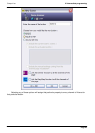
Note:
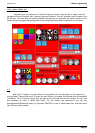
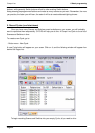
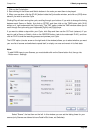
To add FADE times to your Scenes, you must double-click on the Scene button first, then go into
- Button menu - Settings
Select "Scene", the last item on the left. In this window you can set the fading times for your
scenes (only Scenes are allowed to have Fade In/Out times, not Switches).
Page 33