


Installing VAPIMs
Installation 2-5
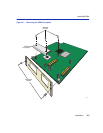
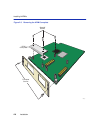
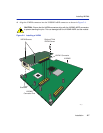
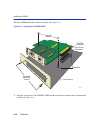
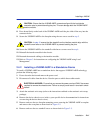
5. Press down firmly on the APIM until the pins slide all the way into the connector. Ensure the
APIM sits flush on the standoffs. If the APIM does not sit flush with the standoffs, ensure that
the pins have been inserted into the correct connector on the VHSIM2-A6DP. Refer to
Figure 2-2.
6. Secure the APIM with the screws saved in step 3. The screw used to attach the rear of the APIM
to the standoff is optional, and is not necessary for proper installation. Refer to Figure 2-2.
7. Reattach the faceplate to the VHSIM2-A6DP using the three screws saved in step 2.
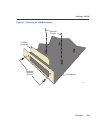
2.3 INSTALLING VAPIMs
To install a VAPIM into the VHSIM2-A6DP, proceed as follows:
1. Attach the antistatic wrist strap (refer to the instructions on the antistatic wrist strap package).
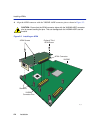
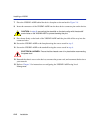
2. Remove and save the faceplate screws attaching the faceplate to the VHSIM2-A6DP. See
Figure 2-3. Remove the VHSIM2-A6DP faceplate.
3. Remove and save the three screws from the VHSIM2-A6DP standoffs. Remove the APIM
coverplate.
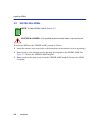
ELECTRICAL HAZARD: Only qualified personnel should install or service this unit.