


6
Options
6-23
R4C0910
Rev. C
A5 size OPTIONS.FM
1/12/00 Pass 3
R
Proof Sign-off:
SEI Y.Takasaki M.Fujimori
M.Fujimori
SEI M.Kauppi
5. In the dialog box of EPSON TWAIN Pro, make sure that
Auto
Document Feeder
is selected from the Document Source
list. Also choose appropriate settings for the scanning.
6. Click
Scan
.
After scanning the entire stack of documents, a window with
thumb-nail images will appear. In this window you can select and
change the orientation of the scanned images.
Scanning only part of the document area
To scan just a part of an image, follow the steps below.
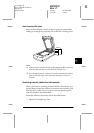
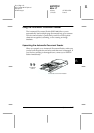
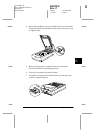
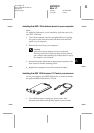
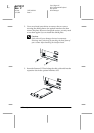
1. Load the first page of the document in the Automatic
Document Feeder as described on page 6-20.
Note:
Only set one page of the document at this time. If you set multiple pages
at this time, the second page will be fed right after the first page is scanned
and may become stuck in the middle of the document path as if the paper
is jammed. In this case, you have to remove the second page from the
document path and load it again.
2. Start the PageManager for EPSON software and select
Acquire
from the File menu.
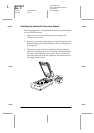
3. In the dialog box of EPSON TWAIN Pro, click
Preview
. The
document is ejected after previewing.
4. Draw a marquee (frame around a certain area) to define the
part of the image you want to scan by dragging the mouse
pointer over that area.
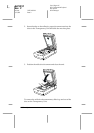
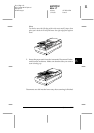
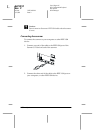
5. Set document(s) to be scanned in the Automatic Document
Feeder, including the ejected document.
6. Choose your settings in EPSON TWAIN Pro and click the
Scan
button. Refer to the HTML Scanner Software Reference
Guide for details on choosing EPSON TWAIN Pro settings.